Introduction
Adobe Photoshop is now available to everyone in ChatGPT.
Which means you can edit and stylize your photos just by describing what you want.
Plus, you can fine-tune the adjustments with Photoshop controls directly in ChatGPT.
Hi, I'm Seán Duggan with Adobe Learn.
In this tutorial, I'll show you how to have a conversation with Photoshop in ChatGPT, and we'll explore some of the ways you can use it to quickly enhance and creatively transform your photos.
Connect Photoshop in ChatGPT: Prompt to find all features
The first step is to connect ChatGPT to Photoshop.
Click on your profile in the lower left corner, then click on Settings, and in the next window, choose Apps & Connectors.
In the Apps section, select Adobe Photoshop, then click Connect.
You can use Photoshop with any type of ChatGPT plan, including a free one, and you don't need a Photoshop subscription.
Next, you need to tell ChatGPT that you want to start a conversation with Photoshop.
Click the + symbol in the Chat window, choose More, and Adobe Photoshop.
To get started, you might try asking: List all Photoshop features currently available in ChatGPT.
There are a lot of cool things that you can do, and this is a good way to get a sense of what features and adjustments are possible.
At the current time, generative edits are not supported for Photoshop in ChatGPT.
To upload an image, you can click the + symbol and choose Add photos & files, or just drag a photo into ChatGPT, which is what I'll do.
Make quick edits to enhance your image
You can add a prompt here, or if you're not sure what the photo needs, just click the Arrow icon or press Enter and Photoshop will analyze the image and offer some suggestions.
I'll start with an adjustment for the color.
In the Chat window, I'll type: Enhance the color.
Photoshop recommends a few ways to edit the color and displays them under my prompt.
Below that, it also explains how to use each adjustment.
I'll choose Vibrance since that will boost the muted colors, but still keep a natural look.
I'll move the Vibrance slider to the right to make the colors pop a bit more.
One thing to note here is that in the upper right, there are arrows you can click to move between the different suggested adjustments for this prompt.
But at this stage, you can only apply one of these and that's the one that you're currently viewing.
I'll go back to my Vibrance adjustment, and I'll click the X in the upper left to return to the previous screen.
The colors look much better, but the shadow areas are a bit dark, so I'll enter a new prompt: Lighten the shadow areas.
Photoshop recommends the Highlights & Shadows adjustment, so I'll click the Slider icon to display the controls, and I'll move the Shadows slider to the right to brighten the darker areas.
This is one of my favorite tools in Photoshop, and it's perfect for photos that have both darker and lighter areas that you want to adjust separately.
Once you're happy with your edits, you can click the Download icon in the upper left to download the edited photo.
Apply adjustments to specific areas
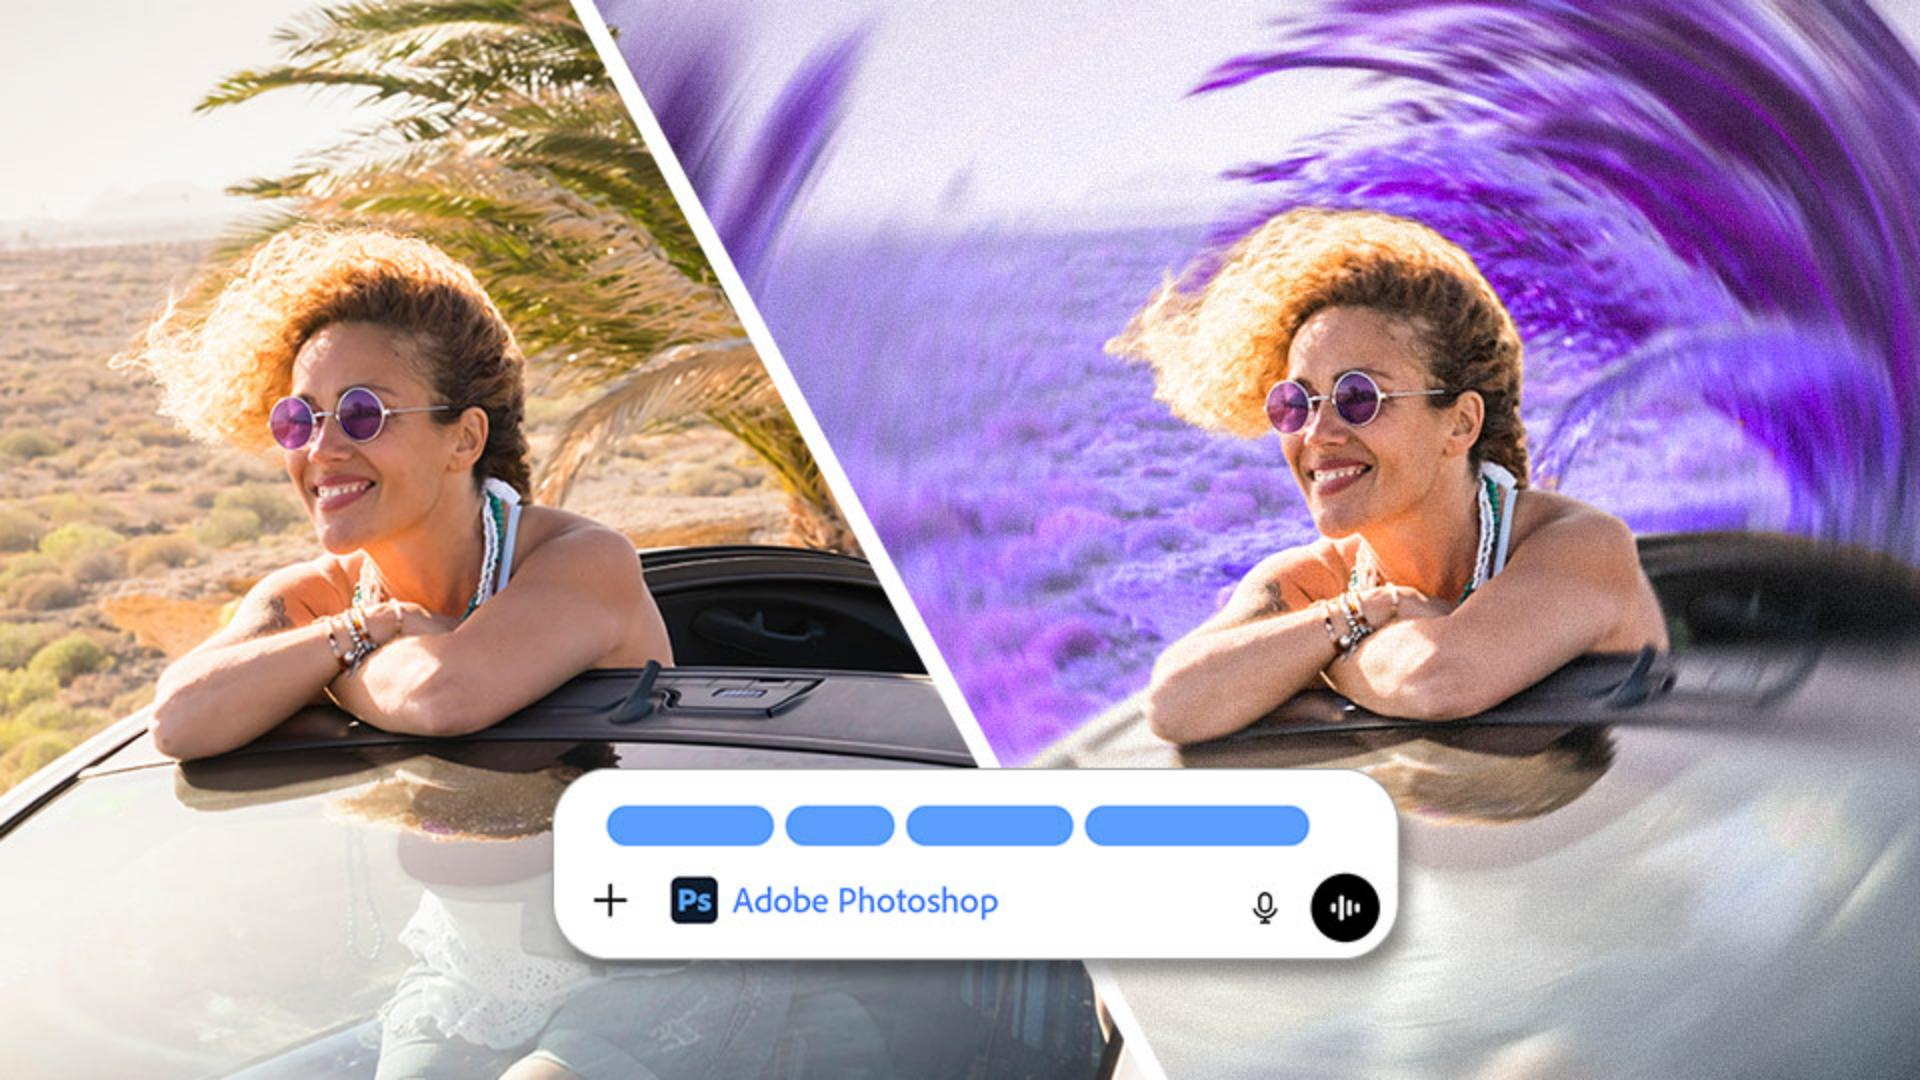
Now let's see how we can tell Photoshop to make an adjustment to a specific part of an image.
I'll drag in another image that I want to use for some colorful graphic style effects.
I'll tell Photoshop: I want to change the color of the background behind the woman in the car.
After a few seconds, the photo is ready for the background adjustment.
I'll click the image and move the Hue slider to experiment with some different colors.
You can see that this change is only affecting the background area.
I like how the purple looks, so I'll set the Hue to about -112 and maybe I'll boost the Saturation a bit.
Use creative effects to refine your style
Next, I want to apply another creative effect.
I can use the Prompt field in this view, or I can go back to the main page and do it there.
I'll click the X in the upper left and go back to the standard view of the chat.
In the prompt, I'll say: Add a color halftone to the entire image.
Next, I'll try one of the other effects by typing its name: Radial blur.
I'll click the Settings icon, and I'll play around with the controls for this effect.
I've applied three different effects to this image, but now I want to remove that middle effect - the color halftone look.
The great thing about editing with Photoshop in ChatGPT is that nothing is permanently applied, so I'll just type a prompt to describe what I want: Undo the color halftone.
There, that looks better.
The halftone is removed, but the other edits are not affected.
Export to Photoshop on the web for more controlled edits
If you're ready to do more with your photo, just click Open in Photoshop to send the image to Photoshop on the web, which gives you more control and more editing possibilities.
Here you can see that the Hue/Saturation change to the background is a separate adjustment layer with a layer mask, and I have full access to the settings.
And if I click on the image layer and open the Layer properties, I can access the settings for the Radial blur effect and make further adjustments.
It's so great to have this level of creative control over edits that started out as a conversation with Photoshop in ChatGPT.
That's a quick look at just some of the ways that you can use Photoshop right inside ChatGPT, as well as send your edited image to Photoshop on the web for even more creative possibilities.
Give it a try on some of your own photos and have fun exploring.
