Try these tutorials with Photoshop
Edit photos to create new images and graphics.
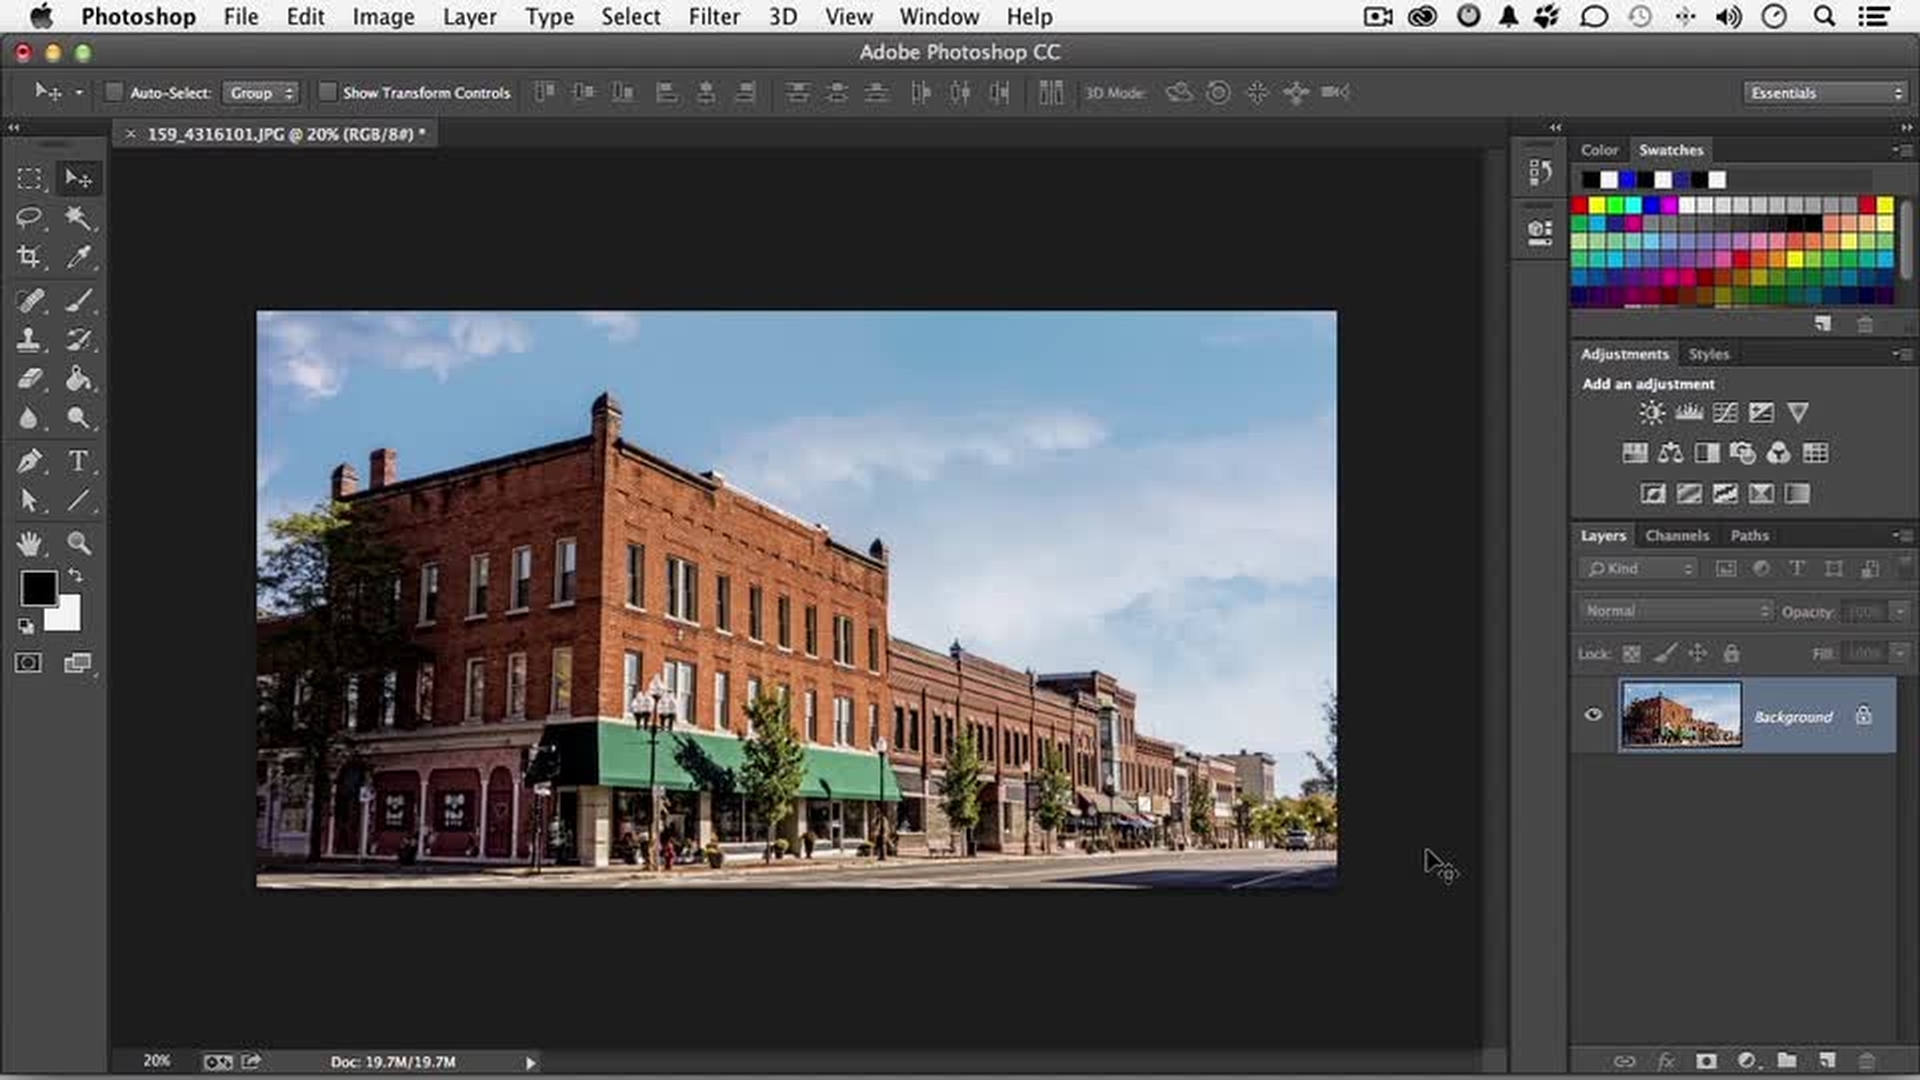
Want to tweak the perspective of where you took a photo? Using Perspective Warp, you can change the perspective of parts of an image while keeping lines straight.
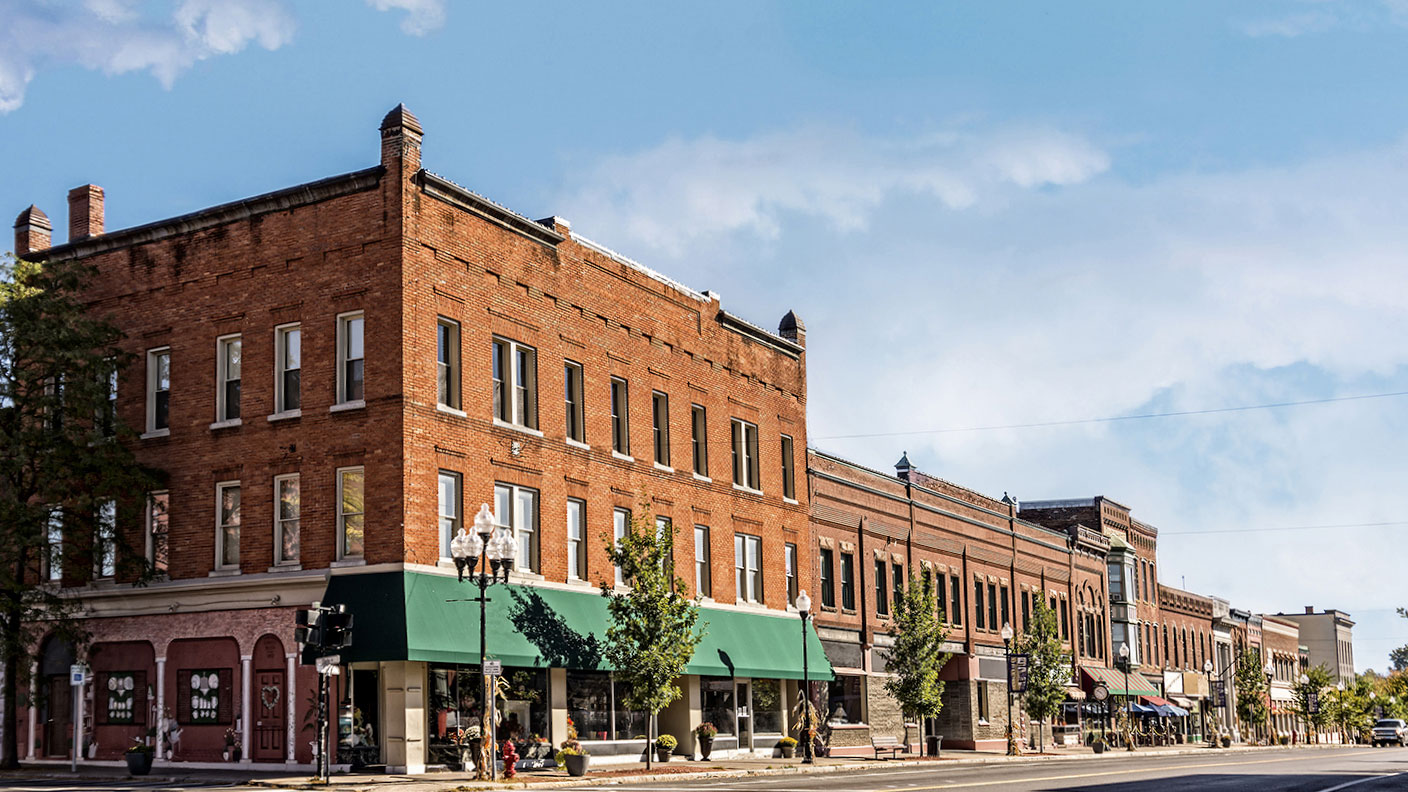
Learn how to make a photo appear like you took it a little to the left or right. When you need to composite two photos taken from different points of view, you can change the perspective in one.
If you need any help or have questions along the way, let us know inour forum .
Contributor
Andy Anderson