Retouch a photo with the Clone Stamp in Photoshop for iPad
Use the Clone Stamp tool to hide distractions or remove objects from a photo.
Published
Introduction
The Clone Stamp Tool in Photoshop for the iPad is very similar to the same tool in the desktop version of Photoshop.
But there are some differences in how it works.
In this tutorial, we'll remove the person from the scene using the Clone Stamp Tool and do it in a way that is nondestructive and that can be easily modified.
Setting up the clone stamp tool for nondestructive retouching
I'll begin by tapping the Add Layer button in the Taskbar on the right side of the screen to add a new empty layer above the image.
Next, I'll go to the Toolbar on the left side and I'll long press on the Spot Healing Tool to reveal the tool's flyout menu.
Then I'll select the Clone Stamp Tool.
In the Tool Options bar for the Clone Stamp, I'll tap the three dots at the bottom, and I'll open up the Sample menu, and I'll choose Current and below.
This will allow me to sample from the underlying image detail but place the new retouching on the layer that is above the main image.
I'll tap on the three dots to close that menu.
I'll use a two-finger gesture to zoom in for a closer view of the area I need to work on.
I'll tap the Brush Size control in the Clone Stamp options and I'll set the Size to about 100 Just below that, I'll check the Brush Hardness and make sure that it's set to 0, so my Clone Stamp Brush will have a soft edge.
The next option is for the Opacity.
And I'll leave that set to 100.
The Crosshair near the bottom of the Clone Stamp options
Choosing and managing clone source areas
is one of the ways that you can specify the clone source area.
These are the pixels that are copied by the Clone Stamp Tool and then used to paint over and hide another part of the photo.
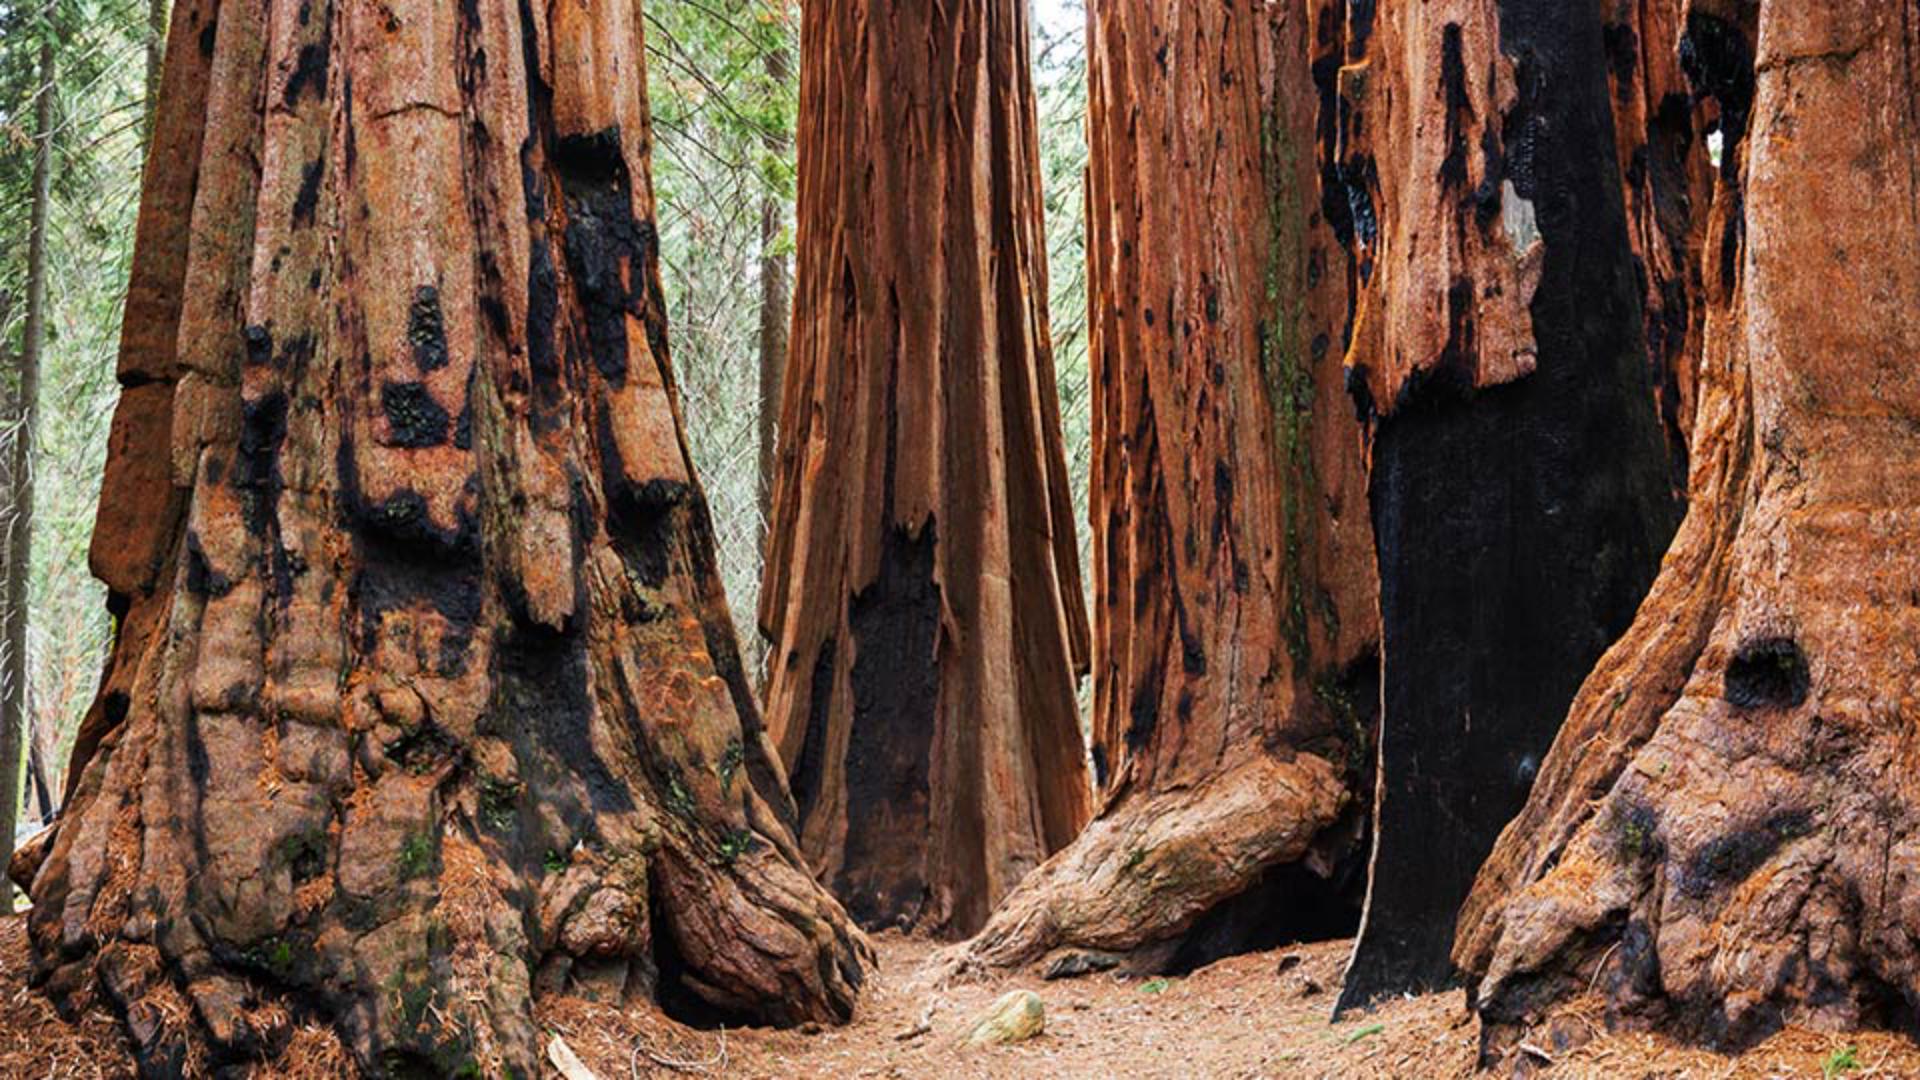
If I tap on this to activate it, it turns blue which means I can tap on an area in the image to set that as the clone source I'll tap on the side of the redwood tree a little ways above the man.
Now that the Clone Stamp source is set, I can begin brushing over the person to copy the sampled image information.
As I do this, you can see a crosshair that indicates where the pixels are being copied from.
If I want to set a different clone source point, I need to tap on the Crosshair in the Tool Options bar again to activate it and then choose a different area to copy the detail from.
And I'll continue to clone some of the sample tree detail over the person.
If you look at the layer thumbnail on the right, you can see that the retouching from the Clone Stamp is being placed on that separate layer.
You can also use the Touch Shortcut in Photoshop on the iPad
Using the touch shortcut to speed up cloning
to switch back and forth between setting a new source point and brushing in the copy detail.
Let's check that out.
Pressing and holding on the center of the Touch Shortcut will change the tool functionality to Set source mode.
And you can see a blue label in the upper right, that indicates this change.
And then you can tap on an area to choose that as a new clone source.
So, I'll come up here a bit higher on the tree and set that as the source.
And when I release the Touch Shortcut the tool returns to the normal Clone Stamp functionality.
And I can brush over the man and cover him up with the new tree detail that I sampled using the Touch Shortcut.
This method is much faster than using the Set Source Tool in the Tool Options bar.
And it's similar to using the Option or Alt key in Photoshop on the desktop to set the clone source.
So, I'll sample again in a few other areas.
And continue to cover the person up.
And I'll come down here and carefully retouch near the edge of this other tree root in the foreground.
I'll press on the Touch Shortcut again.
Just to sample from another area.
And I'll come in and cover that up.
There we go!
That's looking a little bit better now.
Reviewing and refining the retouching on a separate layer
I'll come over to the Taskbar on the right side of the screen and I'll tap on the Eye icon to turn the visibility for the retouching layer Off and then On again.
And I like to do this just to see how convincing the retouching is.
And to see if there are any areas where I need to go back and make changes.
But overall, that's looking pretty good.
Keeping your Clone Stamp retouching on a separate layer above the photo means it's not permanently applied to the image and you have the flexibility to go back and erase areas that are not perfect and make improvements until you get it looking just right.
What you learned: Retouch images non-destructively by using the Clone Stamp on a separate layer
Add an empty layer for retouching
Retouching on a separate layer allows you to modify your changes if necessary, protect your photo from direct changes, and quickly compare the retouched version to the original image.
Tap the Add Layer button (the plus symbol) in the taskbar on the right to add a new, empty layer above the main image.
Long press on the Spot Healing brush in the Toolbar to reveal the tool fly-out menu, and choose the Clone Stamp tool.
In the Tool Options bar, tap the three dots and set the Sample menu to Current and below. This allows you to sample detail from the underlying image and add it to the new layer above the photo.
Set other options for the Clone Stamp tool
Choose a Brush Size that is slightly larger than the area you need to retouch.
Choose a low Hardness setting to create a soft-edged brush that blends the retouched area with the rest of the image.
If you have to retouch close to a hard edge in the image, try a higher Hardness setting.
Set Opacity to 100% to completely cover up detail. Experiment with lowering the Opacity setting in other retouching situations.
Set the sample source
The crosshair at the bottom of the Tool Options bar for the Clone Stamp is the Sample Source tool. This is how you tell Photoshop where to copy image detail from when you use the Clone Stamp.
Tap the Sample Source tool to activate it. While it’s activated, the icon is blue.
With the tool active, tap on an area of the image you want to copy.
Now you can use the Clone Stamp to brush over the area you want to retouch.
A small crosshair appears as you are retouching to show you where the detail is being copied from.
To sample from another area, tap the Sample Source tool again, and then choose a different sample area on the image.
Use the Touch Shortcut to set the sample source
Another way to set the sample source is with the Touch Shortcut button on the screen.
With the Clone Stamp active, press and hold on the center of the Touch Shortcut to switch to Set Source mode.
A blue label appears at the top right of the screen to indicate that you’re now in Set Source mode
While this mode is active, tap on the image to set a new sample point.
Release the Touch Shortcut to return to normal Clone Stamp behavior.
You can control how Adobe websites use cookies and similar technologies by making choices below. But note that if you disable cookies and similar technologies entirely, Adobe websites may not function properly.
Cookies are small text files stored by your web browser when you use websites. There are also other technologies that can be used for similar purposes like HTML5 Local Storage and local shared objects, web beacons, and embedded scripts. These technologies help us do things like remembering you and your preferences when you return to our sites, measure how you use the website, conduct market research, and gather information about the ads you see and interact with.
You can make choices in the menu below about what cookies and other technologies you want us to use on Adobe sites when you visit them from this browser. You can always change those choices later by clicking on the Cookie Preferences link at the bottom of the page.
If enabled:
We can improve your experience by tailoring the site and the content to things we think might be of interest
We can better keep track of your preferences — like what language you prefer to use
We will better understand your likely interests so we can provide you more relevant Adobe ads and content on non-Adobe websites and in non-Adobe apps
It will help us improve the performance of our website and those of our partners who use the Adobe Experience Cloud
If disabled:
We won’t be able to remember you from session to session so the experience may not be tailored to your interests
You’ll still have access to the content of the site but certain features that depend on cookies may not function
You’ll still see ads, they just may not be as relevant to you
General information
You can control how Adobe websites use cookies and similar technologies by making choices below. But note that if you disable cookies and similar technologies entirely, Adobe websites may not function properly.
Cookies are small text files stored by your web browser when you use websites. There are also other technologies that can be used for similar purposes like HTML5 Local Storage, web beacons, and embedded scripts. These technologies help us do things like remembering you and your preferences when you return to our sites, measure how you use the website, conduct market research, and gather information about the ads you see and interact with.
You can make choices in the menu below about what cookies and other technologies you want us to use on Adobe sites when you visit them from this browser. You can always change those choices later by clicking on the Cookie Preferences link at the bottom of the page.
If enabled:
We can improve your experience by tailoring the site and the content to things we think might be of interest
We can better keep track of your preferences — like what language you prefer to use
We will better understand your likely interests so we can provide you more relevant Adobe ads and content on non-Adobe websites and in non-Adobe apps
It will help us improve the performance of our website and those of our partners who use the Adobe Experience Cloud
If disabled:
We won’t be able to remember you from session to session so the experience may not be tailored to your interests
We’ll still count your use of our site and services
You’ll still have access to the content of the site but certain features that depend on cookies may not function
You’ll still see ads, they just may not be as relevant to you
Operate the site and core servicesOperate site and measure engagement
Always active
These cookies are required, and they are used to enable the site and related services core functionality. Without them the site could not operate, so they cannot be disabled.
These cookies enable the site and related services’ core functionality and collect statistics about user engagement, such as counting active use to help us understand trends. These cookies cannot be disabled.
Measure performance
These cookies are used to analyze site usage to measure and improve performance. Without them Adobe cannot know what content is most valued and how often unique visitors return to the site, making it hard to improve information we offer to you.
These cookies are used to analyze site usage to measure and improve performance. Without them Adobe cannot know what content is most valued, making it hard to improve information we offer to you.
Extend functionality
These cookies are used to enhance the functionality of Adobe sites such as remembering your settings and preferences to deliver a personalized experience; for example, your username, your repeated visits, preferred language, your country, or any other saved preference.
Personalize advertising
These cookies are used to enable Adobe and our partners to serve ads more relevant to your interests. Without them you will still see ads, but they might not be as relevant to you.
Personalize advertising
These cookies are used to enable Adobe and our partners to serve ads more relevant to your interests. Without them you will still see ads, but they might not be as relevant to you.