Color correct your travel videos to provide consistency
What you'll learn
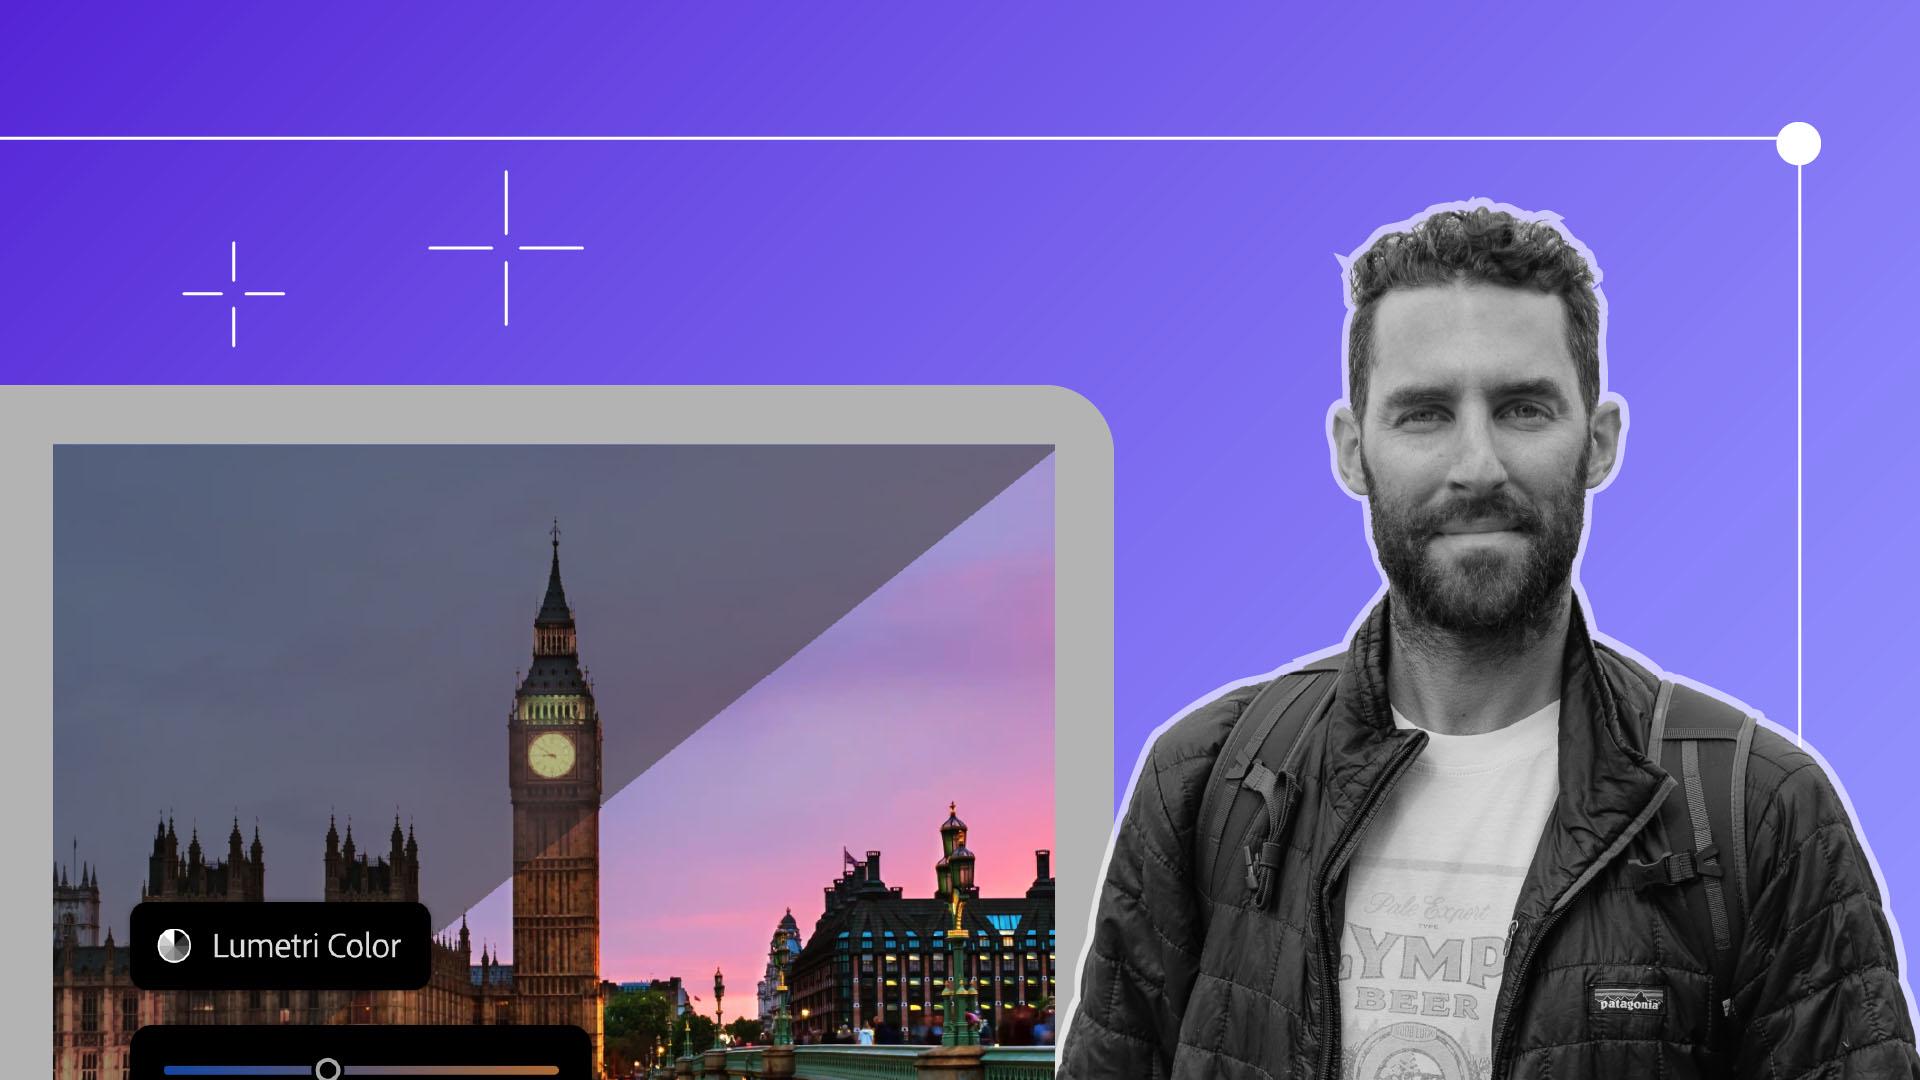
Fix color issues with correction
Switch to the Color workspace and open Lumetri Scopes. Enable Waveform, Parade, and Vectorscope views. Select a clip and adjust the Contrast, Blacks, Highlights, and Whites in the Lumetri Color panel to fix exposure. Use Temperature, Tint, and Saturation to balance the color. Use Comparison View in the Program Monitor to compare your original and corrected clip.
Apply creative color grading
Use an adjustment layer to apply consistent grading across your film. Create a new adjustment layer in the Project panel, name it, and drag it onto the timeline. In the Lumetri Color panel, adjust the RGB Curves, Color Wheels, and experiment with LUTs in the Creative tab to find your desired look.
Save your custom LUT
To reuse your color grade in future projects, select the adjustment layer, open the Lumetri Color panel menu, and choose Export .cube. Save the file, then import it later from the Creative tab by choosing Browse under the Look dropdown.
Instruction by