For this tutorial I'm using the Create_Animated_Effect_Presets.prproj file.
You can find that project file with the media associated with this tutorial.
Just double click on the project file to open it in Premiere Pro CC.
In Premiere Pro CC, I'm working in the Effects workspace and you can reset that workspace by clicking on the Panel menu in the workspaces panel and choosing Reset to Saved Layout.
I have a sequence with a background video clip and a square foreground graphic and they both play for about 20 seconds.
The graphic starts out rotated at -90.0 ° and it already has some animation applied which gives it the impression of falling into position.
It's a slow build up and then accelerates and falls.
Here in the Effect Controls panel you can see the Bezier keyframes we set up to create this effect.
If I look in my Graphics bin I actually have another series of graphics I'd like to incorporate into this sequence.
I'll just double click so you can see each of these is essentially the same design as the graphic we're currently using in the sequence, but they have different text at the top.
I want to apply the same animation to each of these graphics and to do that I can copy and paste, but I can also create an effect preset.
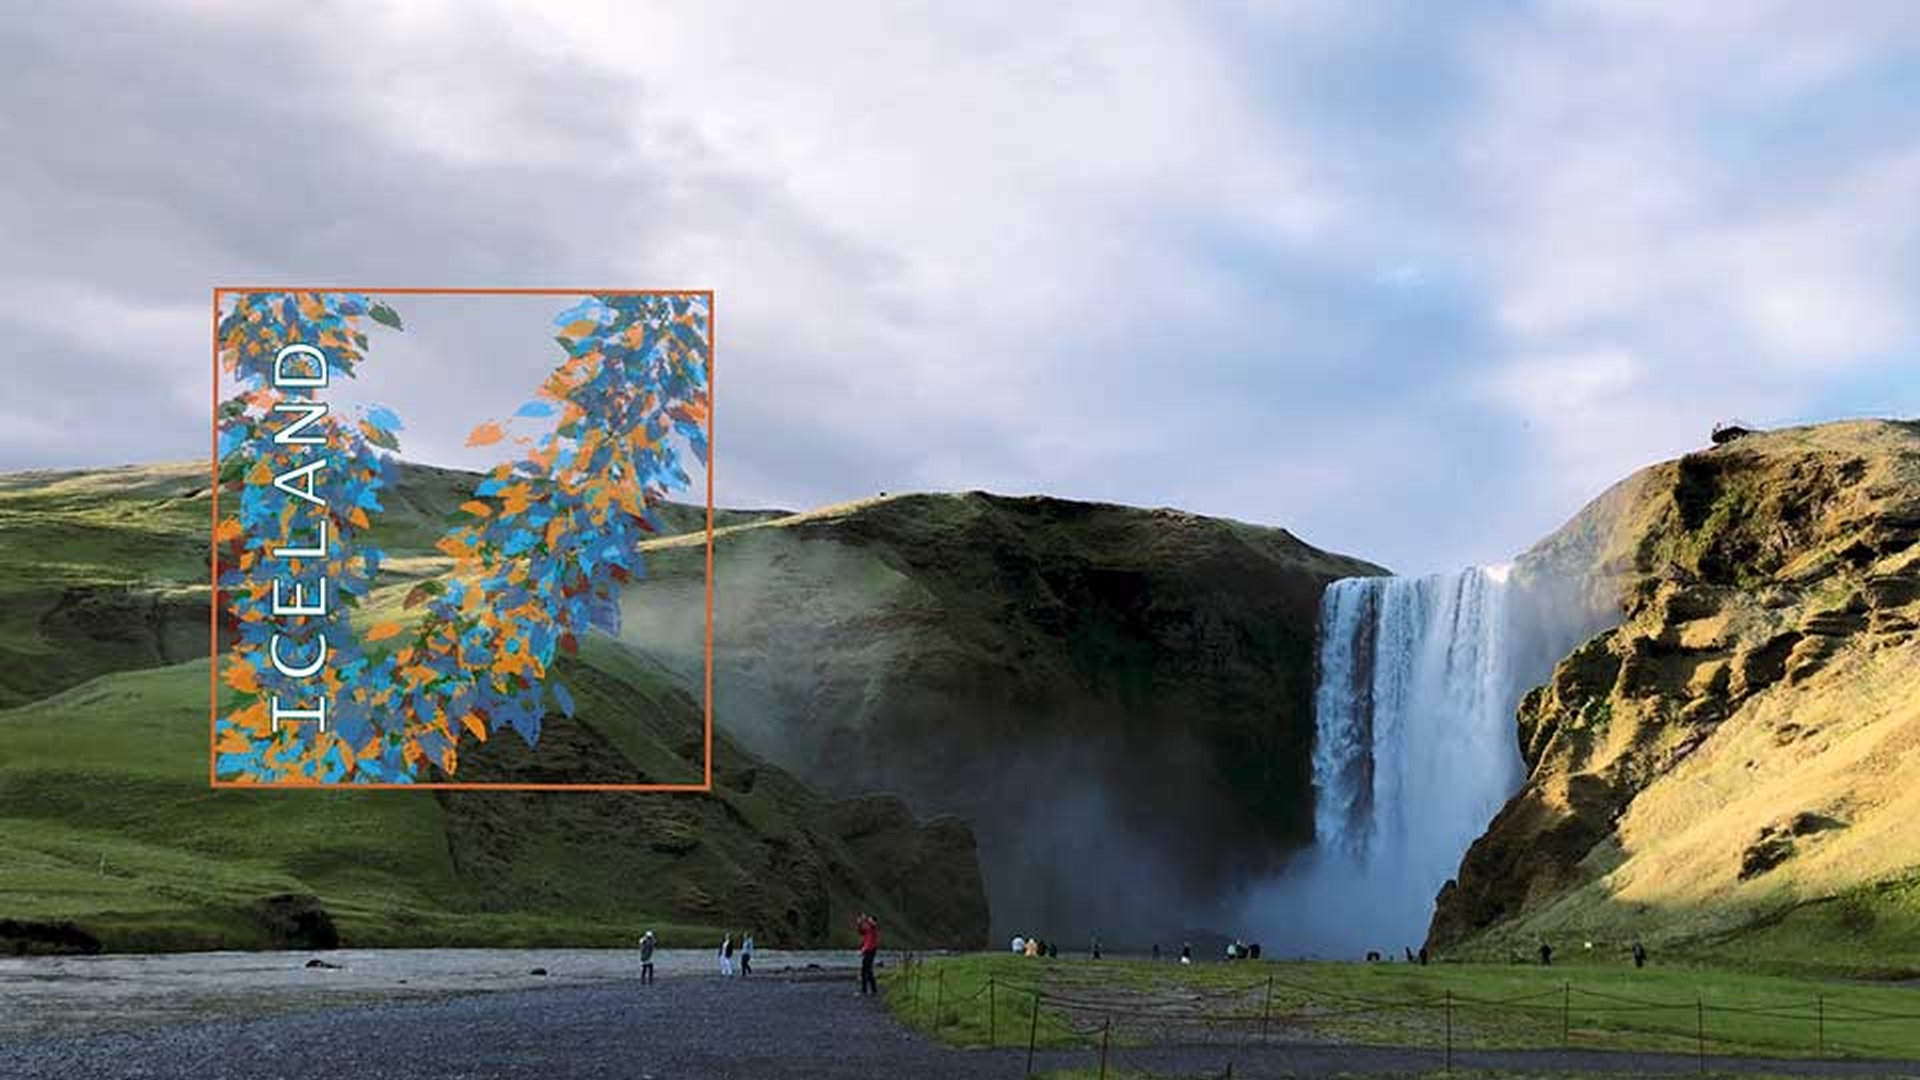
So, I'm going to go back to my Effect Controls panel and I'm going to select this Iceland Graphic.psd, so I can see the controls for that clip in the Effect Controls panel and now I'm going to right click on this Motion heading and I'm going to choose Save Preset… I get the option to Name the preset, so let's call this Fall onscreen and I have to decide what I want to happen to the timing for the keyframes.
If you choose the Scale option and you put this effect preset onto a shorter or a longer clip, then the timing of the keyframes will adjust to suit.
Let’s choose this first of all and I'll name this preset Fall onscreen Scale.
I'll click OK and I'll take one of these graphics and put it on screen.
By default, this has a 5-second duration because that's the default setting in the User Preferences, much shorter than this graphic.
I'm going to go to my Effects panel and expand the Presets and here's my Fall onscreen Scale preset, and I can see that I've got a little bit of a minor typo there.
I've got capital letters at the beginnings of these words and not in the middle, so I can right click and choose Preset Properties… and I can modify anything I want in these settings.
I'll just add a capital O and click OK.
Now, I'm going to drag this preset onto the new graphic.
And remember this has got the keyframes set to scale their timing.
So, now if I click to the beginning of the clip and play, it comes on screen faster and falls faster.
In fact, knowing the relative durations of these graphics I know that it's about four times faster.
Now I'm going to move the original graphic out of the way for a moment.
I want to keep hold of it because we're going to use that preset again in just a second.
I'm going to drag this new graphic over to the beginning of the sequence, so we can see it against that video backdrop and I'm going to select all of the remaining three graphics and I'm going to drag them into position on Video 2.
I just use the Control key there, that’ll be the Command key on Mac OS to make a multiple clip selection.
Now that I'm happy with timing of this effect preset and especially knowing that it's a scaled timing effect I'm going to make a marquee selection for these remaining three graphics.
And I'm going to drag the preset onto any one of them.
This is going to apply the preset to all three and now if I play you can see this graphic slides on, the next slides on and so on.
But let's say I prefer the timing with these shorter clips to the timing on that longer clip.
This is taking four times as long to slide on screen and fall.
Well, I can just select one of these clips, right click Save Preset… and I'll call this Fall Onscreen Fixed Time and now I'm going to choose one of these other options.
If I choose Anchor to In Point, then the precise timing of the keyframes will be set starting with the beginning of the clip.
If I choose Anchor to Out Point, well, the same principle applies.
But now the timing of the keyframes will be set in relation to the end of the clip.
And I suppose you would use the Anchor to In Point option for transition effects where an item comes into the screen and Anchor to Out Point for transitioned effects when an item is going out of the screen and I can put in a description.
Well, I can't be sure it's the most wonderful transition, but it'll do for our purposes.
I'm going to choose the Anchor to In Point option and click OK.
Now we've got both options on our Presets list.
If I hover the mouse cursor over this second option, you can see the description pops up as well.
But, I've got a bit of a dilemma.
What am I going to do with this original timing on this Iceland Graphic clip?
You can't remove the Motion effect, it's a fixed effect, sometimes called an intrinsic effect, but it turns out it doesn't matter.
You can only have one Motion effect applied to any clip on the Timeline in Premiere Pro CC.
And so, I can either drag the clip into the sequence again and start fresh or I can just turn off all of the keyframe options here in the Effect Controls panel, reset the Motion effect, so everything is back to default and then drag this new preset down onto the clip.
Because this preset has the keyframes anchored to the beginning of the clip, the timing now matches the other four graphics that I've added to the sequence.
It's important to consider the image size when applying Motion effect presets, but most of the time you'll find the presets will work without any adjustments at all.
Having said that, of course, regardless of which preset you're using, all of the settings are editable.
You'll notice that the Motion effect heading in the Effect Controls panel now shows the name of the preset.
That really is just for information purposes, so you know how you began with the effects applied to this clip.