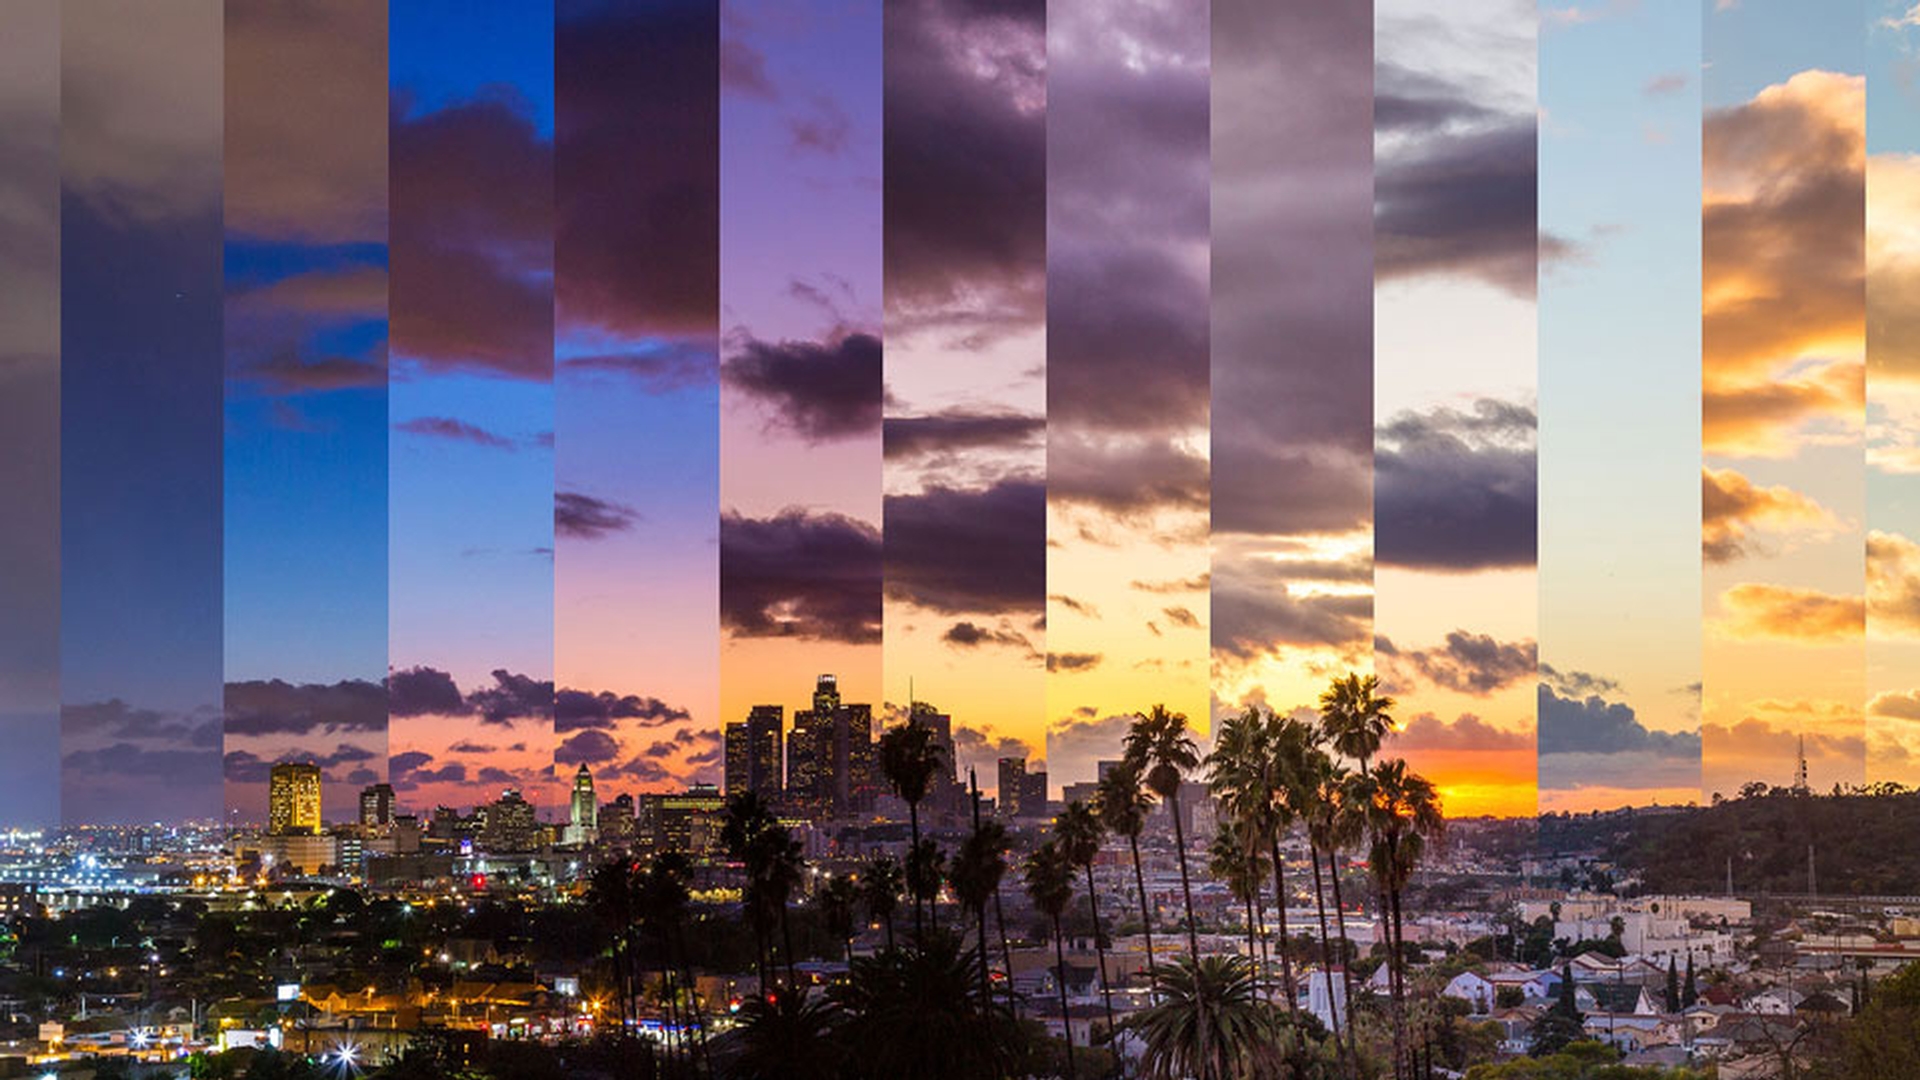
In this tutorial, we'll show you how to take your time lapse stills, and transform them into beautiful videos, like this, using Adobe Photoshop CC and Adobe Premiere Pro CC.
Let's get started.
First up, we need to ensure our file names don't have any spaces.
You can use hyphens or underscores instead.
They also need to be sequentially numbered, without any breaks, so 1-2-3-4.
You can see here in my files, I've deleted a few.
So, we're going to need to fix that sequence.
We'll also have to ensure that the files have the same number of digits.
This finished example here will work.
You can see it's number 1, but it has a total of five digits.
And the same with 2 and 3.
Whereas my original here goes from one digit, all the way through to eventually four at the end.
So, we'll have to go and change that.
Now, I've already catalogued my images here in Lightroom CC, so I'm going to use this to do my file changes.
So, I've selected all of my images, and let's choose Export...
First up, let's choose the option of Custom Name - Sequence.
This will allow me to give my files a more descriptive name, I'm going to use, say, "clouds".
And if we go back into this drop-down menu, if we choose Edit... here, we'll be able to choose this last sequence option.
This means that every image uses those five consecutive digits that we talked about earlier.
Let's click Done.
And we'll use the JPEG format here rather than RAW files.
RAW files are just likely to be much too big for a typical video sequence.
When it comes down here to Image Sizing, it'll depend on your final output.
I'm working towards 1080p HD for Youtube.
If we were working on say, a feature film, we'd want to adjust this to a 4K size.
Let's hit Export.
So here in Photoshop CC, we'll join our images for our time lapse video.
It's really easy.
So, let's go up to here, to File and Open...
So, here's the folder that has all my sequentially numbered JPEGs.
You just need to select the first image here, and before you click Open, let's click on this Options button.
And let's choose Image Sequence.
Now let's click Open.
Here we can choose our Frame Rate.
I'll use 29.97, as it matches what I plan to do in Premiere Pro CC later on.
Let's click OK.
So, here's my first image.
And you'll notice an interesting structure, here in my Layers panel.
The best way to view a video here in Photoshop CC is to click this icon up here, and switch the workspace to Motion.
My advantage is, the timeline down here.
Let's click the Play button.
Pretty cool.
So, Photoshop CC has stitched all of our images together.
Let's hit Stop.
If you'll hit play again, you'll notice that Photoshop CC here finds it a little hard to process all of these images at full quality.
You can see the frame rate down here, dropping and turning red.
You can help this by changing the playback resolution, easily done here, we'll just click this Gear icon here.
And change the resolution here to say, 25%.
Now this will help smooth the playback.
But don't worry, it doesn't affect the final quality of our video.
Now, one of the first adjustments you might make in Photoshop CC, is to adjust the speed at which the images are played through.
We're going to right-click the colored timeline here, and we'll change it to 200%.
Now this changes how fast it moves through the images, but it doesn't affect our frame rate.
Play it back through a few times, adjusting the speed...
It's up to you what you end up choosing, what kind of creative effect you're looking for.
Now one of the perks for using this work flow, is that you can use a lot of your Photoshop CC techniques on the video before it gets exported.
I'll add a couple of my favorites.
In the Adjustments panel here, I'm going to choose Vibrance and just increase that a little.
You can see the Adjustments layer down here.
And I'll also add this one here, Curves adjustment.
I'll just use the Auto setting.
Maybe a slight adjustment.
One of the last things you might do, is adjusting the length of your video before we export it.
We just need to drag end of this work area here, and we can trim our video to this length when we go and export.
So, let's go and do that export.
Go up to here under File, let's go to Export, and choose this one here that says Render Video...
So, I've selected a folder to put my video.
I've put mine on my desktop.
We'll use the Adobe Media Encoder here, and the H.264 codec.
This will give me what I need for my project: A high quality MP4 video, but it'll be small enough that I can easily upload it still to YouTube.
You can see down here, it's going to export that adjustment I did to my Work Area.
I could override it if I want to by choosing All Frames.
Let's click Render.
Here in Premiere Pro CC, I've imported the video we made in Photoshop CC.
We'll right-click it, and choose New Sequence From Clip.
Now, let's build on top of what we did in Photoshop CC, by adding a simple pan and zoom.
And I move to the end of my video, add a couple of key frames.
Move back to the beginning and try and focus on this distinctive building here.
There we go.
Awesome.
Now, you'll notice that the playback here in Premiere Pro CC is a little better.
It's mainly because all of those images now have been stitched together and rendered.
And Premiere Pro CC is a purpose-build video editing software.
And obviously handles video playback really well.
So, that is an overview of how to create time lapse video, utilizing Adobe Lightroom CC, Adobe Photoshop CC and Adobe Premiere Pro CC.