Exporting a final "locked" film can be both exciting and extremely nerve-wracking.
There're plenty of settings in the Export window that need to be right to export the film at the highest quality resolution so the entire world can see it.
Before you export, make sure that you set an In Point and an Out Point on your Timeline to contain the parameters of your film so that Premiere Pro doesn't see anything outside of your Timeline that isn't the film you want.
To set that, you're just going to press I on your keyboard at the very start of the Playhead, and then O at the end of your Playhead to make sure that your export is exactly as you want it.
With the Timeline selected, go to File, Export, Media..., or Command or Control M.
Here is where you will adjust the appropriate settings for the film.
Toggle down the Format and select the H.264 file format.
This is going to give you the best playback results for your film being shared to any platform online.
Name your export and select the Location of where you want that film to live.
I tend to keep all my files in the same folder we've been pulling from inside of its own dedicated Exports or Drafts folder, so I can easily find it when I'm uploading it to various places.
The easiest way to make sure your export settings match your sequence settings is to simply click the button Match Source.
I typically leave the Audio Settings as is, so don't worry about messing with these.
And if you had dialog and some narration in this film, here is where you would toggle that Captions track on and off.
From here, simply press Export, anxiously wait, and give yourself a pat on the back for completing your very first film from start to finish inside of Premiere Pro.
But one last thing we may want to do is to have Premiere Pro help us publish this film to all of our various social platforms.
Well, we can do that right inside of this window.
Click Next to find out how.
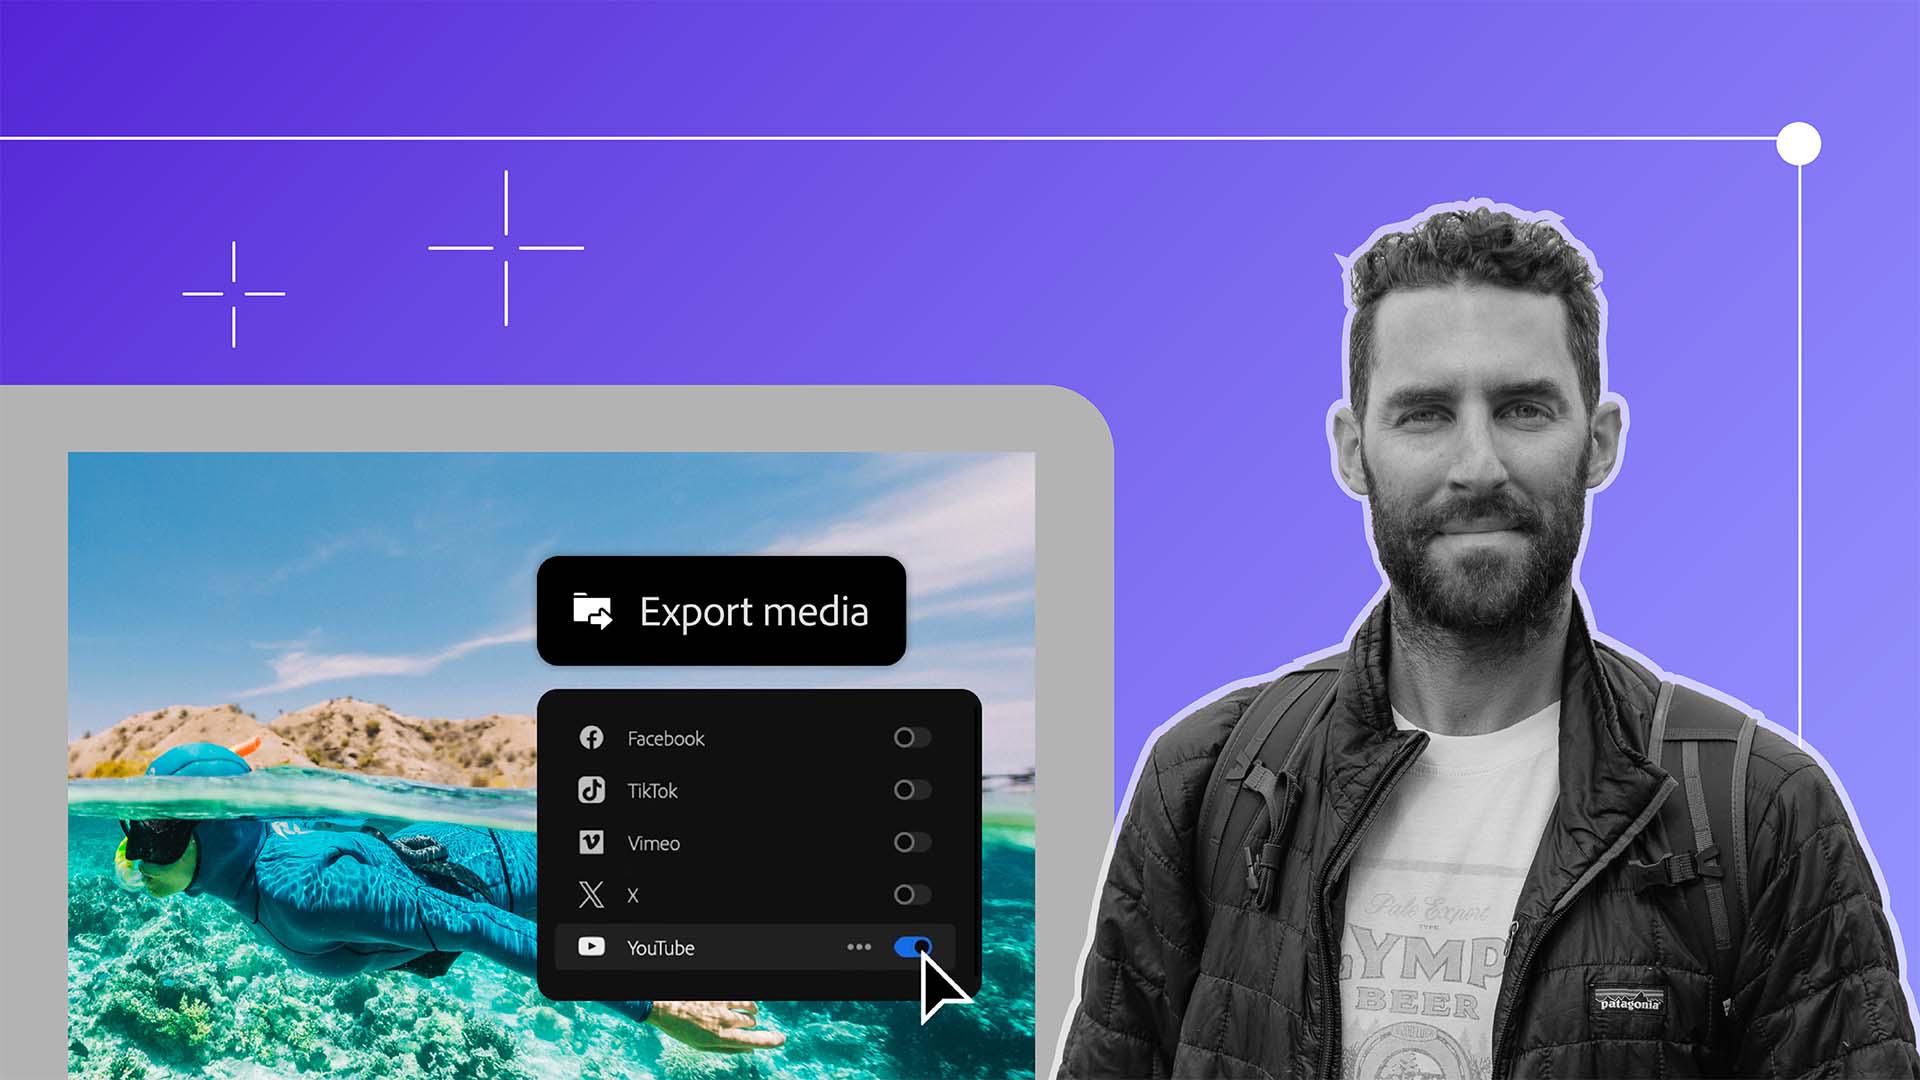
Along the left side of the Export panel, you will see a Destinations button with various social platforms to choose from.
This process of getting your film out to the world has never been easier.
Let's say I want to upload my film to YouTube, Facebook and TikTok.
Well, rather than saving it and manually publishing these to the different platforms, I can simply toggle this button on and make sure that I'm logged into each of the platforms.
Then, if I'm posting to YouTube, I can actually add my Titles, my Descriptions, Tags, and I can even upload a Custom Thumbnail so that when I leave Premiere Pro, my film has been uploaded to every single one of these platforms that I want to share it on.
Once you've chosen all those platforms and you click Export, that video will automatically upload to each one of those platforms for you without the need to do all of that work manually.
At this point, you should be feeling extremely proud of yourself.
This is a long process and one that continues to get refined the more and more that you do it.
I want to thank you all for joining me on this eight-part series on creating a cinematic travel film from anywhere in the world.
To quickly recap, we went from the pre-production and pre-planning phase to shooting our film to the foundational stages of taking that footage, organizing it, creating our selects, building a story, adding music, sound design, graphics and color correction all the way to exporting our final film for the rest of the world to see.
I cannot wait to see what masterpieces you create.