Import and organize your travel footage
What you'll learn
Create a new project in Import mode
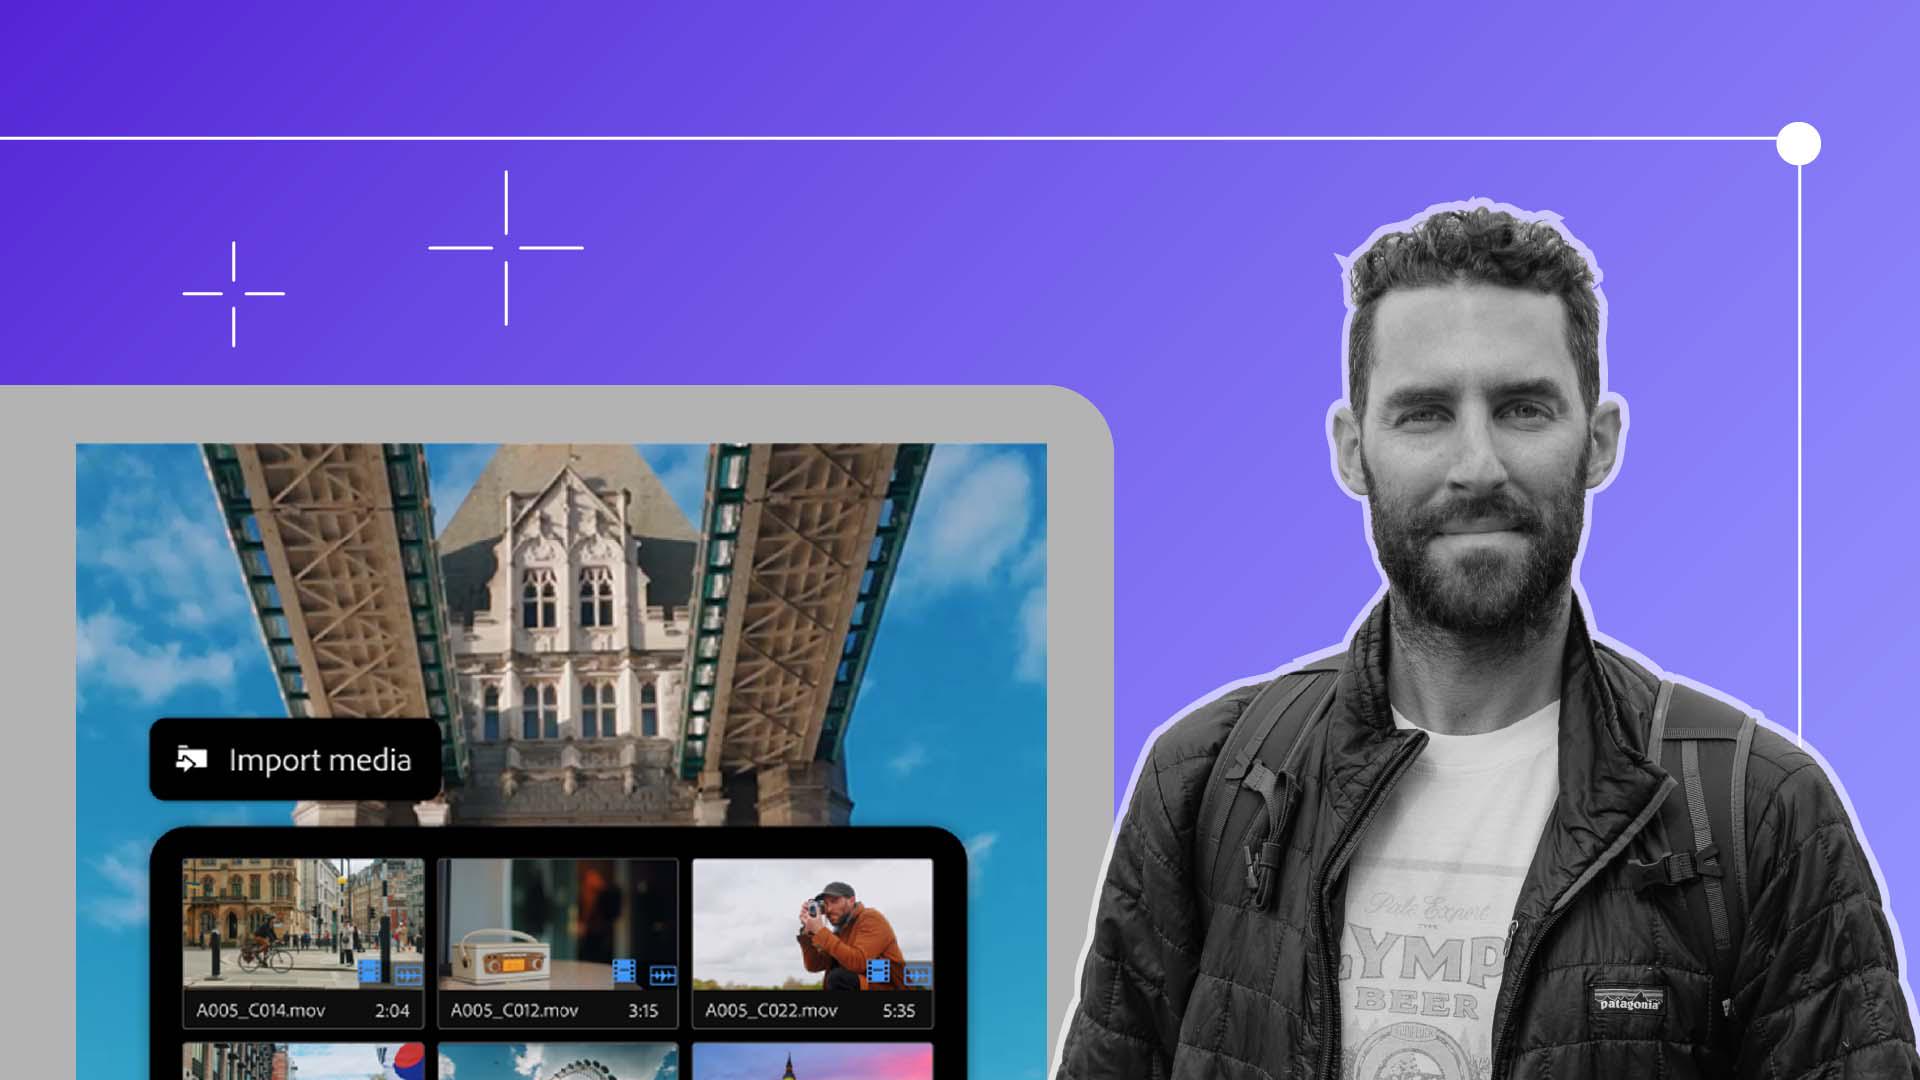
To set up your editing workspace, create a new project using Import mode. Keep in mind that switching to Import mode will close the Learn panel, but you can reopen it by switching back to Edit mode. To make things easier, a pre-made project has already been created for you and is open in the Project panel.
Organize footage with bins Import your footage and audio
Bins act like folders that help keep your media organized. In the Project panel, click the New Bin icon and name it "01_Sequences." Then, continue creating bins for your footage, audio, graphics, stills, and extras, until your bin structure matches the recommended setup.
Import your footage and audio
Select the "02_Footage" bin, go to File > Import, and choose the video files that start with CAMERA or IPHONE. To add audio, open the "03_Audio" bin and import the clips labeled AUDIO. You can also import your own footage during this step.
Instruction by


