How to create a camera push effect.

Note: This file is made for desktop use. Share link to access later.
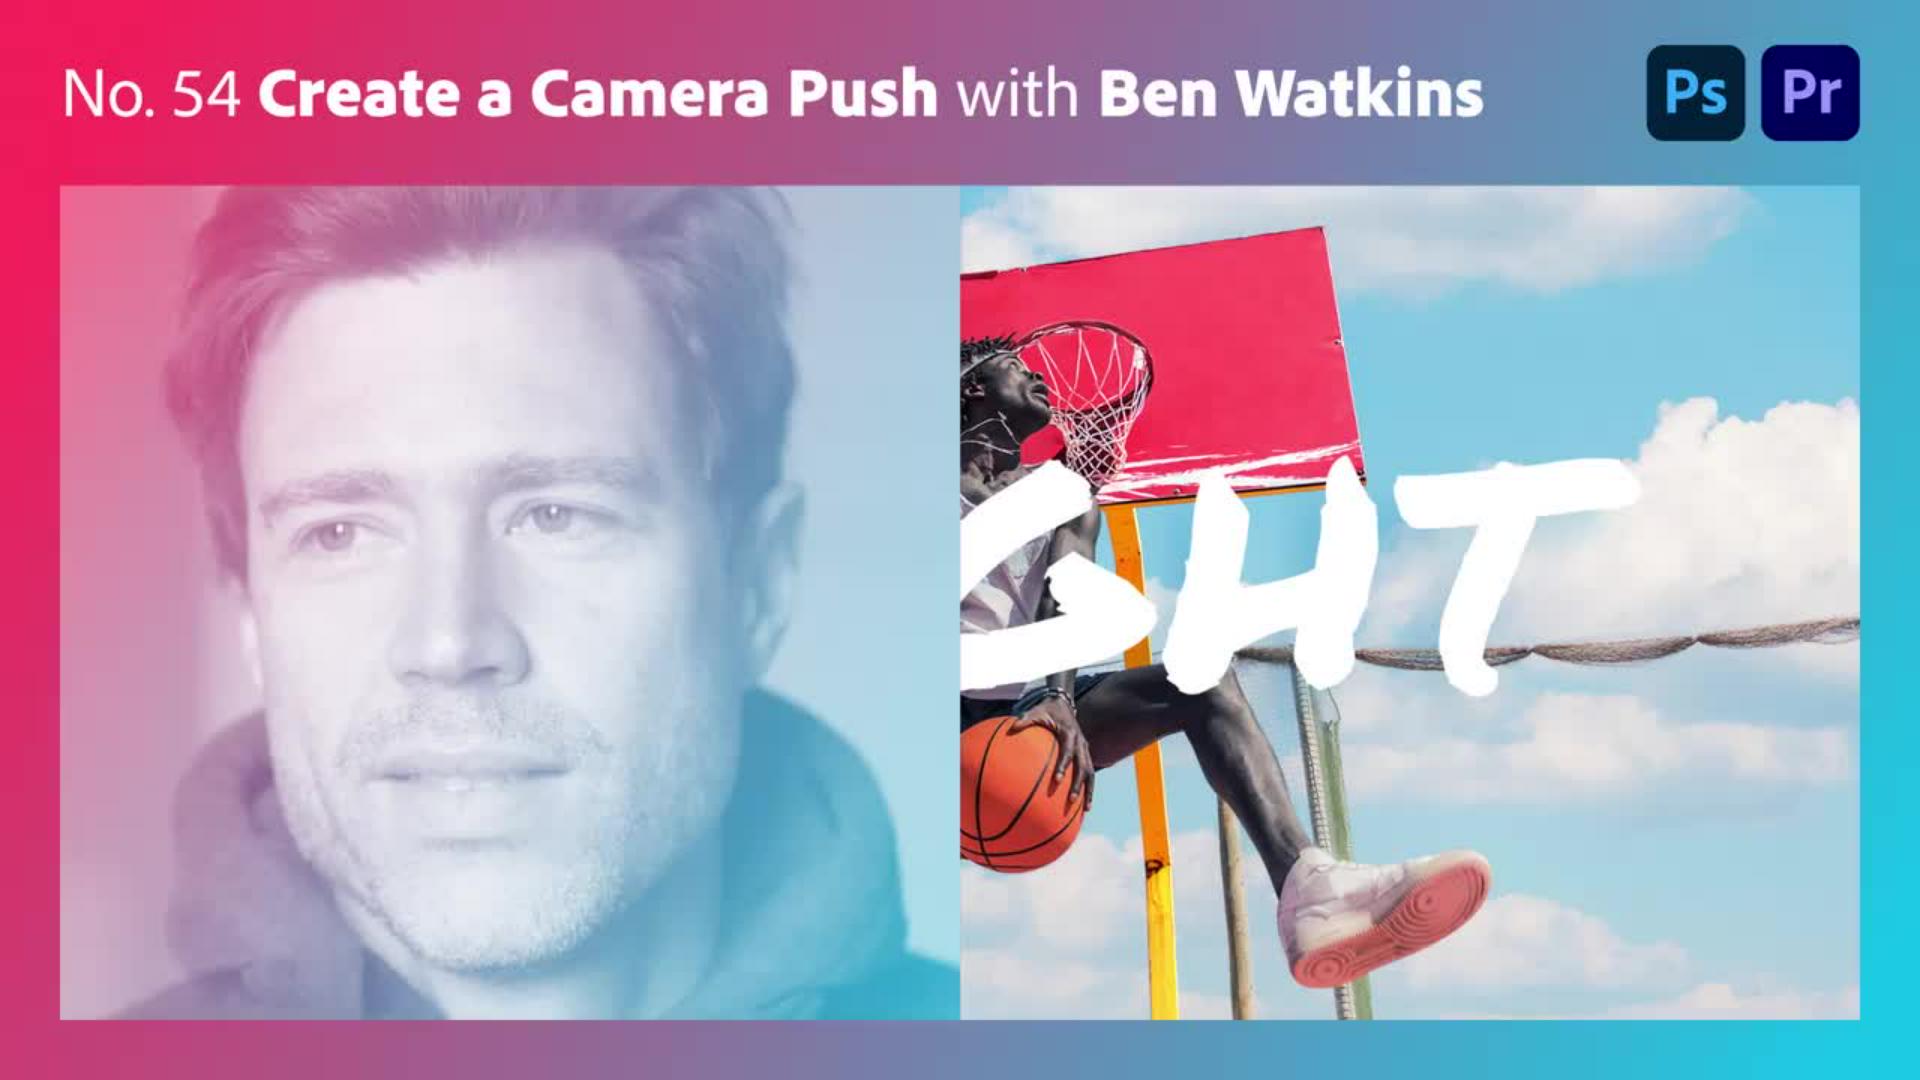
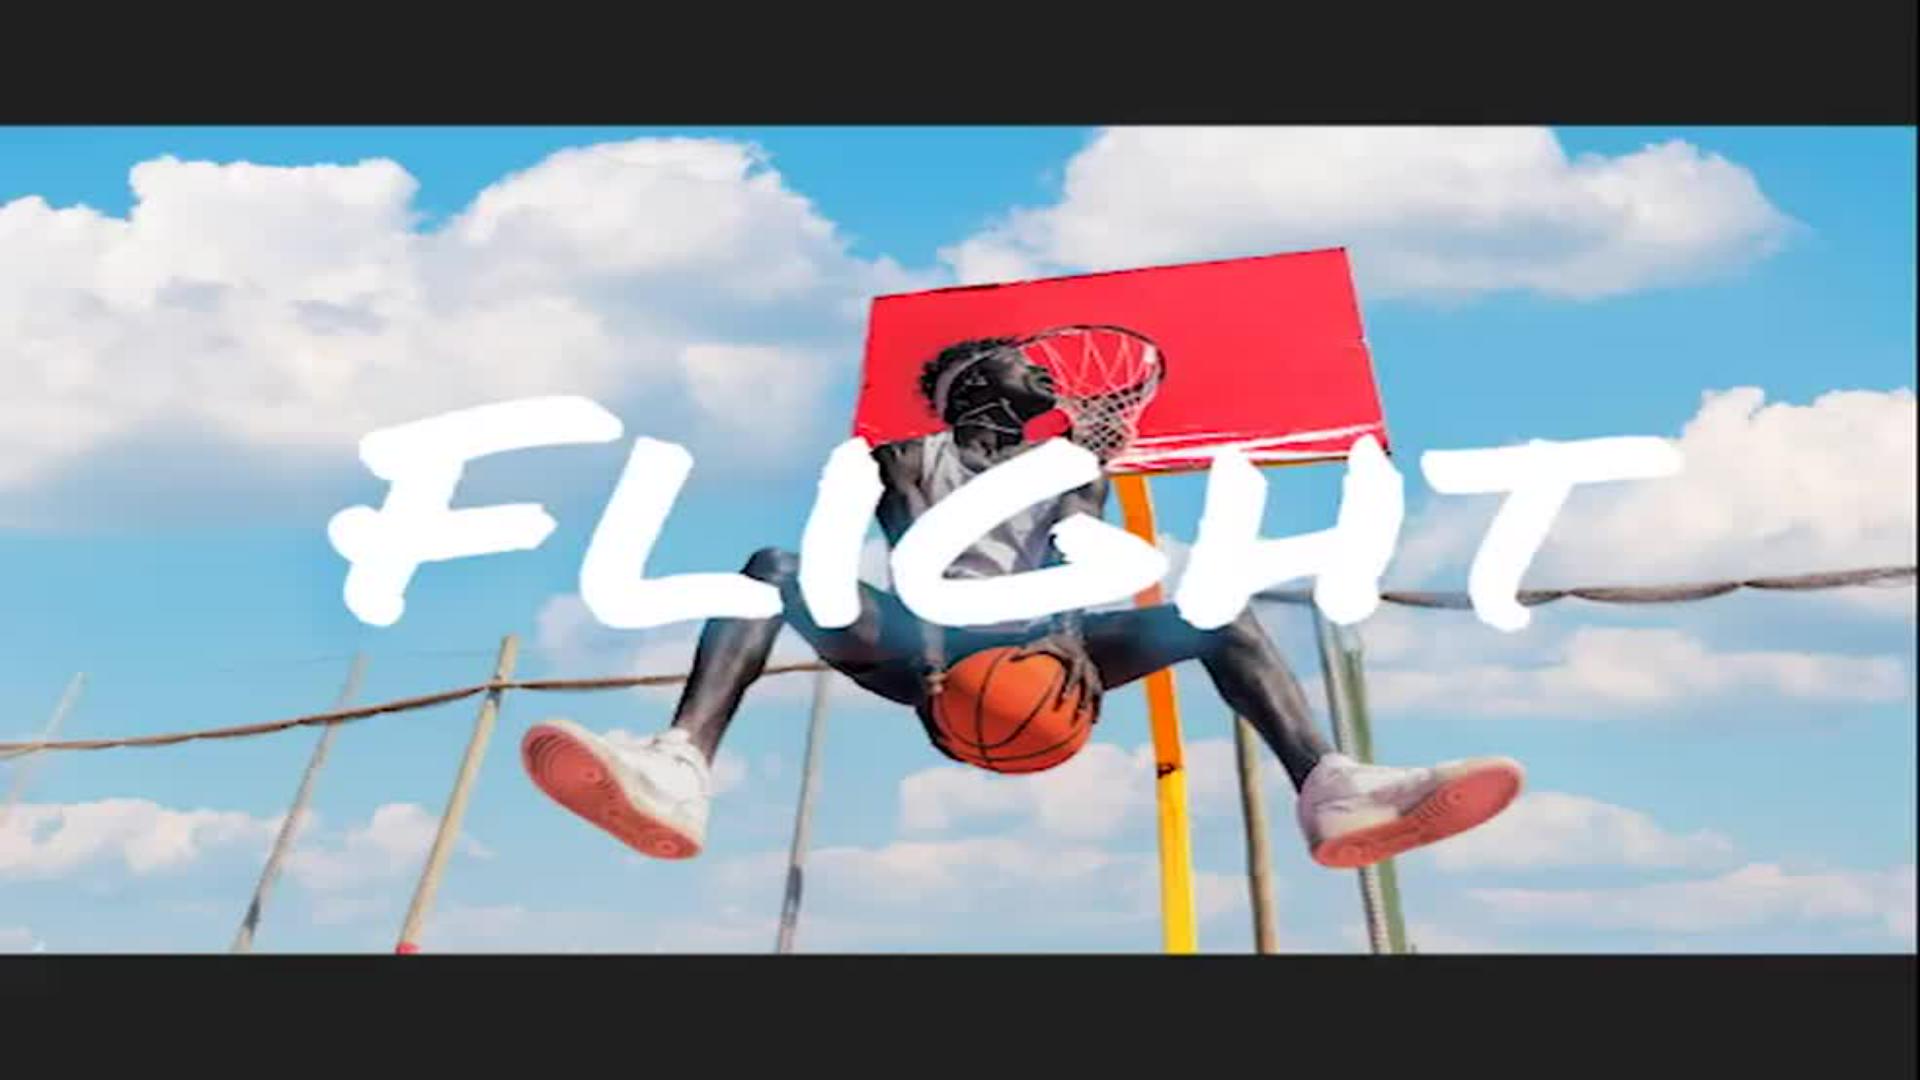
This tip from Ben Watkins shows you how to isolate objects on separate layers in Adobe Photoshop and set them in motion in Adobe Premiere to give the appearance of zooming in on a scene.
Isolate image elements.
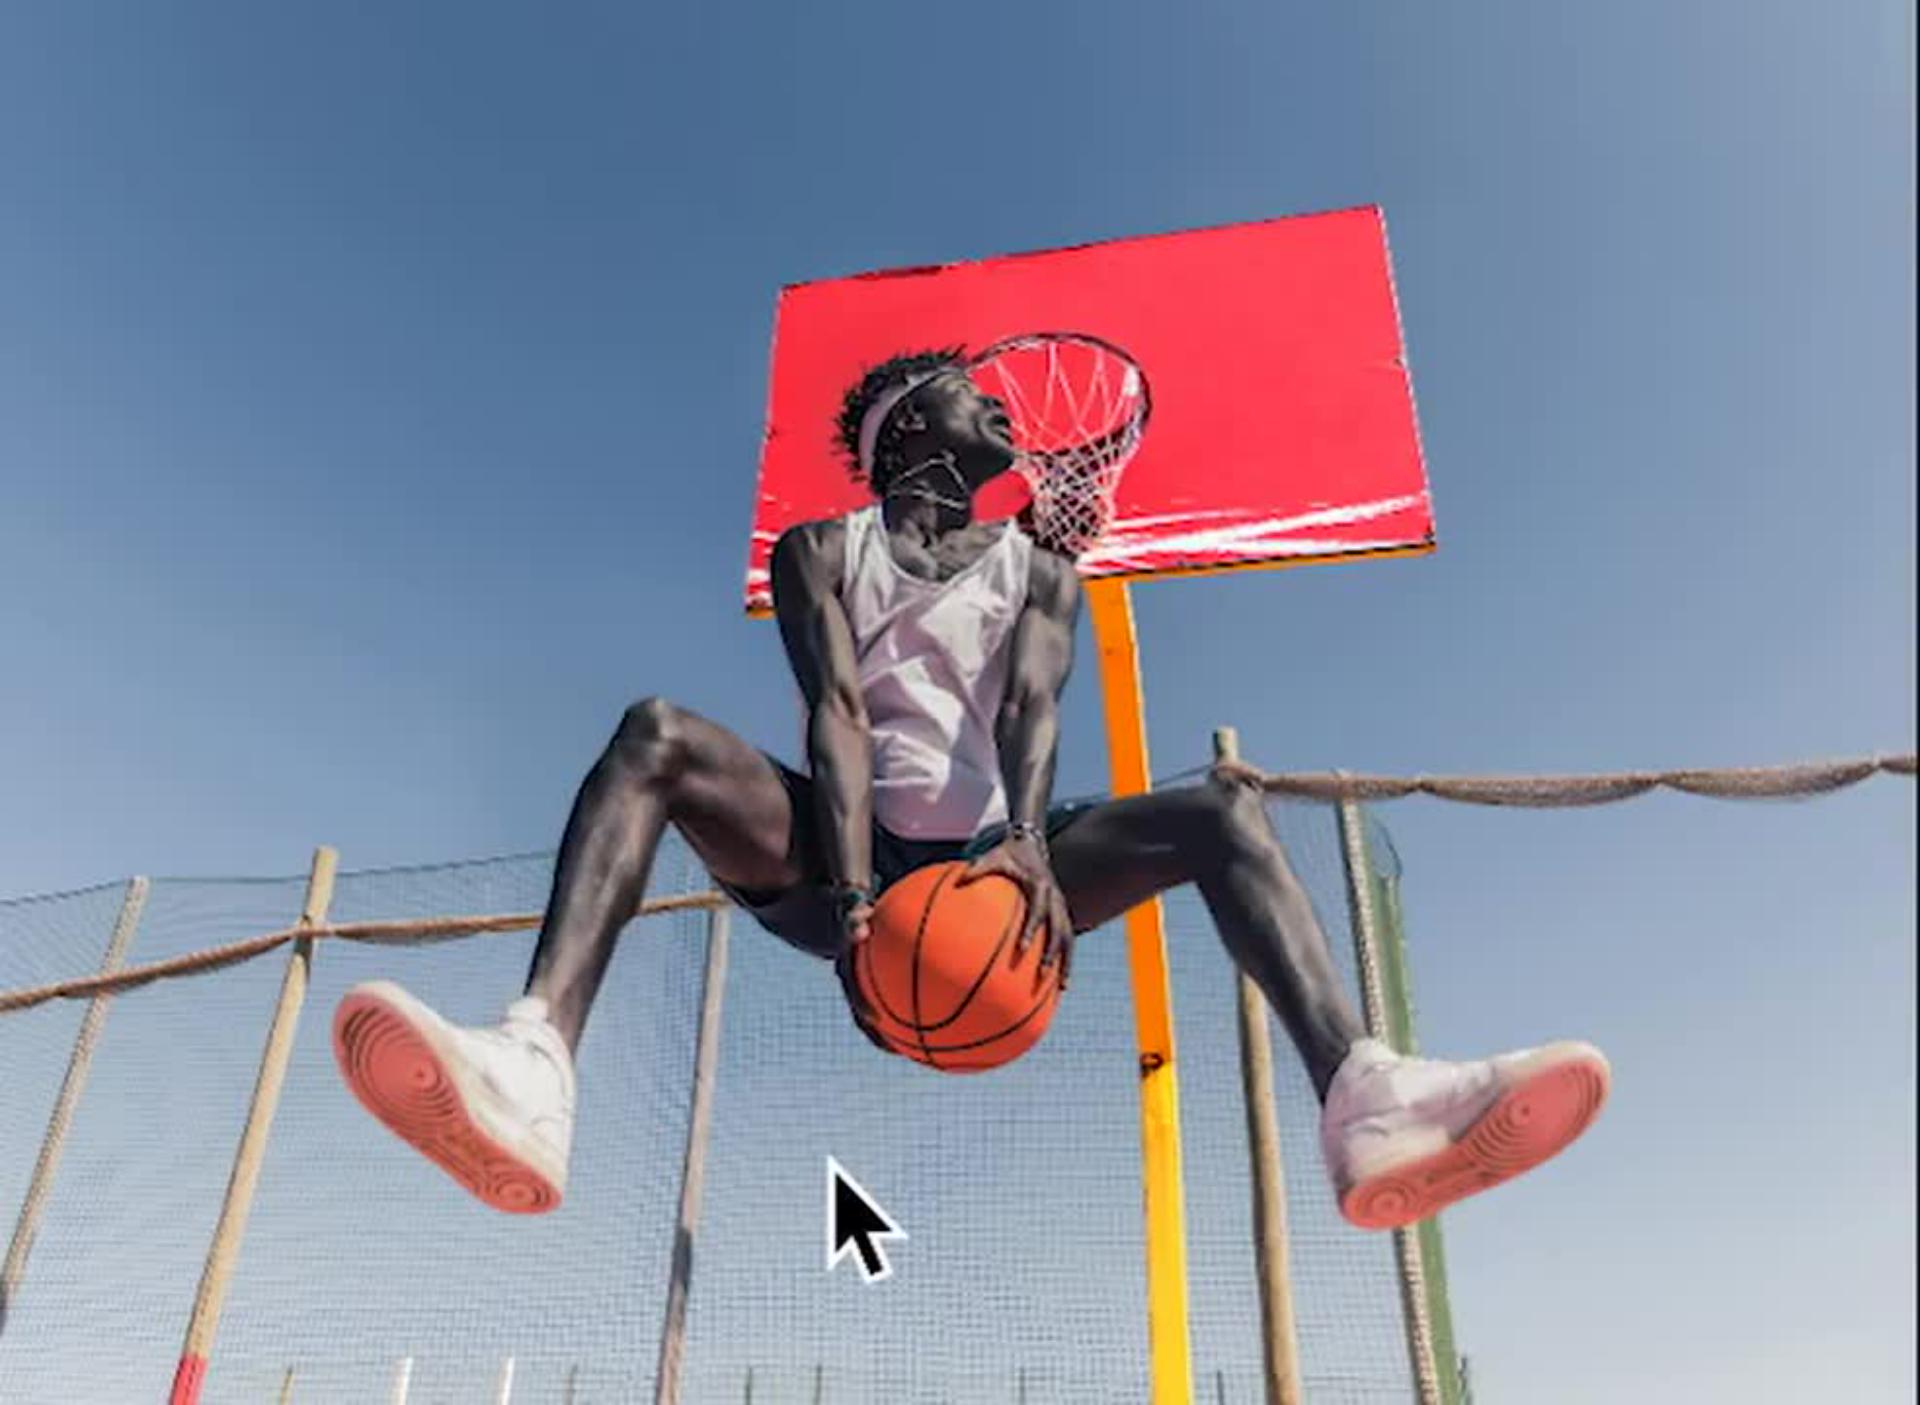
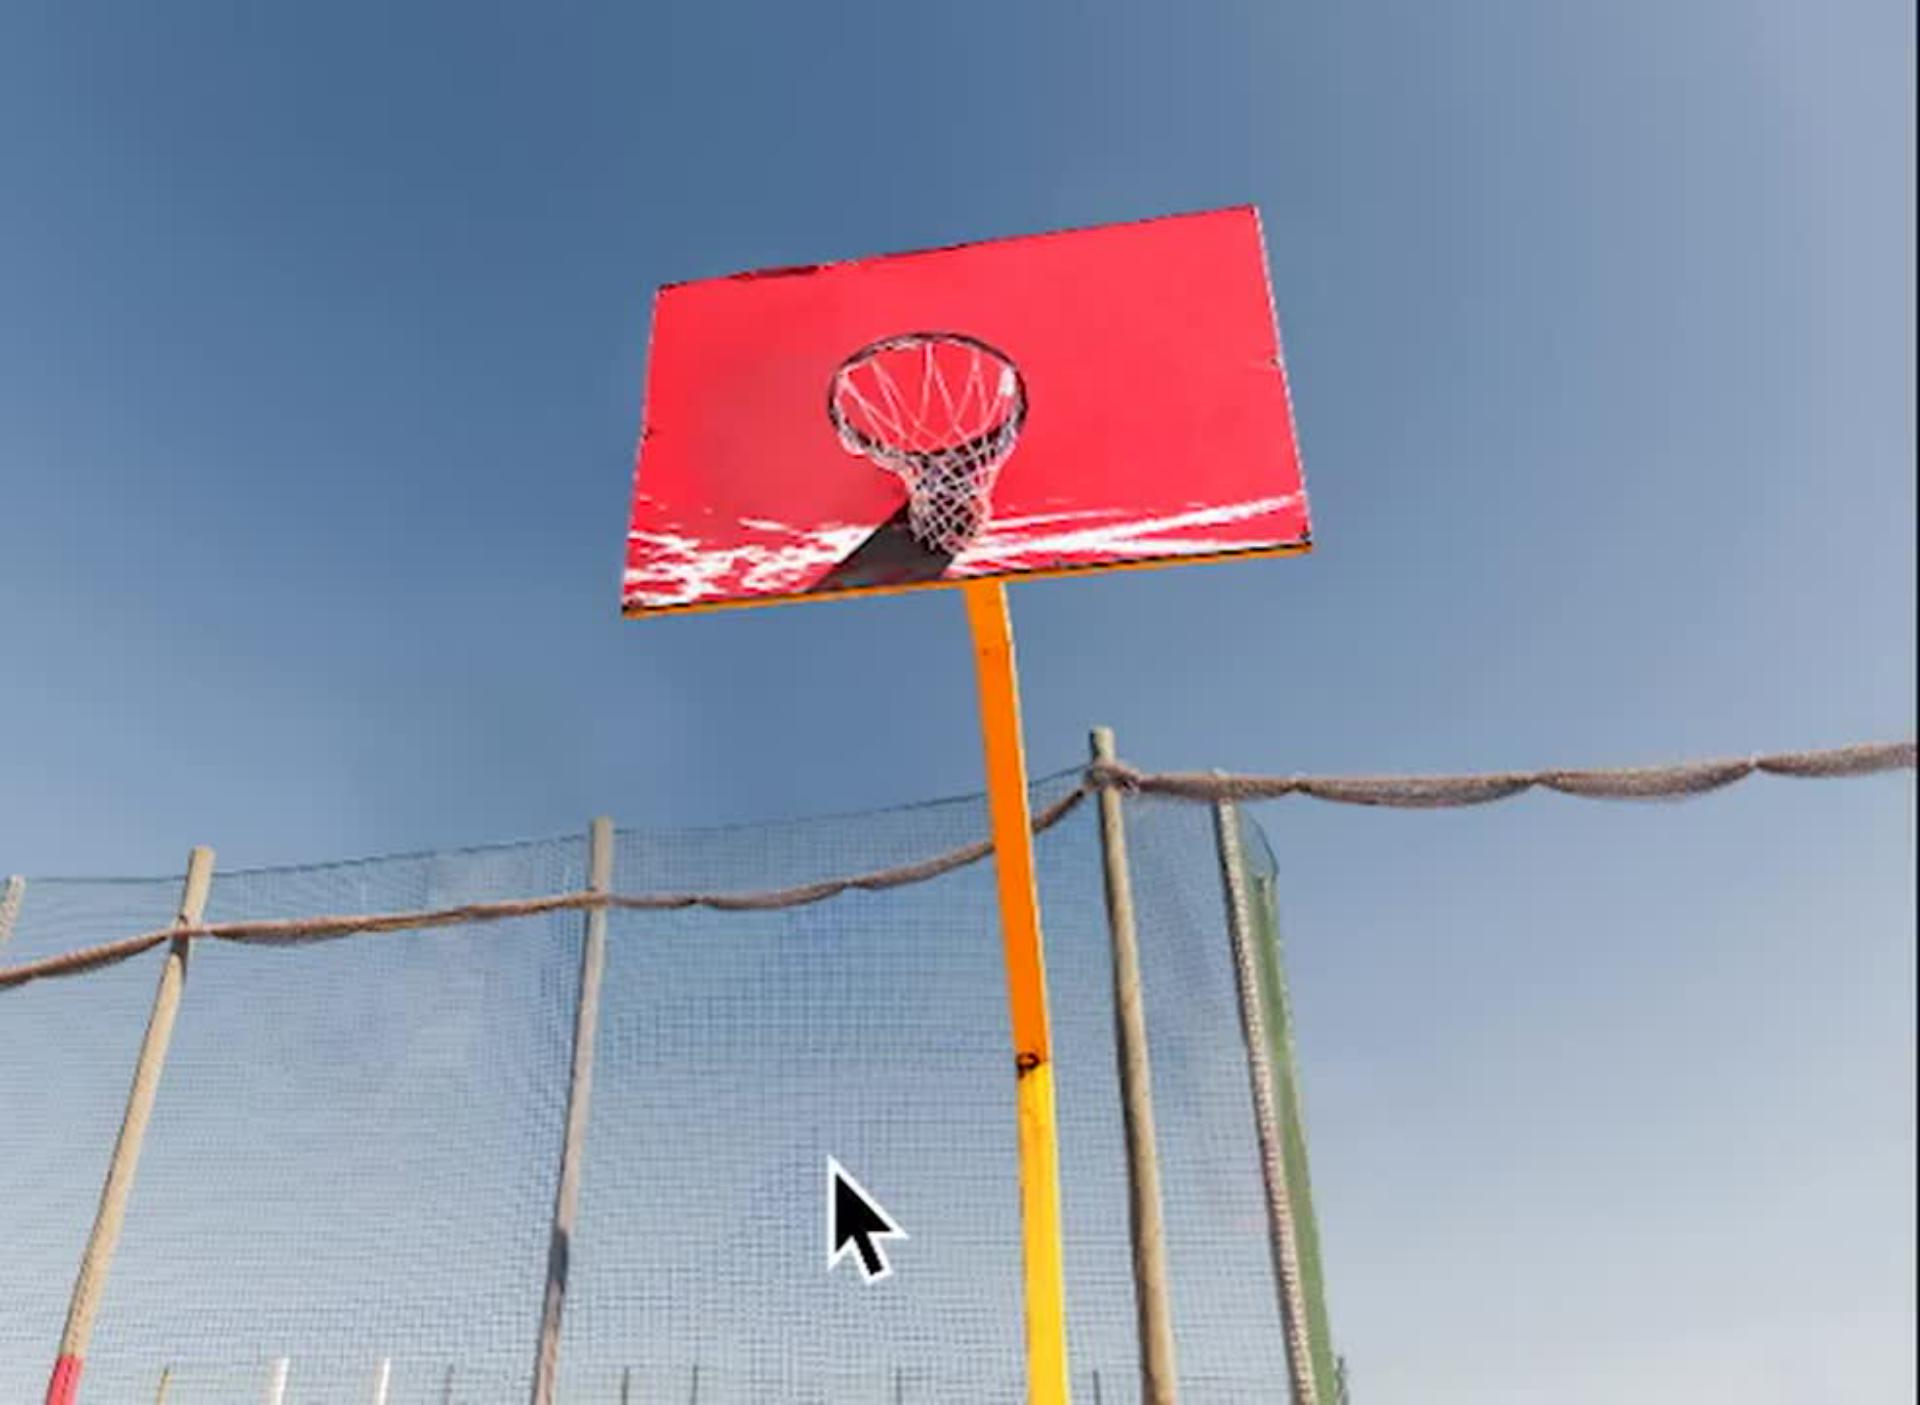
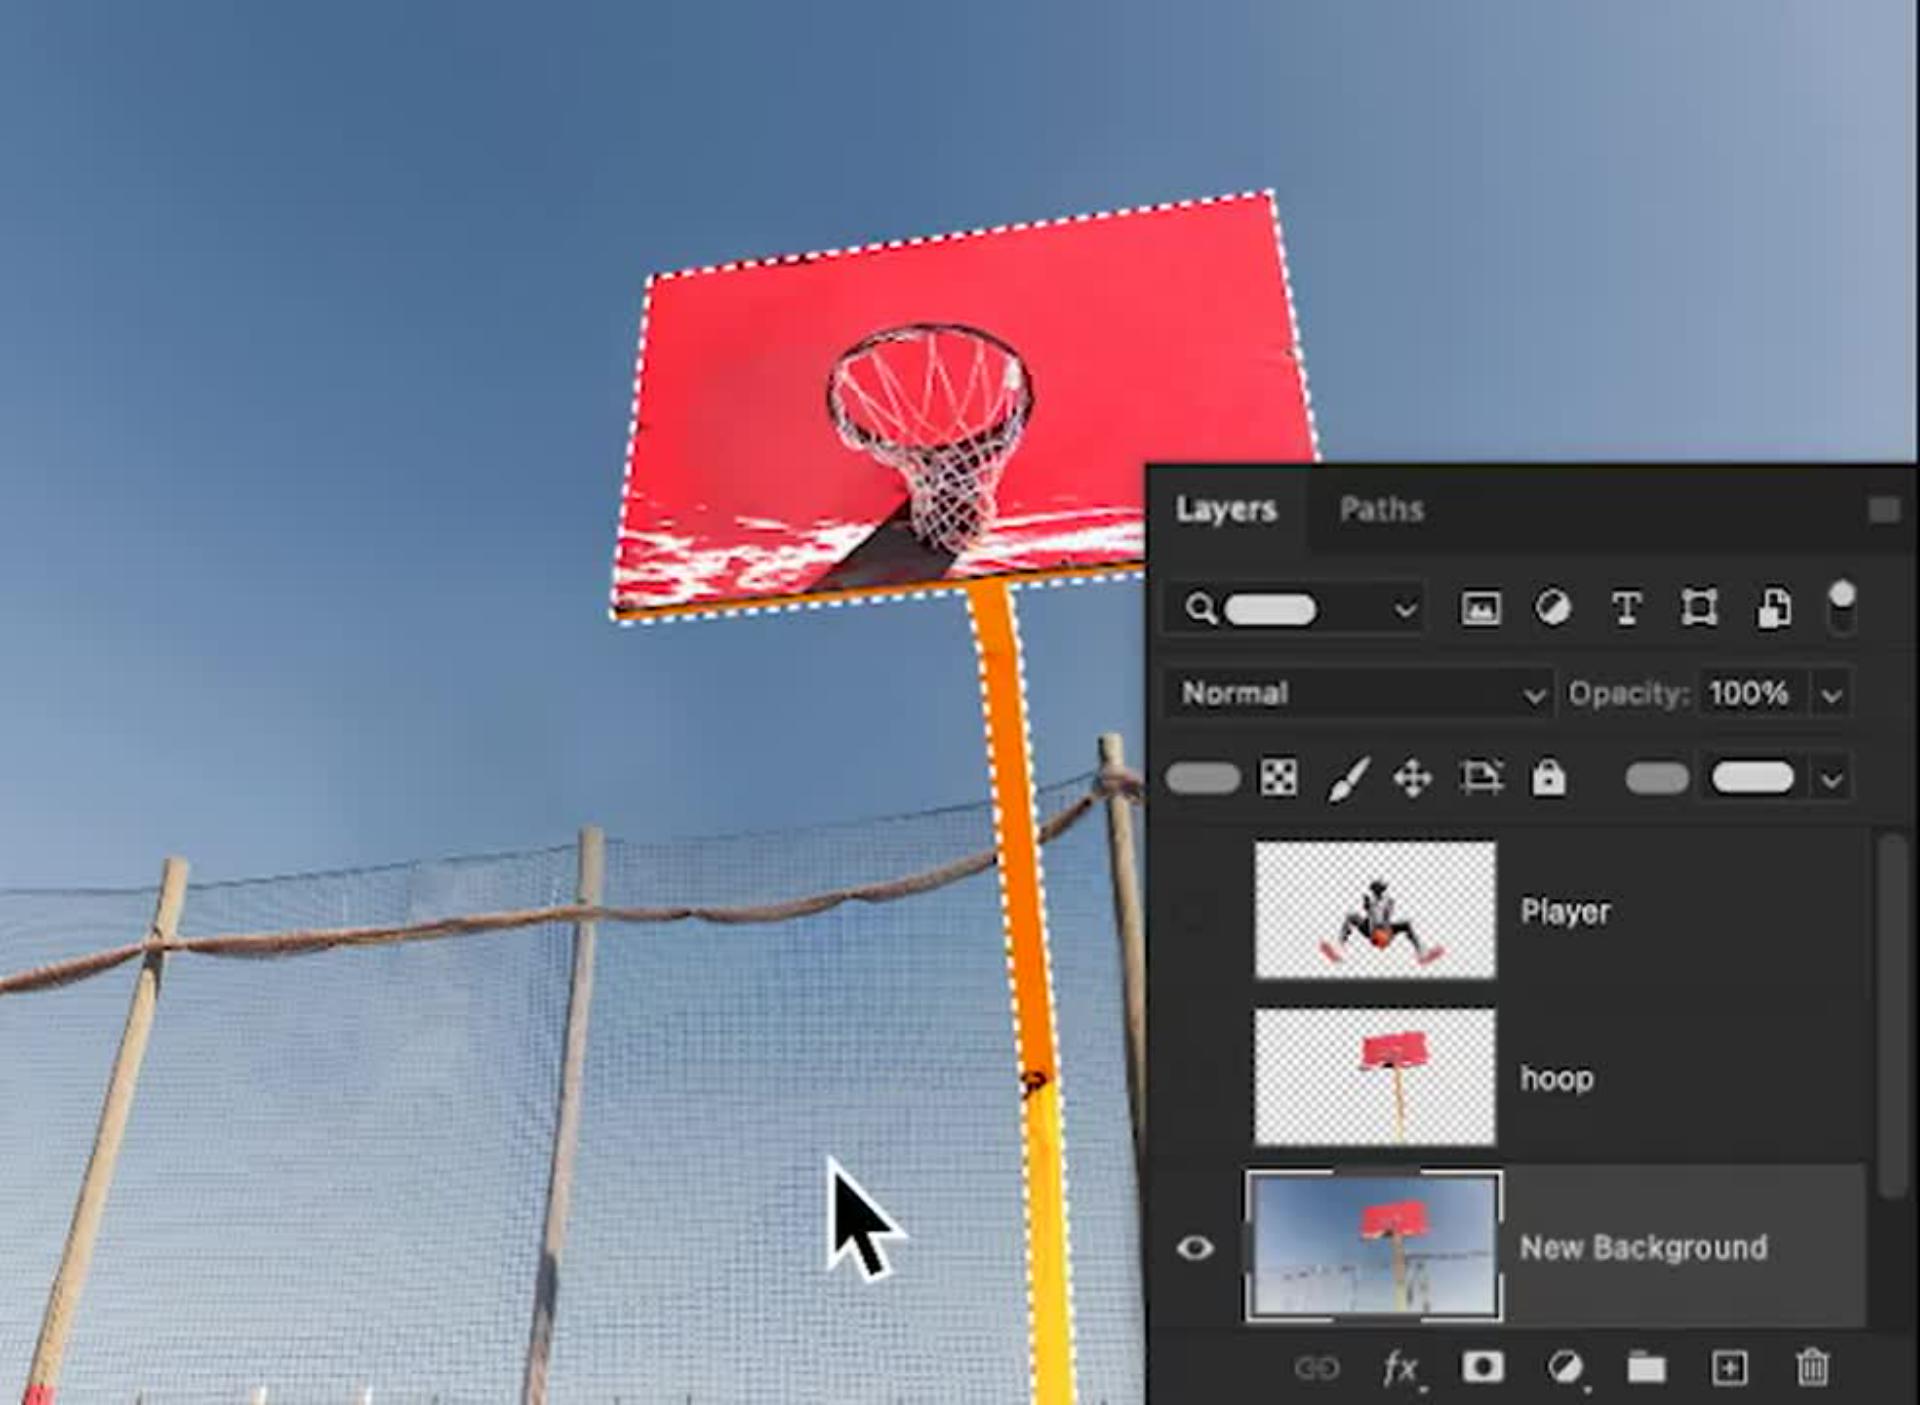
In Photoshop, duplicate the Background layer and hide the original layer. With the Pen tool, create a path around the athlete and name the path in the Paths panel (Window > Paths). Press the Escape key twice on your keyboard to exit the current path. Then create a new path around the hoop and name it.
Select the athlete path from the Paths panel and choose Make Selection from the flyout menu. Choose Edit > Content-Aware Fill to fill the athlete. The green overlay shows the areas that Photoshop samples from when filling the selection. Brush over the green to subtract from the sampled area, or press Alt (Windows) or Option (macOS) to add to it as you brush. The Preview window shows the results as you work. When you’re done filling the area, set the output to the Current Layer and click OK.
Pro tip: To get pixel-perfect results, try restoration tools like the Clone Stamp tool or a simple brush.
Prepare the layers.
In the Paths panel, select the hoop path you made in the previous step, then choose Make Selection from the flyout menu.
Switch to the Layers panel, select the new background layer, and use Edit > Copy to copy the selected hoop, then Edit > Paste to paste the hoop on its own layer.
Select the original Background layer, copy the selection of the athlete, and then paste it onto a new layer. Drag the layers to rearrange them if necessary.
Finish the design.
From the Paths panel, make a selection from the hoop path and select the new background layer. Use Content-Aware Fill to remove the hoop, leaving the fence and sky.
Choose Edit > Sky Replacement to replace the sky with a more interesting one. This process automatically creates a mask for the fence you can repurpose to make separate layers for the fence and sky.
Add text above the layers using the Type tool. We liked the Permanent Marker font. All of the image elements should now be on separate layers. Name each layer so it’s easier to work with them in Premiere. Finally, choose File > Save As > Photoshop to save the file in PSD format and preserve the layers.
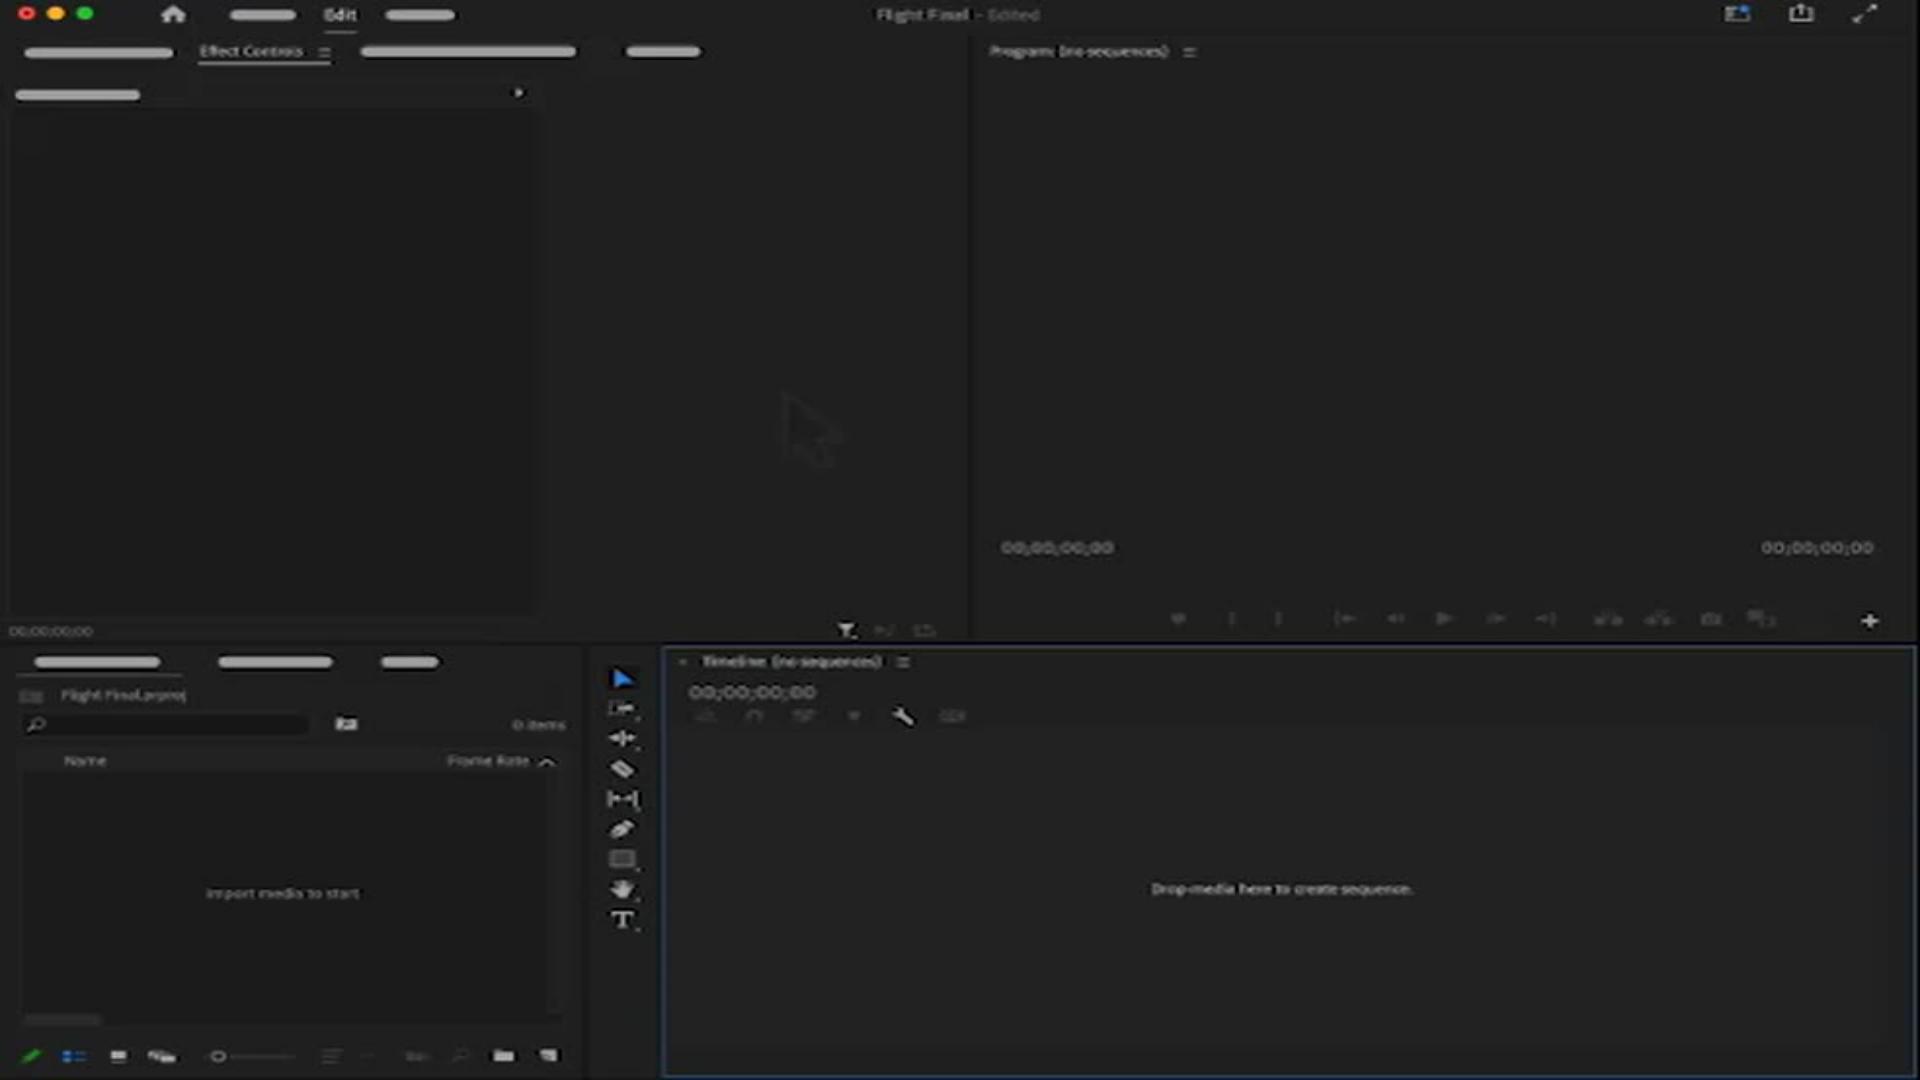
Set up your motion project.
In Premiere, create a new project and import the PSD you created. Choose Import As > Sequence from the Import window and make sure all layers are checked. Also, make sure Footage Dimension is set to Document Size to match the file you created in Photoshop.
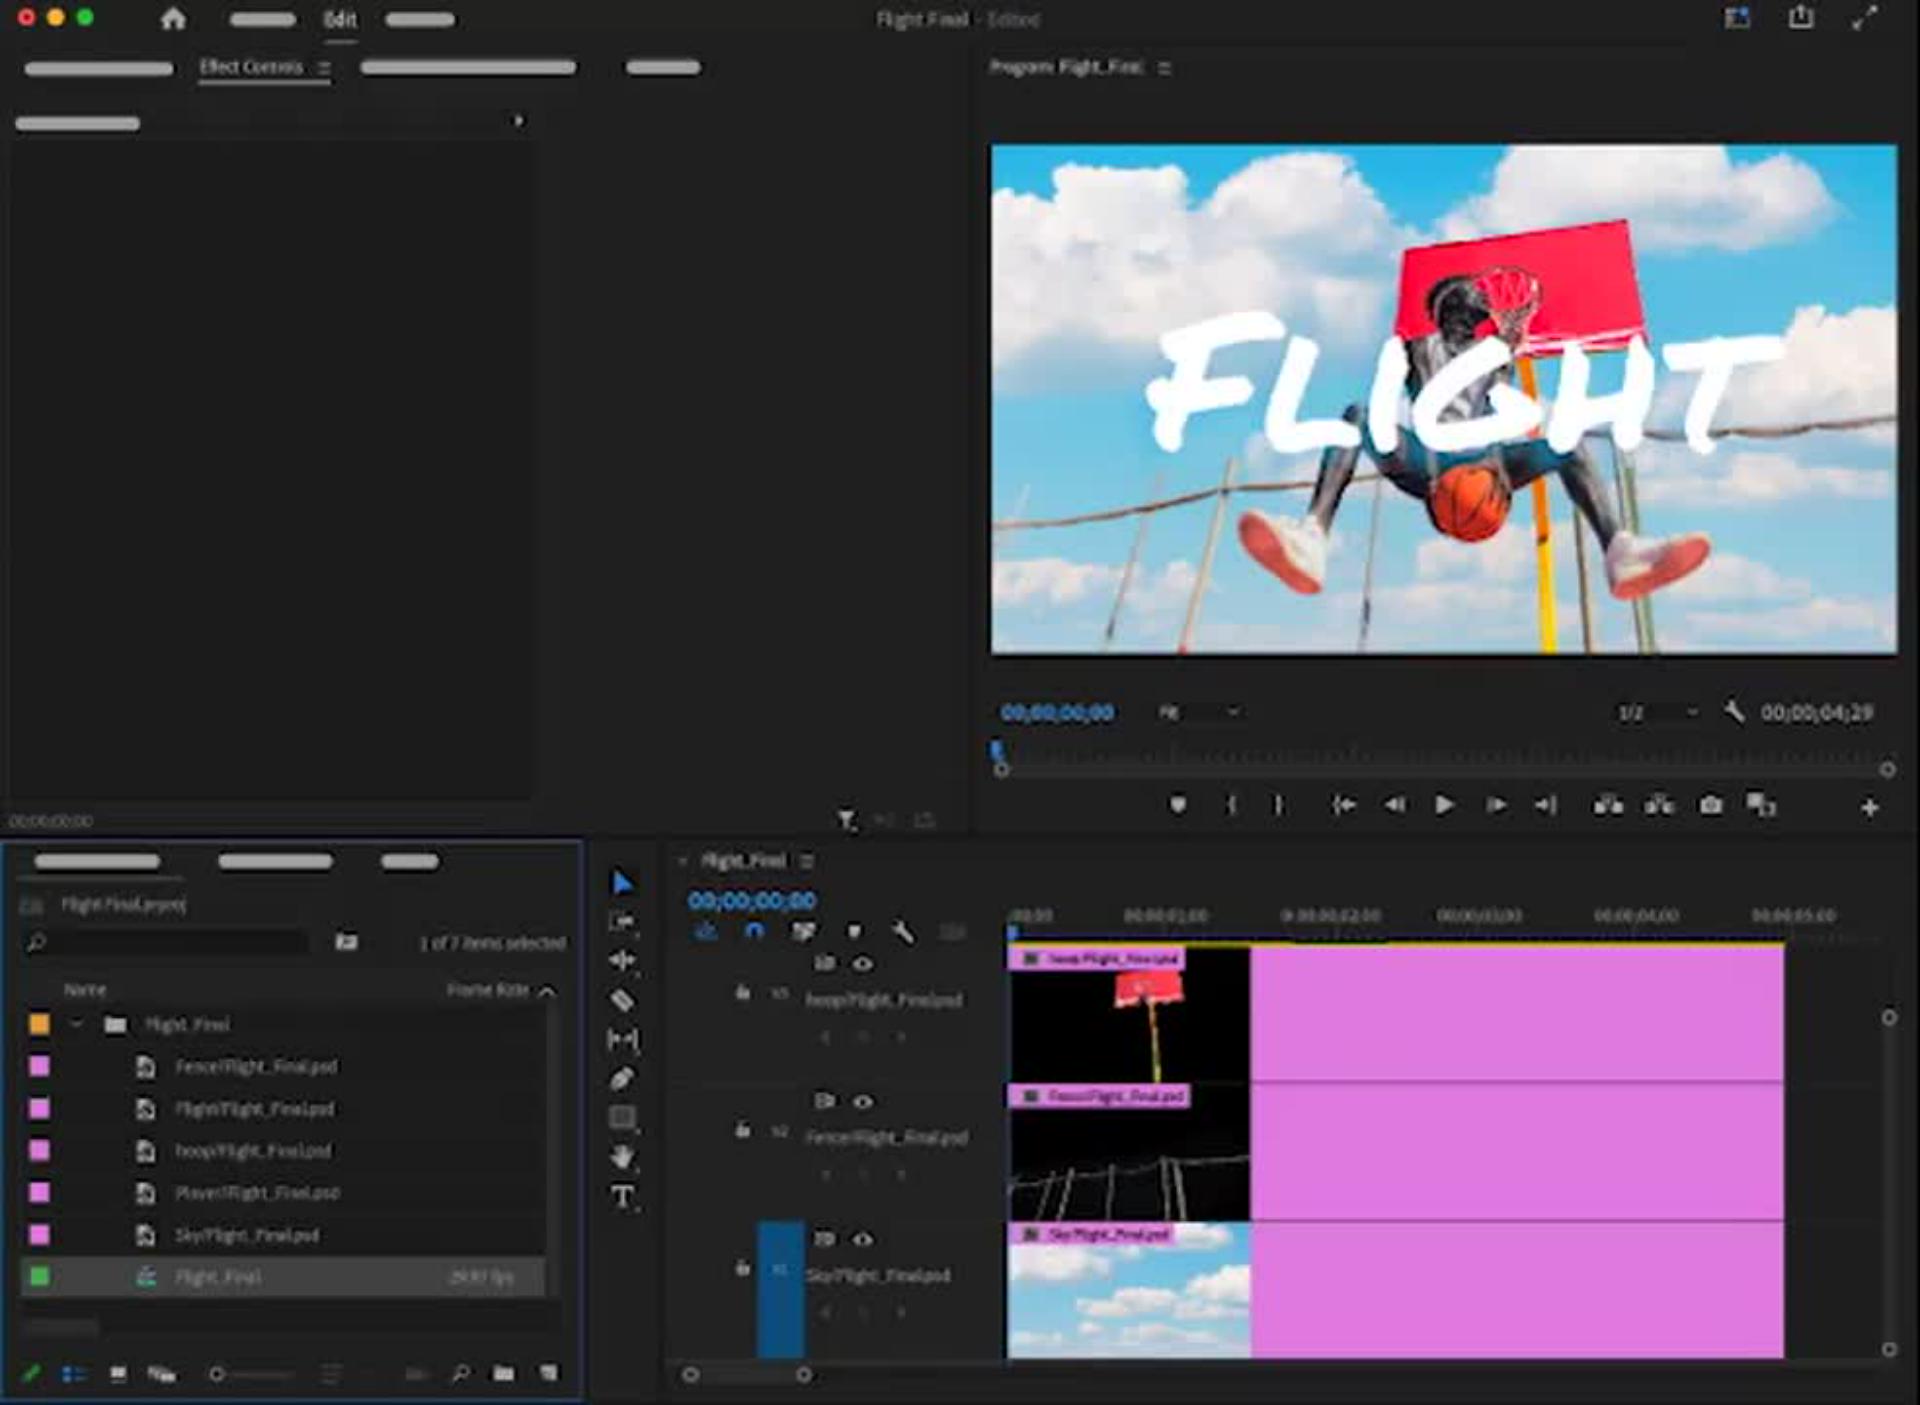
Expand the Bin in the Project panel to locate the Sequence Premiere created from the layers in the PSD. Double-click the Sequence to add it to the timeline. The layer order of the Sequence matches the layer order of your PSD.
Make things move.
Select the Sky layer and move the playhead to the beginning of the timeline. In the Effect Controls panel, click the Scale stopwatch to create a keyframe with the scale of 100.
Click the Go To Out button under the preview to move the playhead to the last frame of the sequence. Create a new keyframe with a scale of 110.
Click the Go To In button to move the playhead back to the first frame. Then select the Scale keyframes for the Sky layer and copy them (Edit > Copy).
Next, select the Fence layer, click the Scale label in the Effect Controls panel, and paste the keyframes from the Sky layer (Edit > Paste). Change the value for the end frame to 115.
Paste the keyframes to the remaining layers and change the end frame scale value for each. Hoop: 125, Player and Text: 130.
Export and share.
Choose File > Export > Media and change the filename and location if desired. Then select a format — H.264 works well across platforms — and click Export.