Introduction
Hi, in this video you’ll learn how to use Adobe Substance Sampler to create two digital materials from scanned images.
If you are new to Sampler check out the first steps with Sampler series in the link below.
So let’s get started!
Let’s open Sampler and click
Importing scanned images and creating a base material
> Create New in the project window.
Right away, we can see that we have our 3D sphere that we will use to visualize the material, and on the right side we have our Layers panel where we will edit the material by adding filters.
On the left side of the Sampler window, you can find some base materials.
These you can mix with the materials you create later.
The next step is to locate our scanned fabric images.
These images have been captured with a DSLR camera but something like a smartphone works as well.
Simply click and drag the images onto the 3D view.
In the Material Creation Template window, we can see that Sampler correctly guessed that this image is ready to be converted to a digital material.
There is an option here for when your materials have a real life, Physical Size consideration, for which you can watch a dedicated video.
We will just keep it as it is but change the drop down menu to B2M.
We’ll get into the AI powered option a bit later on.
Looks good, so hit Import and wait for the calculations to finish.
In the 3D view, you can see the material has tiled, but at first glance we see a few issues with the material.
Fixing tiling issues and improving material quality with filters
Right at the top here, where the tiled image ends, the fabric looks stretched.
To fix this, we will use a filter.
Go to the right side above the Layers Panel, hit the filter icon, then type in “Crop” and select the result.
Notice how the filter appears in the layer stack.
Just like in Photoshop, the top layer will affect layers below it.
In the 2D preview, you can see a preview of the crop.
Let’s edit the top and the bottom, so that with a bit of tweaking it looks good.
Next let’s check the tiling repetition on a larger scale.
In the bottom left corner you’ll find the Viewer Settings.
Scroll down to Texture Tiling, change it to about 4.
The repetition in the 3D view changes.
You’ll start to notice that there are other things we should change,Like that slight linear shadow on the right side of the material.
So like before, add another filter, called “Equalize” this time.
The Equalize filter adjusts local contrast based on a distance range, that means it reduces large differences in contrast.
If you go down to the properties panel, you can move the radius slider to see the effect.
After adjusting the radius, we’ve fixed the remaining issues on this material.
* At this point, we want to start customizing the look of our material,
Customizing and exposing material parameters
like changing its color.
Let’s add another filter for that.
Above the Layers panel, search by typing “Color”.
For this case, we’re going to use “Color Replace”.
Once the filter is added, scroll down in its properties, and find the Target Color.
If you change this setting, you change the materials overall tone.
If we want to change this color in another software, like Unreal or VRED all we have to do is hover over the pushpin icon next to the parameter, and click it.
This will “expose” the parameter and make the material customizable.
To view a list of what parameters you’ve exposed, click the parameters icon on the right side.
You can see our color parameter is listed here.
Another parameter we want to expose, is roughness.
You can find it in the first layer we created, Image to Material (B2M).
Under the Basic Parameters, click on the roughness dropdown and locate “Base Value”, then pin it.
Move the Base Value slider, to see how the roughness of the material changes.
You’ll see the Roughness parameter was also added to the Exposed Parameters panel.
The last parameter we’ll add is height.
For this, we’ll need to add a filter called “Normal/Height Adjustment”.
Once it’s added, activate the “Height” toggle in the properties.
In the dropdown menu that appears, select the Range option and then pin the Range slider that appears below.The last step is to give a name to this material.
On the left side, in the project panel, right click the material and select > Rename, then type a name that makes sense.
Creating a second material using AI-powered workflow
If we want to add another material to our project, hover over the “+” icon and click > New Material.
This way you can work on multiple materials in a single project.
So let’s get started on our second one.
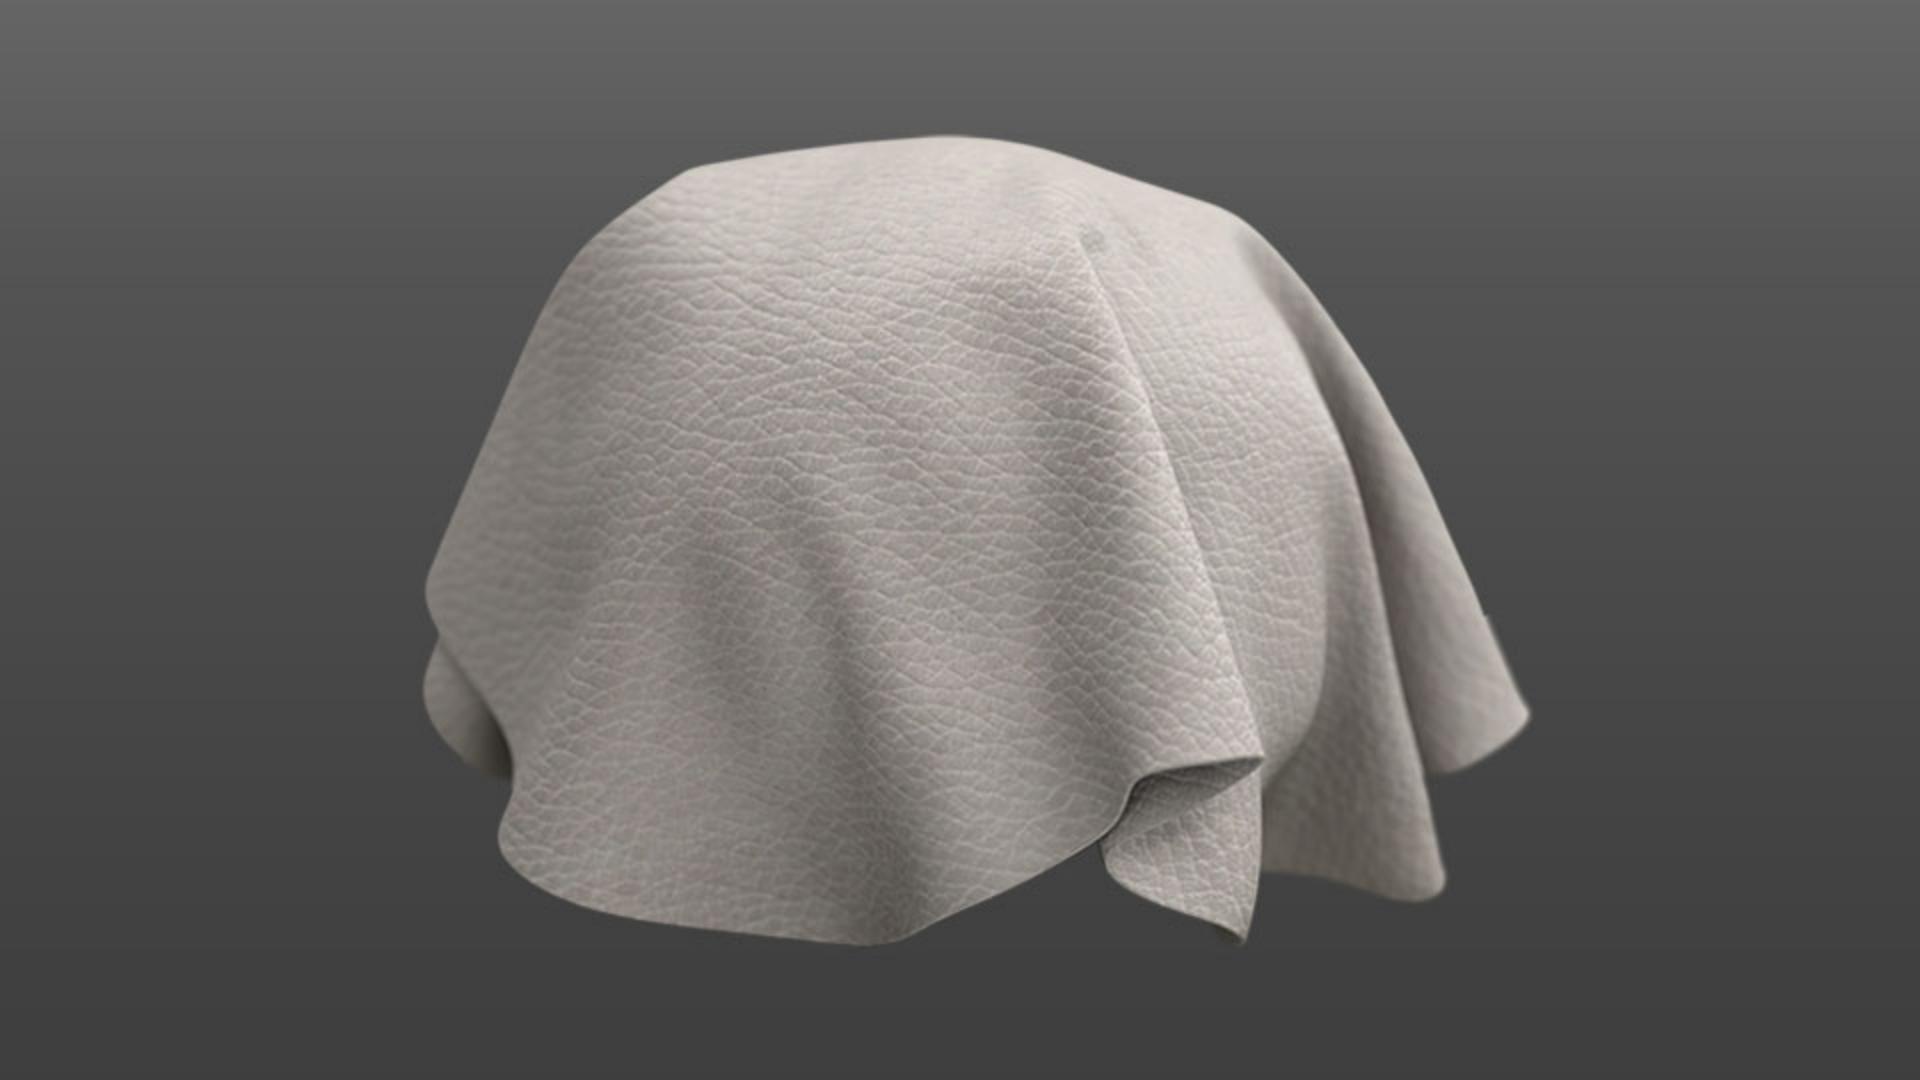
Locate the image of the second material, it’s a scanned leather image.
Click and drag it over to the project window.
We’ll try out a different approach from our previous workflow.
In the Image to Material dropdown, select “AI powered”.
Then hit import!
As the filter is running, we can click on the new layer and explore what this filter has to offer.
Note that you can always go back and find Image to Material “B2M” in the filters list in case you change your mind.
Now let’s see what we can improve.
The first thing you want to do is change the material category to “Leather.
Each option here makes a small difference, where the AI is tuned for that specific material, so explore and pick what works best.The tiling is still very noticeable.
To fix that, under Filters, type “tile” and select “Make it Tile”.
The filter does some correction, but it’s not perfect yet.
Go down to the Basic Parameters and locate the sliders for “Threshold”, “Smoothness” and “Contrast”.
Starting with Threshold, tweak these to improve the result.
In this case, we keep the smoothness at max and adjust contrast just a little bit.
There’s still some variation in color.
Refining details and exporting finished materials
Let’s add an Equalize filter.
Just tweak the “Radius” until it looks good.The final filter we’ll add is Clone Stamp.
Search for “Clone” and select “Clone Stamp”.
This filter helps remove unwanted details.
Notice a sampling dot shows up in the 2D view.
Moving this around adjusts where the stamp samples from.
It’s very similar to the tools in Photoshop.
When the sampling source is set up, just paint away the little scratch details on the leather.
This looks about finished now!
To wrap it up, pin some of the material properties so the material becomes dynamic.
For Roughness, add a Varnish filer and pin both “Coat Thickness” and “Roughness”.
For color variation add filer “Color Replace” and pin “Target Color”.
For height, add a filter called “Height/Normal Adjustment” and pin “Normal - Intensity”.
Give this material a name in the left side of the project window.
If you want to use it outside of Sampler, click on the Share icon on the right.
You can use “Send To” to quickly transfer your materials to other Substance applications, or use Export As to export your material as a dynamic SBSAR file, or as static bitmap files.
That’s it, good luck creating your own materials!