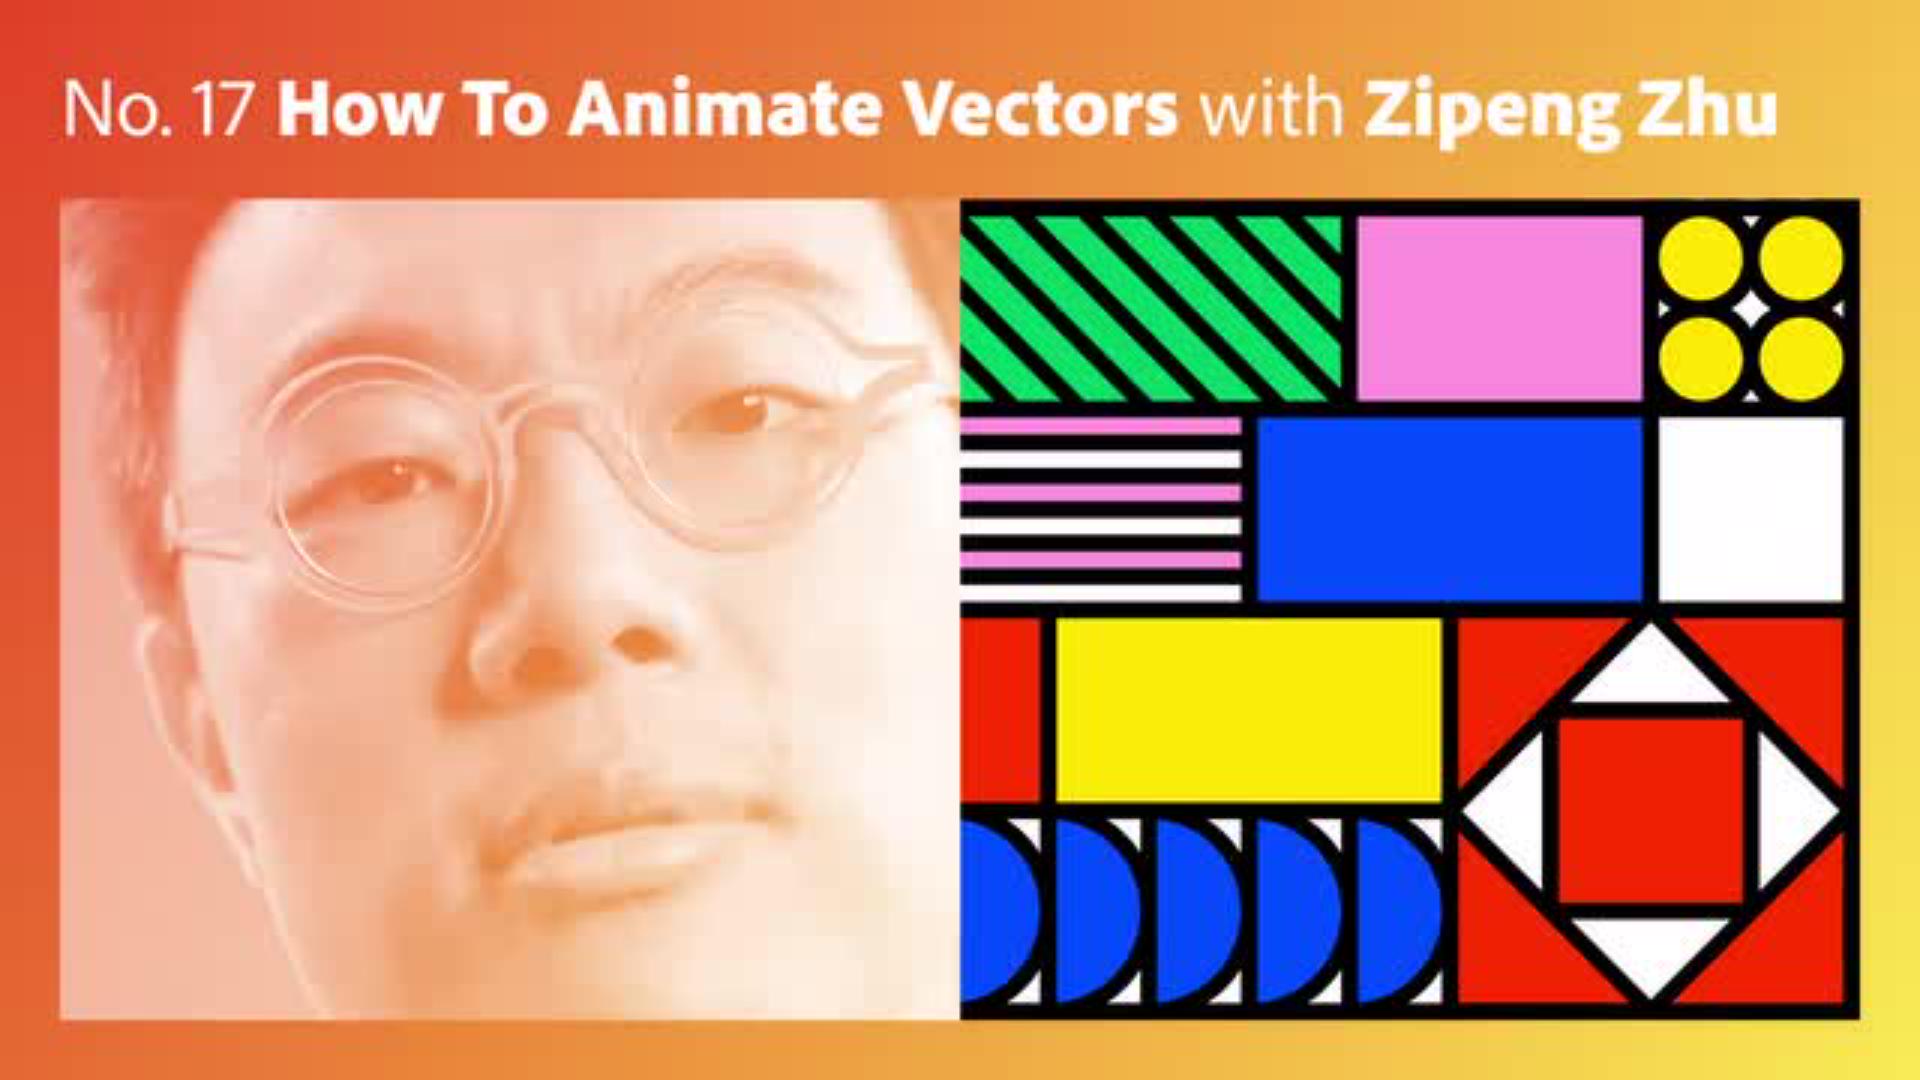
Inside Zipeng Zhu's colorful world.


“When I learned that I can just import my Illustrator file straight into After Effects, it made my animation so much easier.”
How to animate vectors in Adobe Illustrator and After Effects.
Zipeng’s tip on how to quickly move from illustration to animation. Have fun playing with this one.
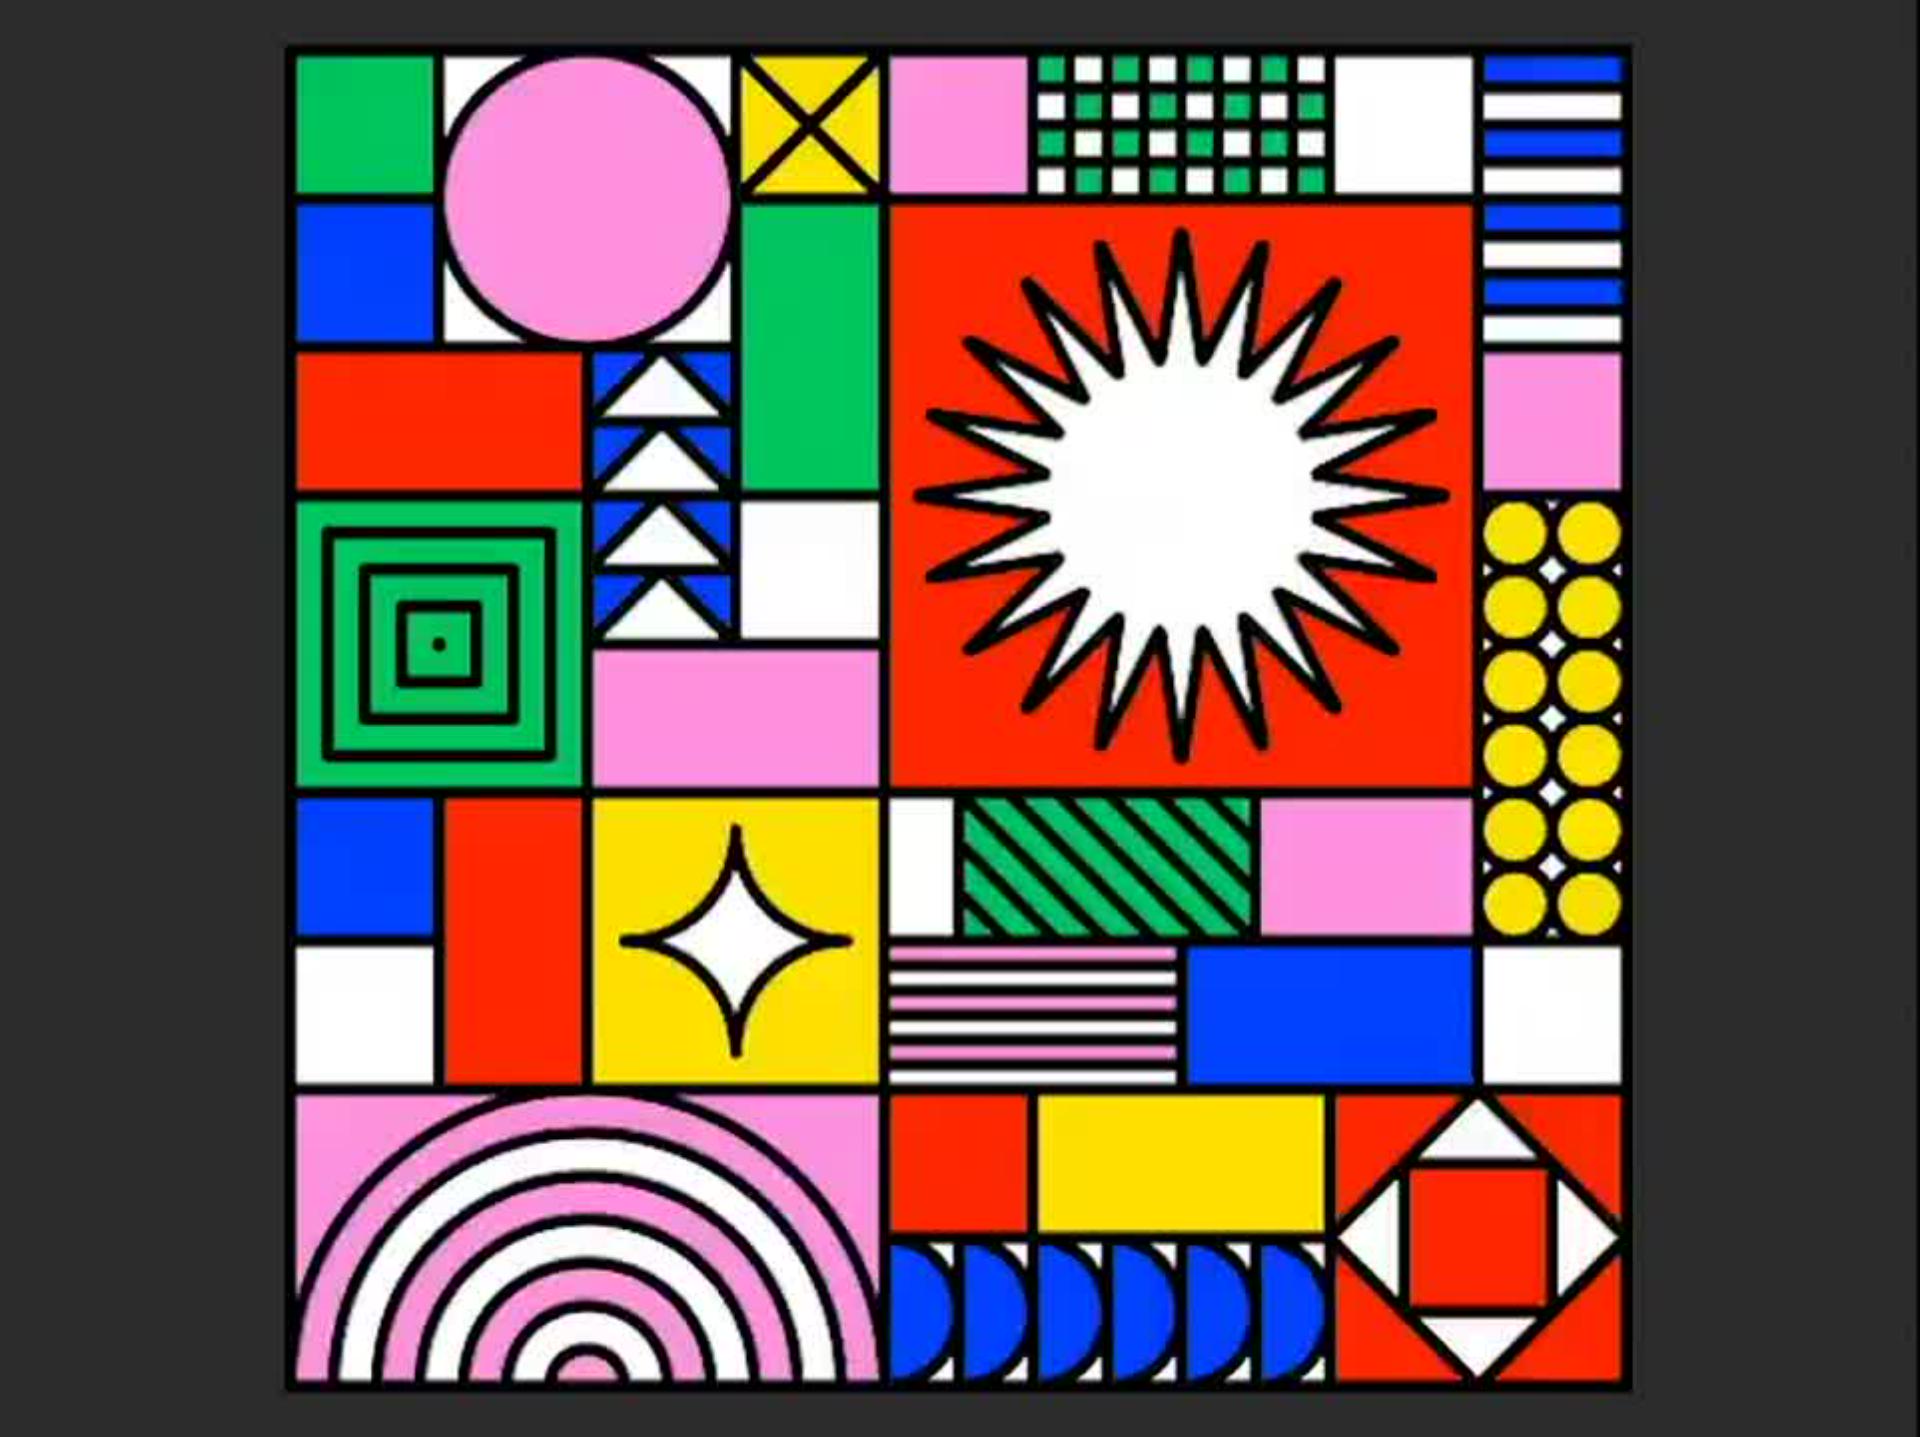
Create a grid in Illustrator.
With the Rectangle tool, draw squares and rectangles to create an interesting layout.
Tip: Use a grid to guide your drawing. Choose Preferences from the Properties panel (Window > Properties) and select Guides & Grid. Zipeng created a 1080x1080 document with gridlines every 120px and 9 subdivisions for a 9x9 grid.

Draw colorful patterns.
Use shape tools to draw objects in each section. Then use the Fill and Stroke tool to color your designs.
Tip: Make sure each design element is on a different layer (Window > Layers) and name the layers to organize everything before importing it into After Effects.

Move to After Effects.
Import your final Illustrator file into After Effects. Choose File > Import > File, or use the practice file available at the top of the page. Select Composition - Retain Layer Sizes from the Import As dropdown.
Double-click the pattern file in the Project panel to add the layers to the timeline. Select all the layers, right-click and choose Create > Create Shapes from Vector Layer, and then delete the original Illustrator (Ai) layers.

Set art in motion.
Expand the White Star Outlines layer, and then expand Transform to show the settings. With the playhead at the beginning of the timeline, click the Rotation stopwatch to add the initial keyframe. Move the playhead to the 1-second mark and change the Rotation value to 180° to set a new keyframe. Move the playhead to 2 seconds and change the Rotation to 0°. Set another Rotation keyframe at 3 seconds to 180°.
Shift-click to select all of the keyframes, and then right-click and select Keyframe Assistant > Easy Ease to create a smooth animation.
Experiment with different Transform properties on other art layers and press the spacebar to preview the motion.

Export and enjoy.
Choose Composition > Add to Adobe Media Encoder Queue. Then choose a format — H.264 works well across platforms. Click the blue text in the Output File field to name the file and specify the export location. Click Play to export the animation.