Creating a basic face
Start with a simple Photoshop face template and learn how to bring it to life with your own face and voice.
Published
Introduction
Adobe Character Animator lets you animate any Photoshop or Illustrator file using your face and voice with your computer's webcam and microphone, making performance capture animation fun and accessible.
In this tutorial, we'll walk through the steps of getting a basic head set up.
Touring the home screen and core modes
When you first open up Character Animator, you'll see the home screen.
You can always reach this screen by clicking the Home icon in the Header bar at the top.
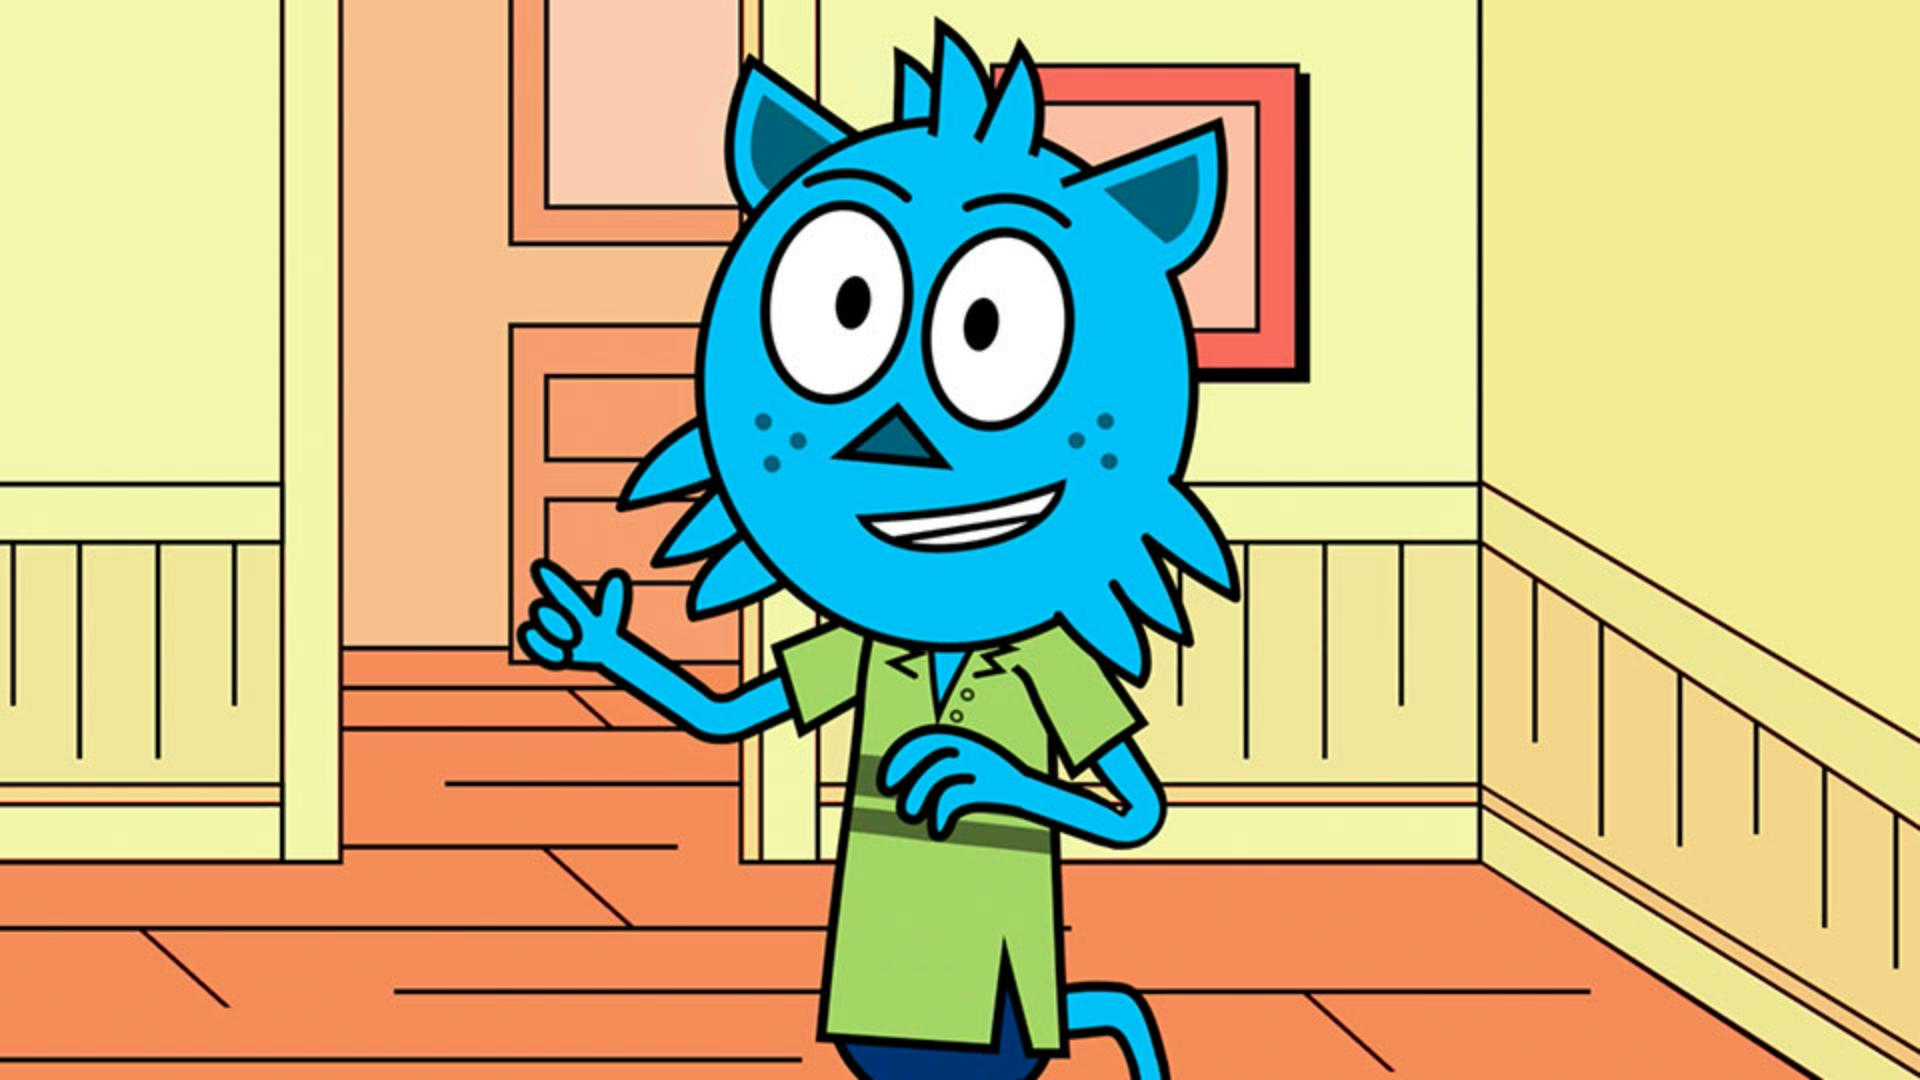
Let's start with the simple face template Chad.
Chad has Photoshop and Illustrator versions available, but today we'll use the Photoshop version by either clicking the picture or the top text link.
This imports this face into a Character Animator project.
In your Project panel, you'll see two items listed, a puppet and a scene.
Think of Puppets as your actors and scenes as their stage.
If you double click a puppet, you'll switch to Rig mode.
This is where you can prepare your puppet for animation using tags, behaviors, triggers and other animation tools.
If you double click the scene, you'll enter Record mode and see a live version of your puppet reacting to your face and voice in the upper right corner.
The webcam and microphone icons should be blue, meaning they're active.
Your webcam video should show up automatically, but if it doesn't, try clicking the Menu icon in the panel header and select the appropriate camera there.
When you talk, you should see a green audio meter show up.
If that doesn't work by default, just go to Character Animator, Preferences... on Mac or Edit, Preferences on Windows and select a working microphone input.
To calibrate the webcam to your face,
Calibrating the webcam and performing live
make sure you're close to the camera and in a welded area.
Relax your expression, look at the character in the Scene panel and click the Set Rest Pose button.
This sets your current face position as the default starting point.
And it's a good practice to do this every time before performing.
Now try moving your head left and right.
Look around with your eyes.
Blink.
Raise and lower your eyebrows.
Say something.
Your natural movements and speech translate into a real time animated character.
Let's start customizing this character a little bit
Customizing the head artwork in Photoshop
by going over to Photoshop.
Select your puppet in the Project panel and click the Photoshop icon that appears at the bottom.
This will open up the artwork in Photoshop.
Take a look at the Layers panel.
The structure and naming in the Photoshop file is important.
You always want a top-level group with a plus symbol and your character's name and a group named Head inside it.
If you do this, any artwork inside the Head group will move with your own head movements inside Character Animator.
We'll cover the facial features in other sections.
But for now, let's give this puppet a different background.
Select the last layer in the Layers panel called face background, then click the New Layer button below to add a new blank layer above this one.
Find the Shape Tool in your left Toolbar.
Usually this is a rectangle by default and click and hold on it to reveal more choices.
Select the Ellipse Tool and make sure the Type in the upper Toolbar is set to Shape.
Click the Fill Swatch and feel free to pick any color as the background skin.
Then start in the upper left corner of your canvas and click and drag to make a new oval background layer.
You can use the Move Tool to adjust its position.
When you're done, select and delete the old face background layer below.
Saving edits and syncing back to Character Animator
Go to File, Save to save your edits.
When you return to Character Animator your edits will automatically sync up and appear.
This is the basic foundation for building custom characters.
You could add as many layers as you want with any kind of artwork inside your Head group and it will show up in Character Animator.
Feel free to experiment with your own style and have fun.
Contributor