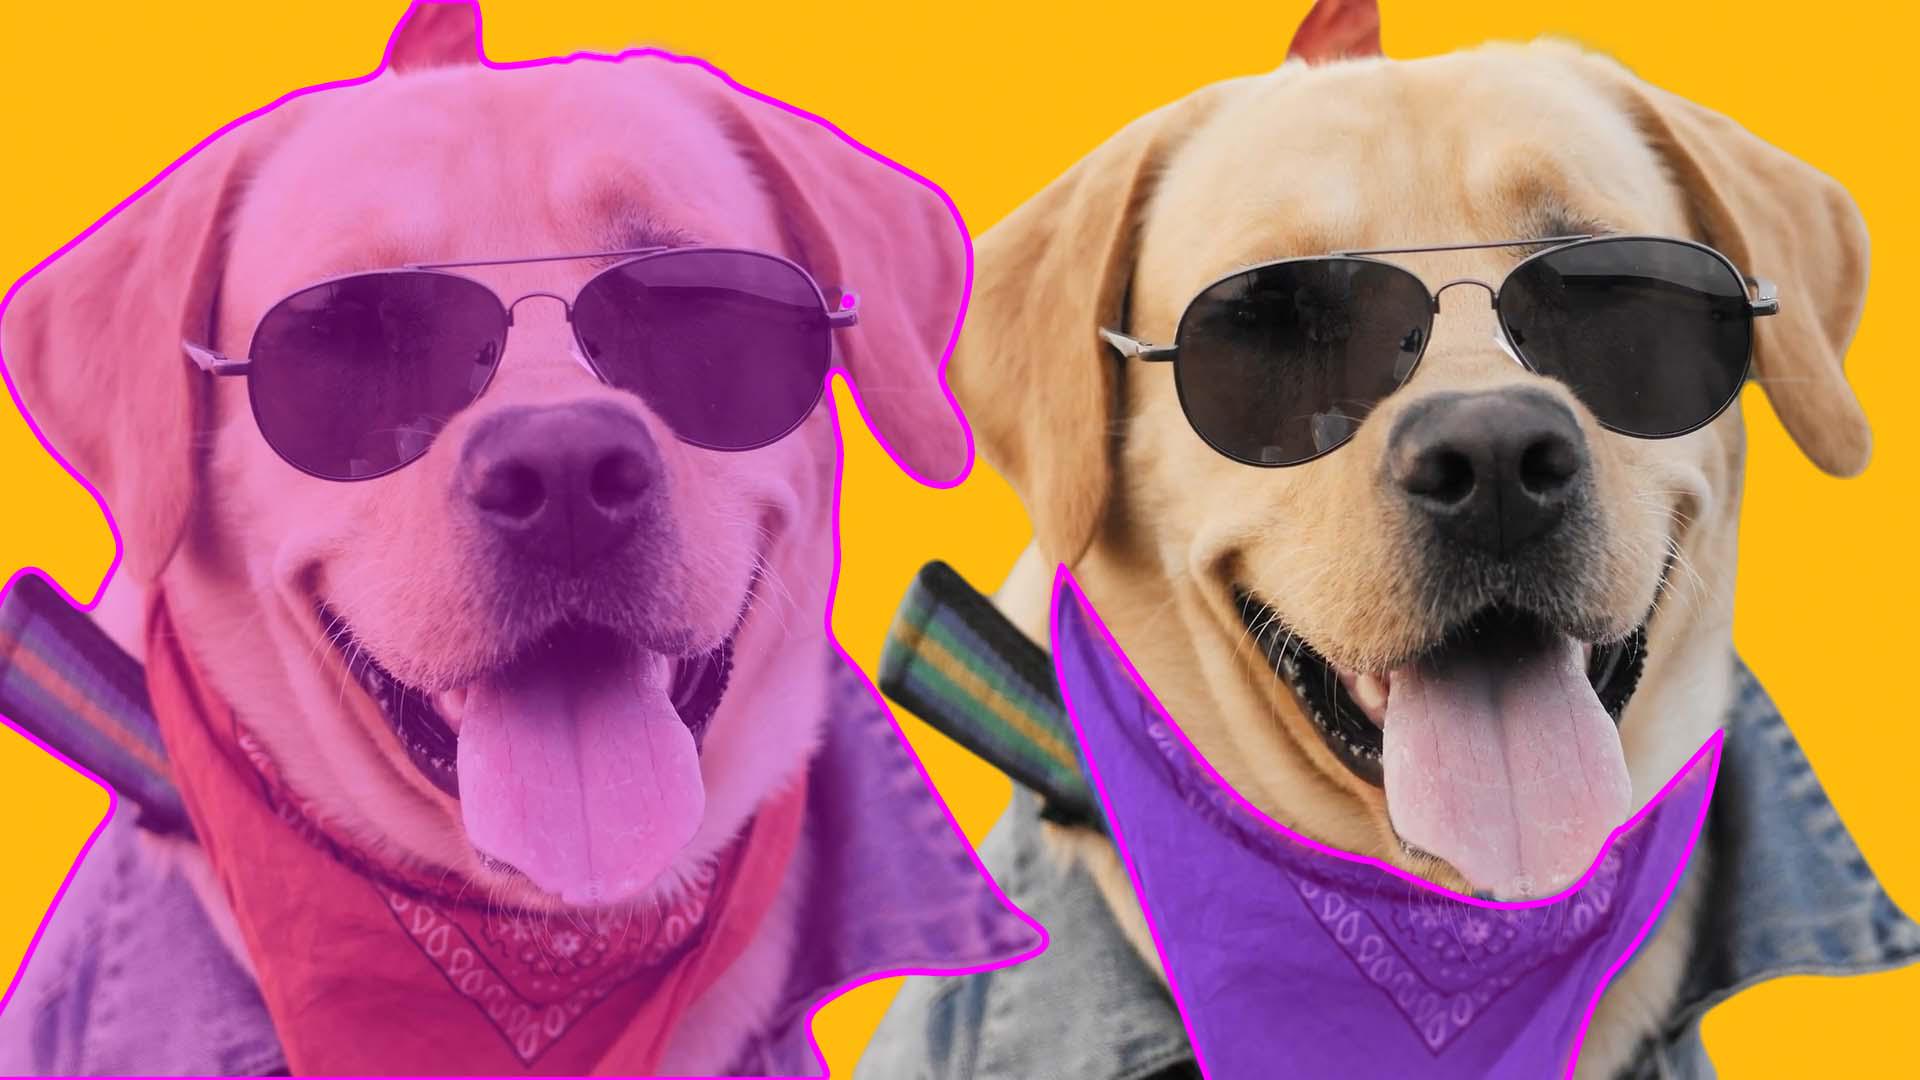
Select your subject
Open the provided After Effects file and double-click the footage to open it in the Layer Viewer.
Yep, it's a dog wearing sunglasses.
Look at him.
Isn't he handsome?
Scrub to a frame when the subject is the most visible.
The first frame will work in this case.
Select the Object Matte Tool from the Toolbar.
Hover over the subject you want to select to preview the matte.
It's highlighted pink in the viewer.
Click the object - or in this case, the handsome dog - and watch as the subject is isolated in your footage.
The pink area is currently selected.
In this yellow bar, After Effects is reminding us to view at full resolution for the best results.
Go ahead and navigate to View, Resolution, Full.
To add to the selection, we can click more areas or use the Rectangle or Lasso Tool in the Menu Bar to better control the area your selection covers.
To remove selections, hold Alt or Option while selecting.
You'll see a minus icon next to your cursor indicating the tool is removing from the selection.
In the bottom of the Layer Viewer, use the Alpha switches to adjust how you view selections.
Let's go back to the previous one.
Now click and hold the Object Matte Tool to reveal all the powerful selection tools in this suite.
The Quick Selection Tool is the Roto Brush reimagined.
Click and drag over an object to select it based on its color, contrast, and edges in the footage.
Drag using the Selection Brush Tool to manually refine selections for a more precise control.
With the Refine Edge Tool, paint along the object's edges to preserve its natural edges and intricate details.
This is perfect for hair and fur.
Look how it captures the dog's ear fuzz!
You can adjust the brush size for these Tools in the Brushes panel on the right of the Composition Viewer.
Navigate to Window, Brushes, if the panel isn't visible.
Once you're happy with the frame results,