Tweening in Animate
Use Classic Tweens to bring your characters to life. Learn how to convert your artwork to symbols, edit their center points, and how to apply Classic Tweens and easing curves.
Published
Introduction
So, in this video, we're going to take a look at how to use classic tweens.
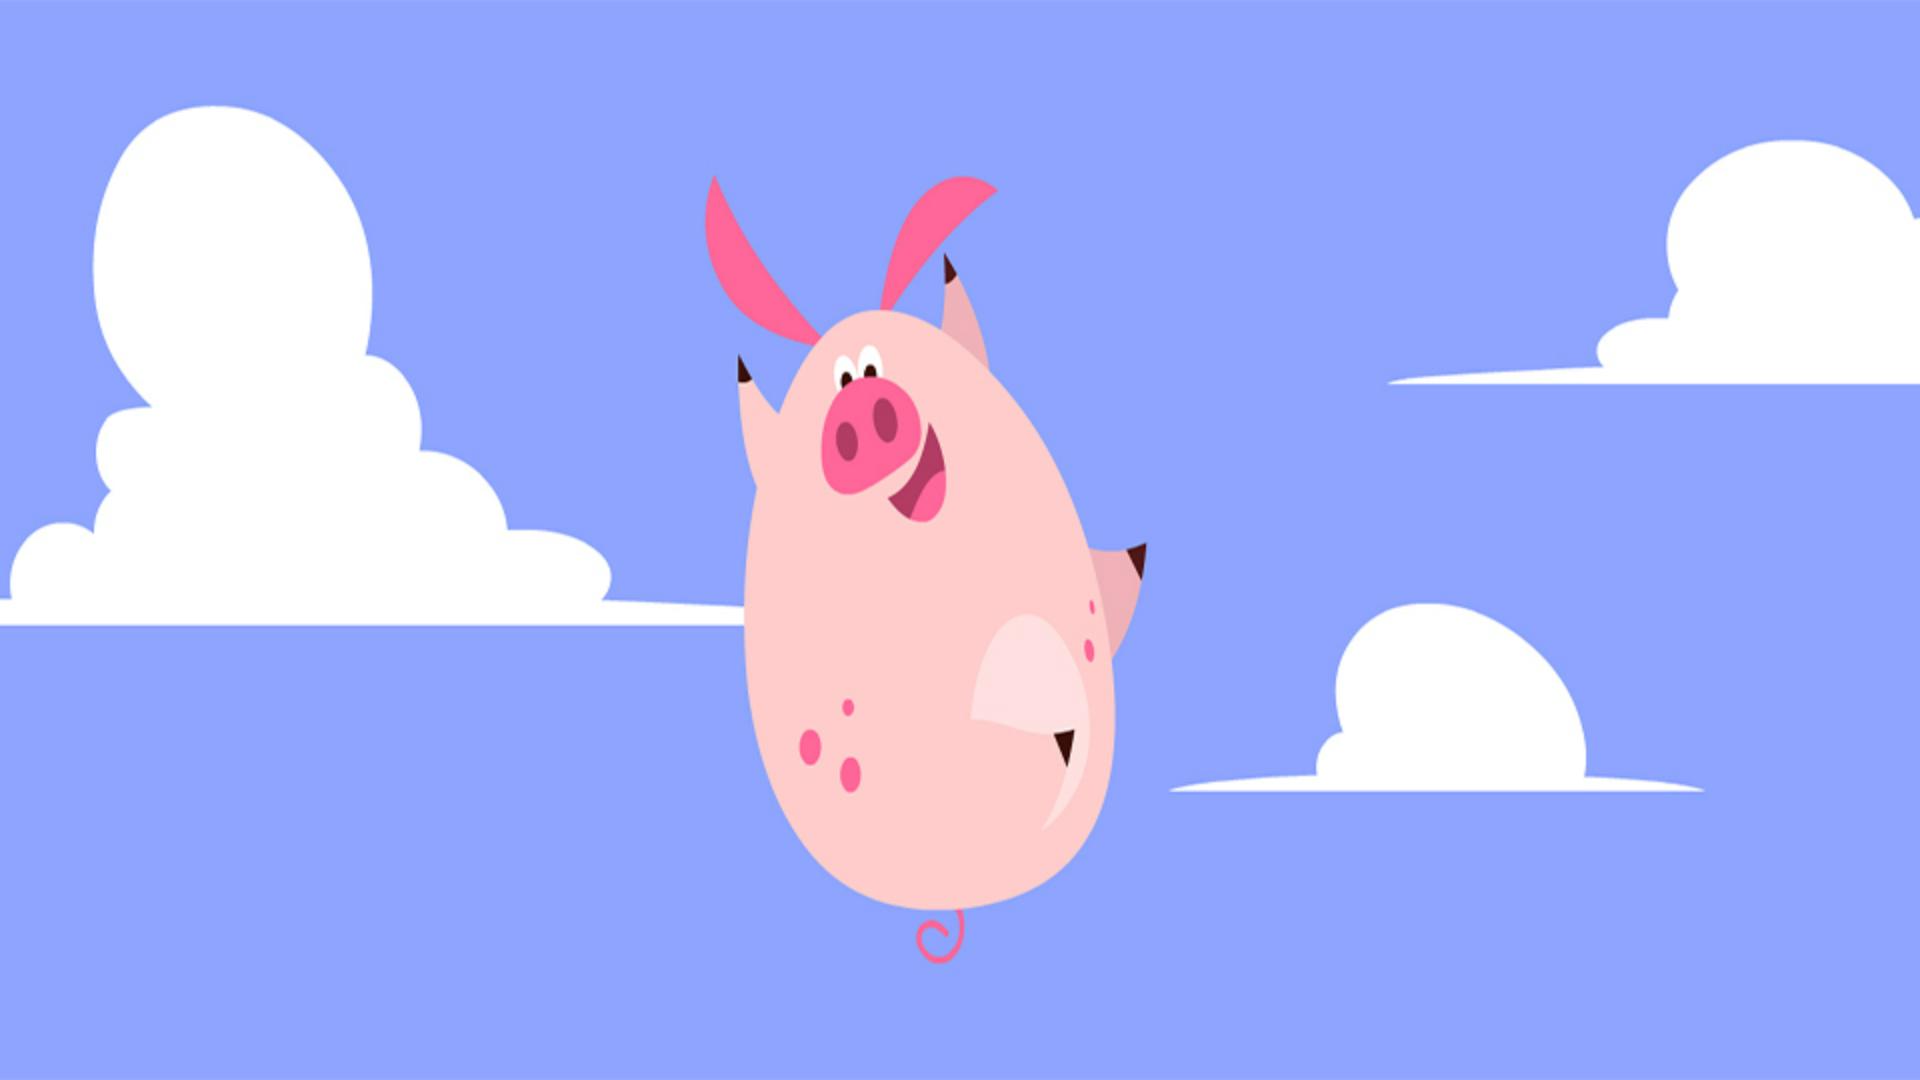
This character is comprised of a bunch of different body parts that have been converted to symbols.
So, all of the assets that I've drawn to create this character are done using object drawing mode.
But in order to animate first what we need to do if we're going to use classic tweens
Preparing artwork for classic tweens
is to convert every object into a symbol a graphic symbol.
And to convert an object to a symbol go to the Modify menu and then Convert to Symbol...
And then, in the Convert to Symbol dialog box give it an appropriate name and then the Type of symbol we want is Graphic.
So, use the drop-down menu to select Graphic if it isn't already selected and then hit OK.
And now you'll see our object has been converted to a symbol, but the next step is to grab the Free Transform Tool or hit Q on your keyboard and you'll notice the white dot in the center that's the center point of this symbol.
When I rotate and scale this symbol it is all based on where that dot is.
So, what we want to do next is edit the center point location so that this object will hinge naturally.
So, for the ear I'm going to move the symbol to where the ear connects to the body and now you'll notice when we rotate and scale and skew the symbol it will look and act more anatomically correct.
So, repeat the same procedure for all of the other objects that your character has.
Once every single object has been converted to a graphic symbol, you're ready to start animating.
In the first keyframe I'm going to move the character out of frame
Creating the main classic tween and easing
So, I'm going to click and drag the parent symbol which is the body and all the child symbols are going to follow.
So, if I click and drag to highlight a range of frames across all these layers then I can right click and select Create Classic Tween.
And this will apply a classic tween to all of these layers.
Now while this highlight is still active, I can then go over to the Properties panel click on Classic Ease and I'm going to choose Ease Out and Cubic as the curve.
And what this is going to do is just apply a nice soft easing out to the character.
So, as it reaches its highest point it slows down to simulate gravity.
So, now that I have basically the whole motion down, I go back into these layers that have tweens
Refining motion with additional keyframes
and I create keyframes on various layers to then alter what happens to some of these symbols.
And here I want to take the ears and just move them down I want the force of gravity to play or have more of an impact on the symbols themselves.
So, here I'm just rotating the character a little bit on frame one.
And you'll see now what I like about this using this procedure is being able to scrub the Timeline and getting sort of an immediate feedback on what's going on in terms of how these symbols are reacting to how I'm rotating them and positioning them.
So, here I am at the very bottom or beginning of the animation I'm selecting various smaller parts of the character and rotating them because what I like is this overall motion, but I also like lots of individual smaller fine tune motions that are happening.
And so, again, I'm making adjustments going back into certain layers and creating additional keyframes just to play around with the timing of certain aspects of this character and having the tweens already present allow me to scrub the Timeline again once I make a change and get feedback visually on what is happening.
And it doesn't mean I'm making all the right edits as I go.
It's a lot easier for me to make an edit, play it back and see if it works or not.
And if it doesn't, I make adjustments.
And so that looks pretty good to me overall.
So, what I wanted to know is how the character fallback out of frame
Animating the character’s exit with ease in
so I'm going to actually insert an equal amount of frames and create keyframes across all these layers at the end of my animation.
And then I'm going to move the character back down off screen I'm going to select a range of frames across all these layers and then over the highlighted area I'm going to right click and select Create Classic Tween and then, again like we did before in the Properties panel, choose Ease In and the Cubic curve.
And then what I want to do is create smaller motions within some of the limbs
Creating nested symbols and looping limb animations
and so here what I'm doing is I'm going to convert the leg symbol into another symbol.
Therefore, I basically am nesting a symbol inside a symbol and here I'm going to actually take the center point and move it so that the leg hinges properly.
Now inside this symbol, I'm going to animate a looping animation.
So, the easiest way to do that is before we even apply any animation at all just go down the Timeline and hit F6 and this will insert a keyframe that contains the same exact contents as in the previous keyframe.
So, now we have basically bookended this Timeline where we have the leg in exactly the same position in both of these keyframes.
Now we're going to apply all our animation in between these keyframes.
And this will ensure that the animation inside this symbol is going to loop perfectly.
Create a few more additional keyframes.
And what I want this leg to do is kind of wobble back and forth really quickly.
So, after applying the classic tween, I get a sense for the timing of it.
I want it to be a little bit faster so I'm going to remove a few frames in between these keyframes and that's going to get the leg to kick back and forth much faster.
And so, once I feel like I got it to a good place I'm going to repeat this entire procedure for the arm as well.
Again, creating additional keyframes, adjusting the artwork selecting an area across these frames, right clicking over it and Create Classic Tween.
And so back out of the main Timeline I'll make a few more adjustments as I'm doing here with the ears a little bit of rotation here as the character starts to descend with the full effect in place you can see how fun and easy it is to work with classic tweens in Adobe Animate.
What you learned:
Use Object Drawing mode
Convert raw shapes to Graphic symbols
Change the transformation point to move the hinging of the object to a more anatomically correct position
Use the Free Transform tool
Create keyframes and set up different poses
Use classic tweens to create in-between poses
Presenter