Introduction
Hi there.
In this video we're going to look at how HTML is used to build the structure of a website.
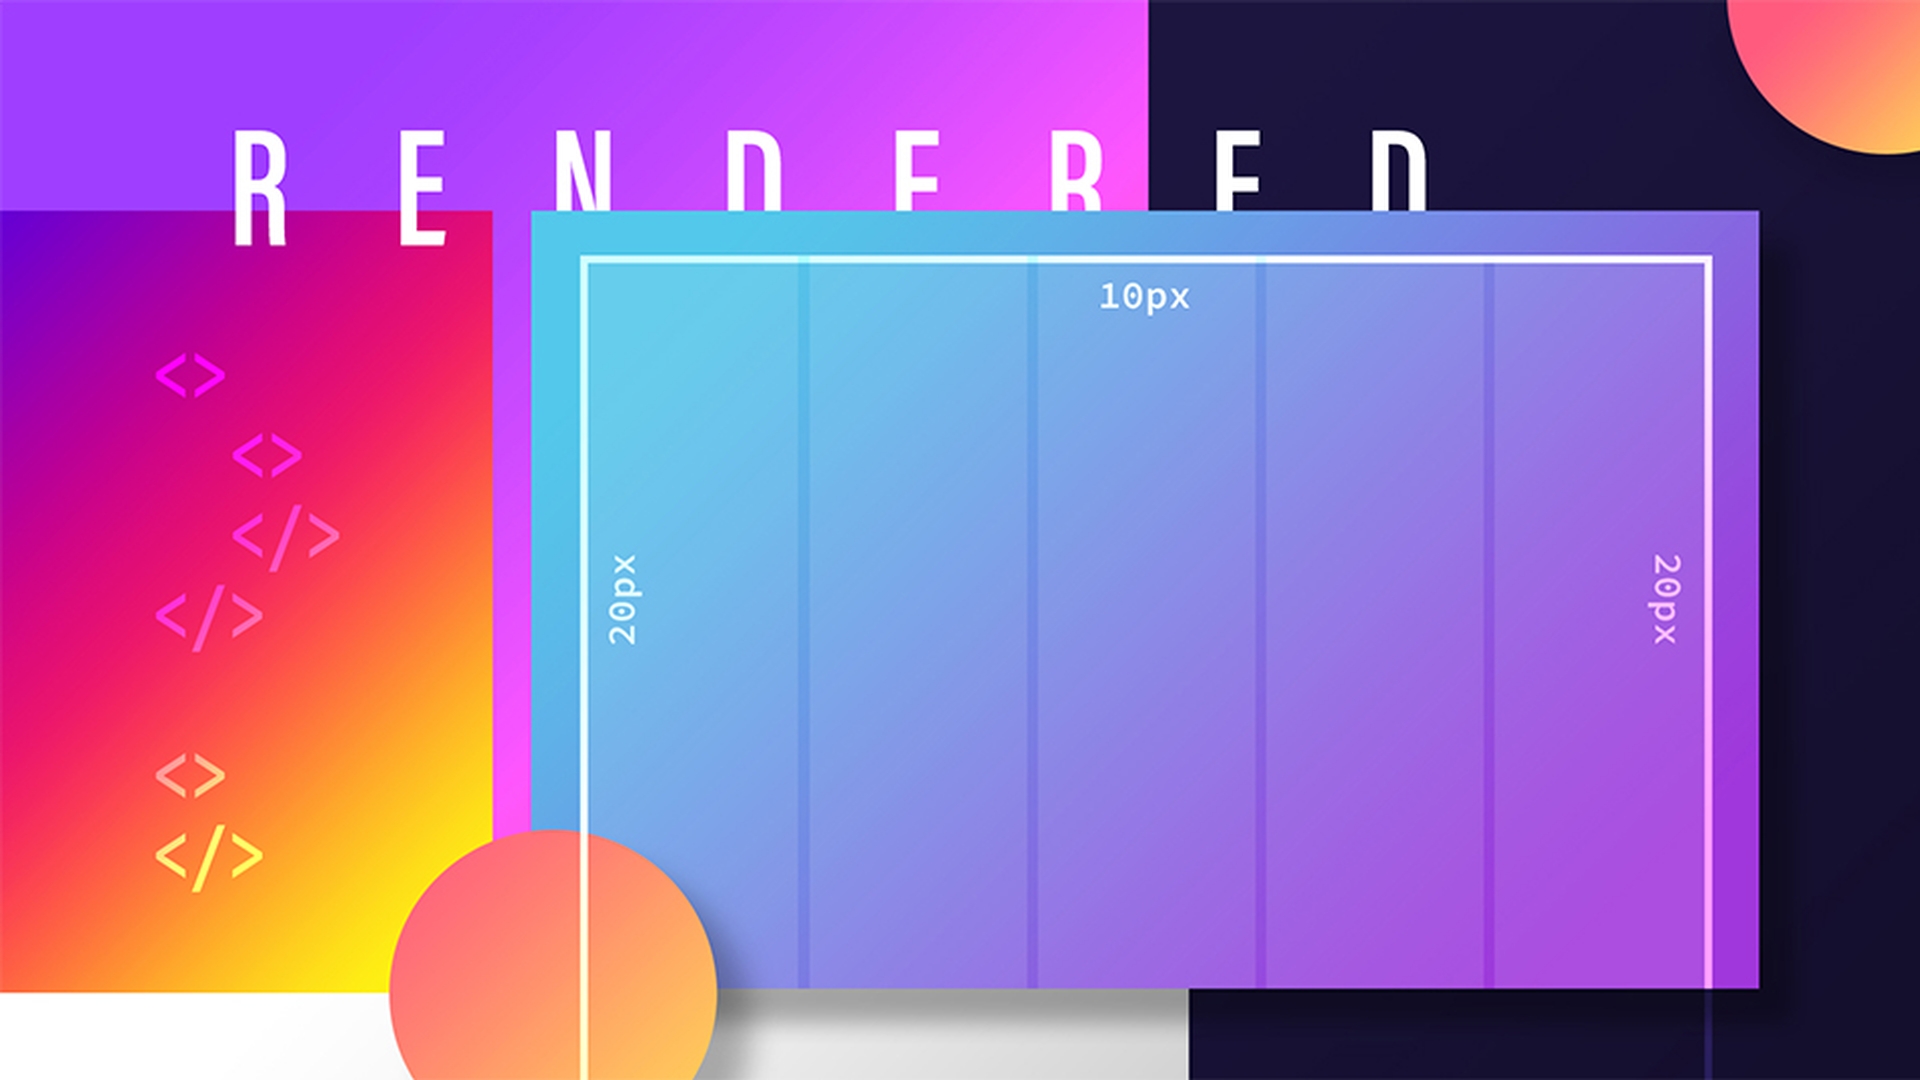
We'll use this rendered website here as a reference.
We won't be building the complete site here, but we'll focus mainly on the HTML building blocks that are used.
Now this side has an HTML header up here at the top and that houses our logo here on the left and our navigation on the right.
And just under it is our hero section with the big rendered text and the video.
Down a little further here is my intro section.
Down from here we've got our artwork on the left.
So art section, and on the right here is the artworks description.
And the last but not least is the footer section down the bottom here.
So let's go and look to recreate this ourselves in Dreamweaver.
So here is the finished site, we were just looking at.
Now I'm up here in Developer mode.
I've also defined the site here in Dreamweaver to manage the files for this project.
And to follow along you'll have to do the same.
You can do it up here in Site, New Site.
Now there's another tutorial video teaching you site definition if you need a bit of help with that.
We're going to open up this html-layout-index-start.html.
Setting up page title and basic HTML structure
Now the first thing we're going to do is: We're going to add a page title.
Every page needs a title.
At the moment by default it's called Untitled.
We're going to call ours RENDERED.
Okay, RENDERED.
Now what is the page title?
The page title is used at the top of the browser and Google uses it when it displays search results.
Let's have a quick little look at this in the browser.
So we're going to use the Real-Time Browser Preview.
And you do that by going down to the bottom right here.
And we're going to use Google Chrome.app.
And hey – we've got a page.
Have we done anything?
Oh yes, we have!
See up here, where it says RENDERED?
Okay, that's our page title.
So well done, us.
Very well!
So now let's go and fix this big white page here by adding some HTML to our page.
Great.
So let's put in our first bit of HTML layout.
We've got here just some comments to help us understand where to put things.
As long as they're within these commenting brackets here they're ignored by the browser and just here for us humans to see.
Creating header and navigation layout elements
So what we're going to do is: Under the Header comment we're going to put a little tab in and we're going to type in our first bit of HTML layout.
So open angle brackets, typing head.
And you can see before I've even finished: Dreamweaver has got some lovely code hinting.
So it's kind of giving me head or header.
I want header in this case.
Then I'm going to close off with an angle bracket.
So every tag needs an open and a close.
We've got the open, let's put in the close.
I'm going to put in open angle brackets and then put in a forward slash.
And you can see: It prefilled in the rest of it.
Okay, so every layout tag in HTML has an open – and there's the header – and it has a close.
And it's the same word, but it has our forward slash in it.
Okay, you can see my body has the same thing: There's the open of the body and there's the close of it.
Same with the head.
Here the open and the forward slash has the close of the head.
Now why are we using the header tag here?
When you add tags like header, main and footer you're using predefined HMTL5 tags that are used to define structural elements on our page.
When building a site we'll use a mix of these premade elements and then later on we'll go and create our own.
Great, so let's jump back into Real-Time Browser Preview and check it out.
So Real-Time Browser Preview is where we check our code in an actual browser.
In this case we're going to use Chrome.
And there he is!
That grey box up here is my header.
And the question is: How did he become this grey box?
Normally if you add a header tag here by itself – like we have here – the header element is invisible to the browser.
Sneakily I've already added some predefined CSS to make the header element visible to you here.
Just as a teaching aid.
So let's jump into Dreamweaver, to show you what I've done.
So here is our header tag.
And I want this tutorial to focus on the HTML5 layout elements.
But every element – like our header here – needs to be told what to do.
He needs to be told how big and what color.
So we've already created a CSS sheet that styles him.
Here it is here on the top here.
Okay, I'm going to click on it.
And here is our header here, being told how high to be and what color to be.
Now there's another video specifically about CSS styling, so we're going to stick to the HTML5 layout elements for this video, okay?
So let's jump back into Source Code.
Now the next thing I want to do is: I want to put my nav tag in.
So my header is the big block along the top, that semi opaque black box.
And the nav is going to be in the top right.
So what we're going to do is I want to be inside this header section.
What you can do is: You put a Return in.
And inside of here, we're going to type in nav.
Okay.
Close off.
And then open up angle brackets.
And closing of a tag is forward slash and it prefills it in.
Thank you Dreamweaver.
And nicely, we've got some CSS that already starts the nav so we can see it in our browser.
So let's jump to our browser again.
Here we go, this is my nav tag.
Okay, this is my nav tag and it's inside of my header.
And the CSS is making it go white.
Great, so that's two really important HMTL tags that we've added.
Back to Dreamweaver.
And what I do as well is: I put a bit of Returns in, just to break up some of these sections.
Just so I can see that this is my header.
Building main sections and using classes for styling
And now my main content is going to start.
Okay, so this section like we did the header.
So we're going to open angle brackets, type in main, close them off, open angle brackets, forward slash and Dreamweaver fills it in.
Great.
So there's my main section.
Now the main section is going to quite large.
We're going to put a Return in.
Now the first element is going into our main element hero section.
Okay, the big green box with the video.
And then we're going to add the intro box, which is just a nice white box.
So we're going to use a tag called section, the section of the different parts of my webpage.
Now a section tag is a predefined tag that already exists in HTML5 like the header and the main we've done already.
So let's type section.
Let's close it off.
Now if you're finding it a little bit tedious typing out all these brackets and slashes – I know I do – Dreamweaver can help speed up your workflow even more.
So if I just type in section without all the angle brackets and forward slashes and then just hit Tab - you can see it fills it all in for me.
So even if you're new to this – it's a shortcut that really helps with your syntax as well.
Just make sure you got everything in the right spot.
Now I'm going to add one section here for the hero box.
And there's going to be another section here.
Okay, Tab, not Enter.
And the section is going to be for my intro.
Now the problem is if I style this section tag and I want the top one to be green, the bottom one to be white – they're both called the same thing.
So my CSS is going to label them both green or both white.
So what we do is: We use some something called a class to separate them.
Just a little bit of individuality that we get to create.
Now up until now we've used predefined tags.
Header was always called header and nav was always called nav.
What we're now going to do now is: Create something called a class.
So I've put a space after the word section, typed in class.
You can see: Dreamweaver is prefilling it out around the word class.
So all I have to do is just click return on my keyboard, and it fills in the rest of the syntax.
Or you can type in the equals and the two quotation marks.
Within these quotes we get to name the class.
This is where you get to give it your own unique name.
So up until now we've always used predefined tags.
The head is always called header, the nav is always called nav.
Now what we're going to do in this example is: We're going to use a unique word, we're going to use hero.
But you'll notice that hero is being prefilled in.
Now this is only because I've got a CSS sheet that I've made earlier.
Now remember: We did our sneaky trick earlier, where we just wanted to add some styling to those first tags.
It's that CSS sheet where these names are being pulled now.
When you're creating your own site you'll create these class names yourself as you go.
But because we've got this CSS sheet already made we're going to use these ones.
Thank you hero.
And that's the way I'm going to identify this first section.
Okay, same down here with this class.
I'm going to hit Return.
And this one here is going to be called intro.
Great.
Let's jump into the browser to check our results.
Great, so I've got my header, okay.
And that's that transparent black box, showing through to the green underneath.
There's my nav.
And here is the big hero box.
And underneath it is a nice white Info box.
Back to Dreamweaver.
Okay, so let's do the artwork section now.
Before we make it, let's have a quick little look
Structuring content with article, div, and figure tags
at the final project, just so we can understand the structure of this.
We have our header along the top, there's our nav, there's the big hero box, there's my info box.
And this section here is what we're up to now: Artwork.
There's going to be two sections: This is going on the left, my artwork piece.
And this is going to be my artwork description.
Okay, so let's jump and do that now.
So like before I'm going to put a Return in and then tab across.
I'm going to put a new section.
And before we learned our lovely trick remember - section and hit Tab, then we double back and we can put our class in.
Okay.
We can put in artworks.
Or – what if there was a quicker, even better, easier way?
Okay, there is.
So if you type in section.
And before you hit Tab put in a period - and then type in the class you want to add – artworks – then hit Tab.
Look at that: It all fills it in.
So inside of the section we're going to put in something called an article.
So I'm going to open it up, put in article.
Now why am I putting in an article?
An article is a tag that wraps around the most important content on the page.
It is the guts of the page.
There's lots of other important sections that we've got and other tags that we've got already.
But they're repetitive stuff.
So the article tag here.
Okay, I'm doing it the long way.
It needs class and I call this one class.
And this one is going to have class of artwork.
Okay, so that article tag here: Everything inside of this is the really important stuff.
And in our case these two bits there is the artwork itself and then the artwork description.
So now we've got a section, we've got an article.
Okay, what goes next, is something called a div tag.
A div tag is division of space and it's used in instances like this where you've got a section, you've used the article.
You cannot go back and start using sections again or if you can't use two articles.
So the div tag is a nice, reusable wrapper tag that you can use, in our case for the artwork and the artwork description.
So this is going to be a div class of artwork-piece.
Now remember: This class name would be something unique that you would create.
It's prefilled in here because of that CSS that we made earlier.
Close it off.
Slash.
And that's the left side of our website.
Now let's do the other piece.
Okay.
And let's put in a div class.
And this one here is the artwork-description.
Great.
Close it off.
Lovely.
Let's check it in our browser.
Okay, there they are, my two little div's: Artwork-piece on the left and artwork-description on the right.
Now one of the last HTML layout elements that we're going to learn today is the figure tag.
It's often used as a container for an image.
So we're going to put it in our artwork-piece tag here.
So it's going to go inside of this guy, where the image for our site is going to go.
So it's called figure.
There he is there.
Close it off.
Now if we would put our image inside of this figure tag and it'll allow some flexibility when you're working with one or more images that need to be captioned.
You put them all inside this figure tag so the image and captions know that they're related to each other.
This figure tag has been styled as well, so let's go check him the browser.
Great, and here's this light blue box there.
So the last thing is to put in our footer.
Adding footer and understanding HTML vs CSS roles
And he's down here a little bit.
There's my little bit of comment again underneath.
Okay, we're going to use our trick, footer and hit Tab.
And let's check him in the browser.
Let's go down.
Cool, and there's my footer.
We're not going to add content in this case because we're just really focusing on these block level HTML5 layout elements.
The big, heavy stuff.
So what might be interesting now would be maybe to pull off the premade CSS sheet we've added, just to see what HTML looks like in a page without being told what to do by the CSS.
Okay, so we've got this basic HTML and it's been styled by the CSS sheet.
Let's say we didn't have this CSS sheet, okay, and you're just styling without this.
And let's check in the browser.
And that is the exact same thing: The HMTL is there, but it's not being told what to do, yet.
So the structure is there, it just needs to be styled in the CSS.
And remember: There's another video specifically about CSS styling.
Let's turn this CSS back on quick.
Great, so in this video we've looked at the HMTL5 layout elements.
We've looked at our header, our main, our footer and we've divided those up into different sections.
We've looked at the auto tag and lastly, there the figure tag.
And that, my friends, is how you add HTML layout elements to a website.
Well done, us.


