Try these tutorials with Adobe Express
Create web pages, social media graphics, and videos.
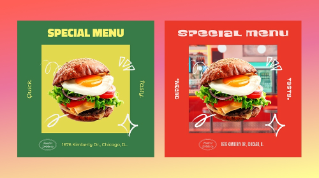
Create winning product shots to help your goods stand out.

Product photos are often a customer’s first impression of your brand and a key driver of purchase decisions. Professional-looking product visuals across channels help you present your offering with clarity and credibility.
This tutorial will show you how to use the new Adobe Express AI Assistant to elevate any image into a studio-quality shot. Make major image transformations — like cleaning up distractions, refining lighting and color, replacing a cluttered background, and more — all in just a few prompts.
Before you begin, have the following ready to get the most from AI Assistant:
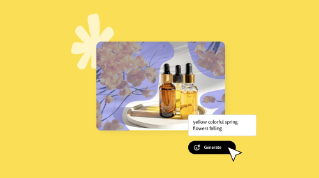
A product photo — even if it’s just a basic phone picture
A sense of where the image will be used — whether it’s social media channels, ecommerce contexts, or other marketing materials
AI Assistant access — learn how tostart using AI Assistant
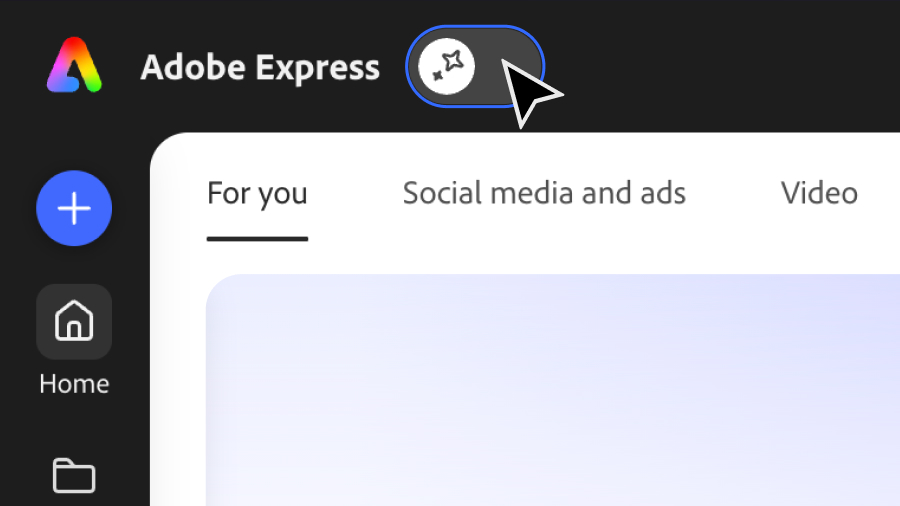
Select AI Assistant Beta from the Adobe Express homepage and turn on the toggle.
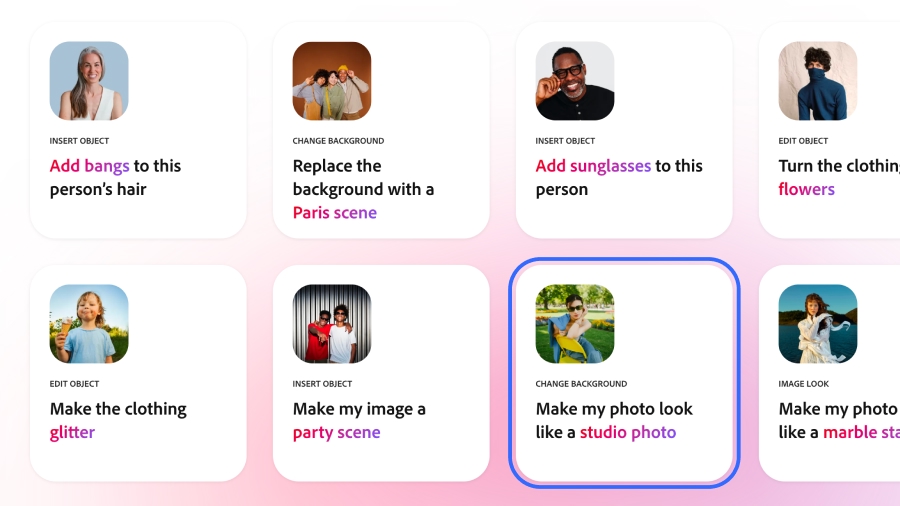
Select Edit Image, then select the Image Look “Make my photo look like a studio photo.”
Upload your photo to Adobe Express.
Select AI Assistant Beta from the Editor and turn on the toggle.
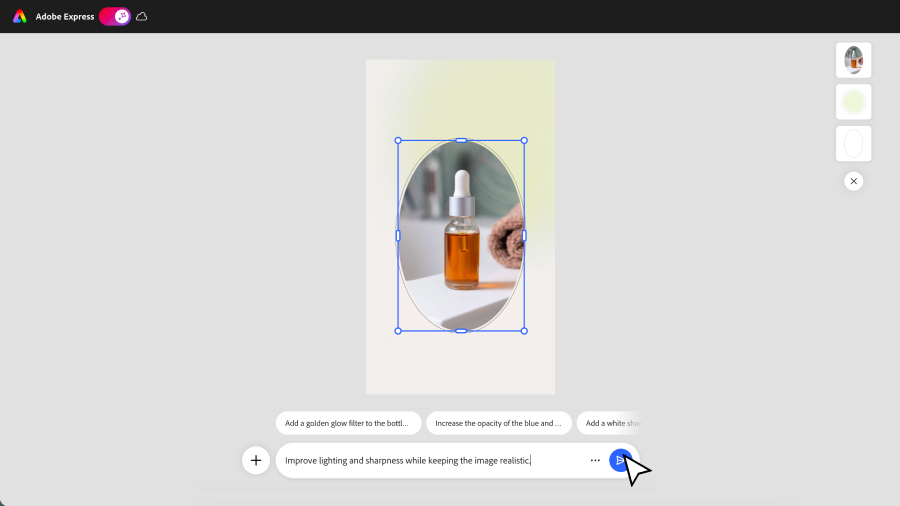
Goal
Improve clarity, composition, lighting, and overall quality.
Example prompts
“Improve lighting and sharpness while keeping the image realistic.”
“Fix this element to be in focus.”
“Enhance this image’s quality.”
“Center the product in the middle of the photo.”
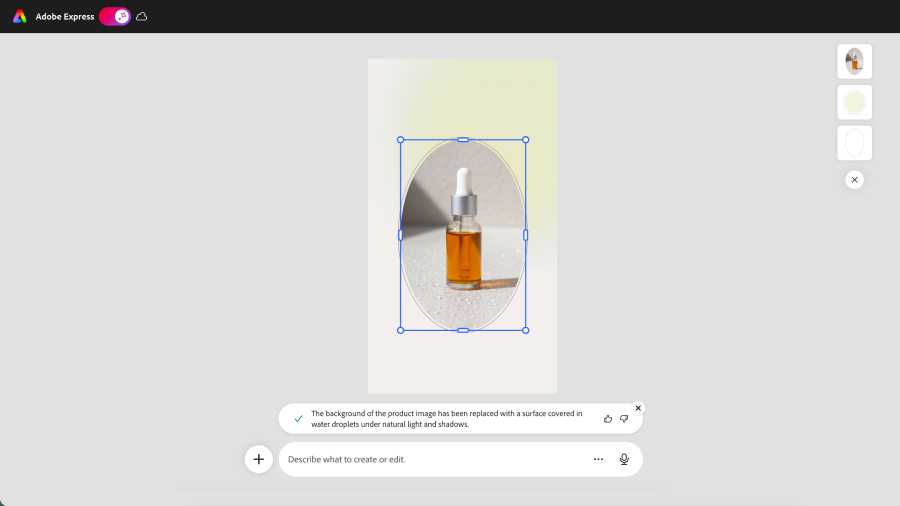
Goal
Make the product the clear focal point.
Example prompt
“Add a clean, light gray background, with subtle natural shadows under the product.”
“Place the product on a marble table with natural light.”
“Hang the product on a clean hanger against a neutral background.”
“Swap the background for water droplets for a fresh, skincare-inspired look.”
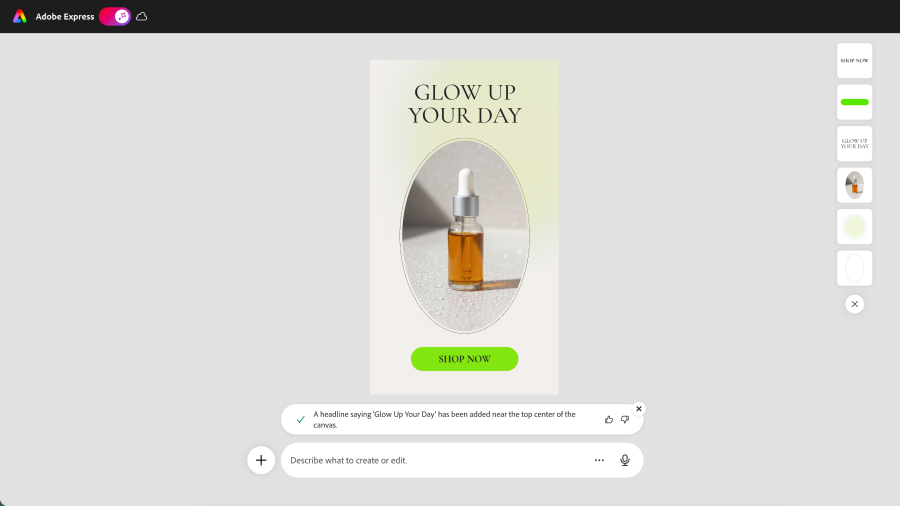
Goal
Make tweaks to the product itself and add optional copy.
Example prompt
“Add a headline for social to match this image, keeping it under 5 words.”
“Add slices of lemons and rosemary sprigs around the perfume bottle.”
“Change the soda can to say pomegranate flavored.”
“Update the woman’s hand to be holding the coffee vs. drinking from it.”
“Show the product on a desk with someone working behind it.”
Say exactly what you want changed, where, and how you want it to look. Use clear action verbs like change, replace, add, remove, or adjust, and reference specific parts of the canvas. Define any constraints such as word count, format, and so on.
Break bigger ideas into smaller, sequential prompts so AI Assistant can follow your intent. Use the workflow section above as a guide for structuring edits in phases. Try to break bigger ideas into smaller, sequential prompts so AI Assistant can follow your intent.
If something’s close but not perfect, don’t be afraid to adjust it yourself. Click into any image and look for relevant manual tools at the top of your design. Keep in mind that a prompt may work well with one image but not with another, so be sure to reword and refine when needed. Remember that you’re in charge, and AI Assistant is there to help bring your product photo vision to life.
All Consent Allowed