Drawing with vectors
What you learned
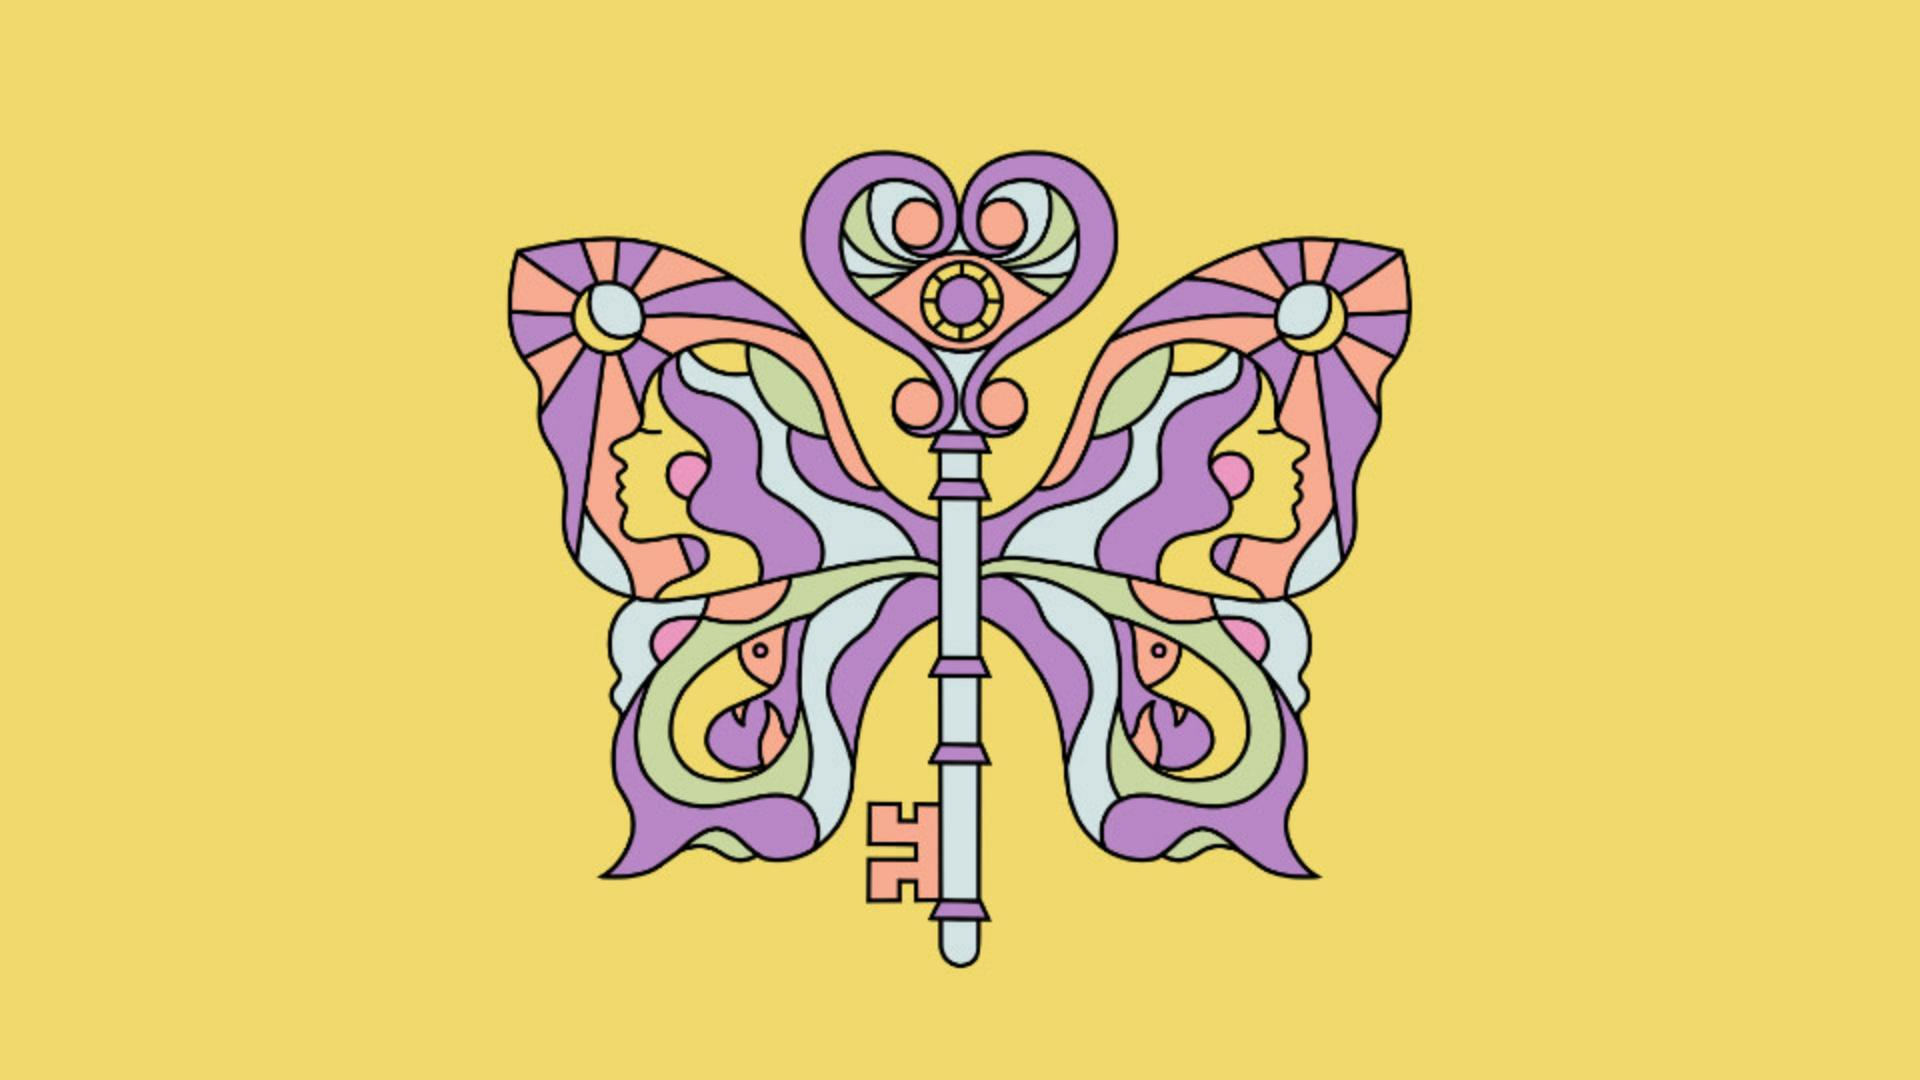
With Adobe Fresco you can make art wherever you are and quickly share it with others.
We show you how to use vector brushes to create a line drawing and color it with a custom color palette.
Place image
We've created a pencil sketch in Fresco on iPad that we're going to bring into the iPhone app and use as a guide.
To make it easy to trace the lines, lower the opacity of the sketch.
Customize your brush settings
First, we're going to create outlines and then add colors. But before drawing, adjust your brush settings.
Remove taper at both ends of the brush so it has rounded tips instead. Also, turn off pressure and velocity dynamics so that your strokes have a consistent width.
To remove unwanted wiggles in the lines, try applying some smoothing to your stroke.
Start drawing
Now make your canvas full screen and start tracing with your finger.
Zooming in on each part of the drawing will help you trace the lines as accurately as possible. You can also rotate the canvas and draw at any angle.
Drawing tips
It takes practice to get used to drawing with your finger on a small screen but no worries–you can always use Undo and correct any mistakes. Just tap with 2 fingers to undo and tap with 3 fingers to redo.
It’s convenient to draw different elements of your composition on separate layers so that you can edit them separately if needed, without messing up the whole design. You can always merge them down later.
To draw faster, use the Touch shortcut. It’s a little circle in the lower left corner of the screen. You can turn it on under Settings, if it’s not already on.
With the Touch shortcut you can quickly change your brush into an eraser. All you need to do is hold it down while using the brush, or double tap it to lock it into its primary state.
The Touch shortcut also helps to trim lines that overlap. Just double tap it, then tap it again to set it into its secondary state and cross over the unwanted parts.
There is a way to draw straight lines in Fresco. All you need is to turn on the Snapline setting and hold at the end of your stroke to turn it into a straight line.
Finish drawing
You can always reuse parts of your drawing by duplicating your layers.
For example, make a copy of the wings layer and then flip it horizontally.
Once you finish drawing, merge your layers into one and duplicate it so that you can add colors to your outlines.
Adding colors
One of the ways to create a custom color palette is to pull colors from an image.
You can use a Stock image, or one that you have on your phone, and sample the colors from it with the Eyedropper tool.
Once used these colors save to swatches to use again later. You can save as many colors as you want and experiment with various color combinations.
Now that you have a custom color palette, you can quickly fill different parts of your drawing with different colors. To make the Fill tool work seamlessly, make sure that there are no gaps between the lines.
Export and share
That’s it!
It looks nice and it's ready to share with all your friends.
Illustrator And Presenter