Construct a striking email header in a vintage modern style
Create a bold email header with fonts, shapes, and colors to build a reusable template that reflects your brand.
Published
Note: Stock assets provided are for practice purposes only. See terms.
What you’ll learn
Set up the header size
Create a new document with the exact size and resolution you need. Then, import your logo, text, and brand colors to start designing.
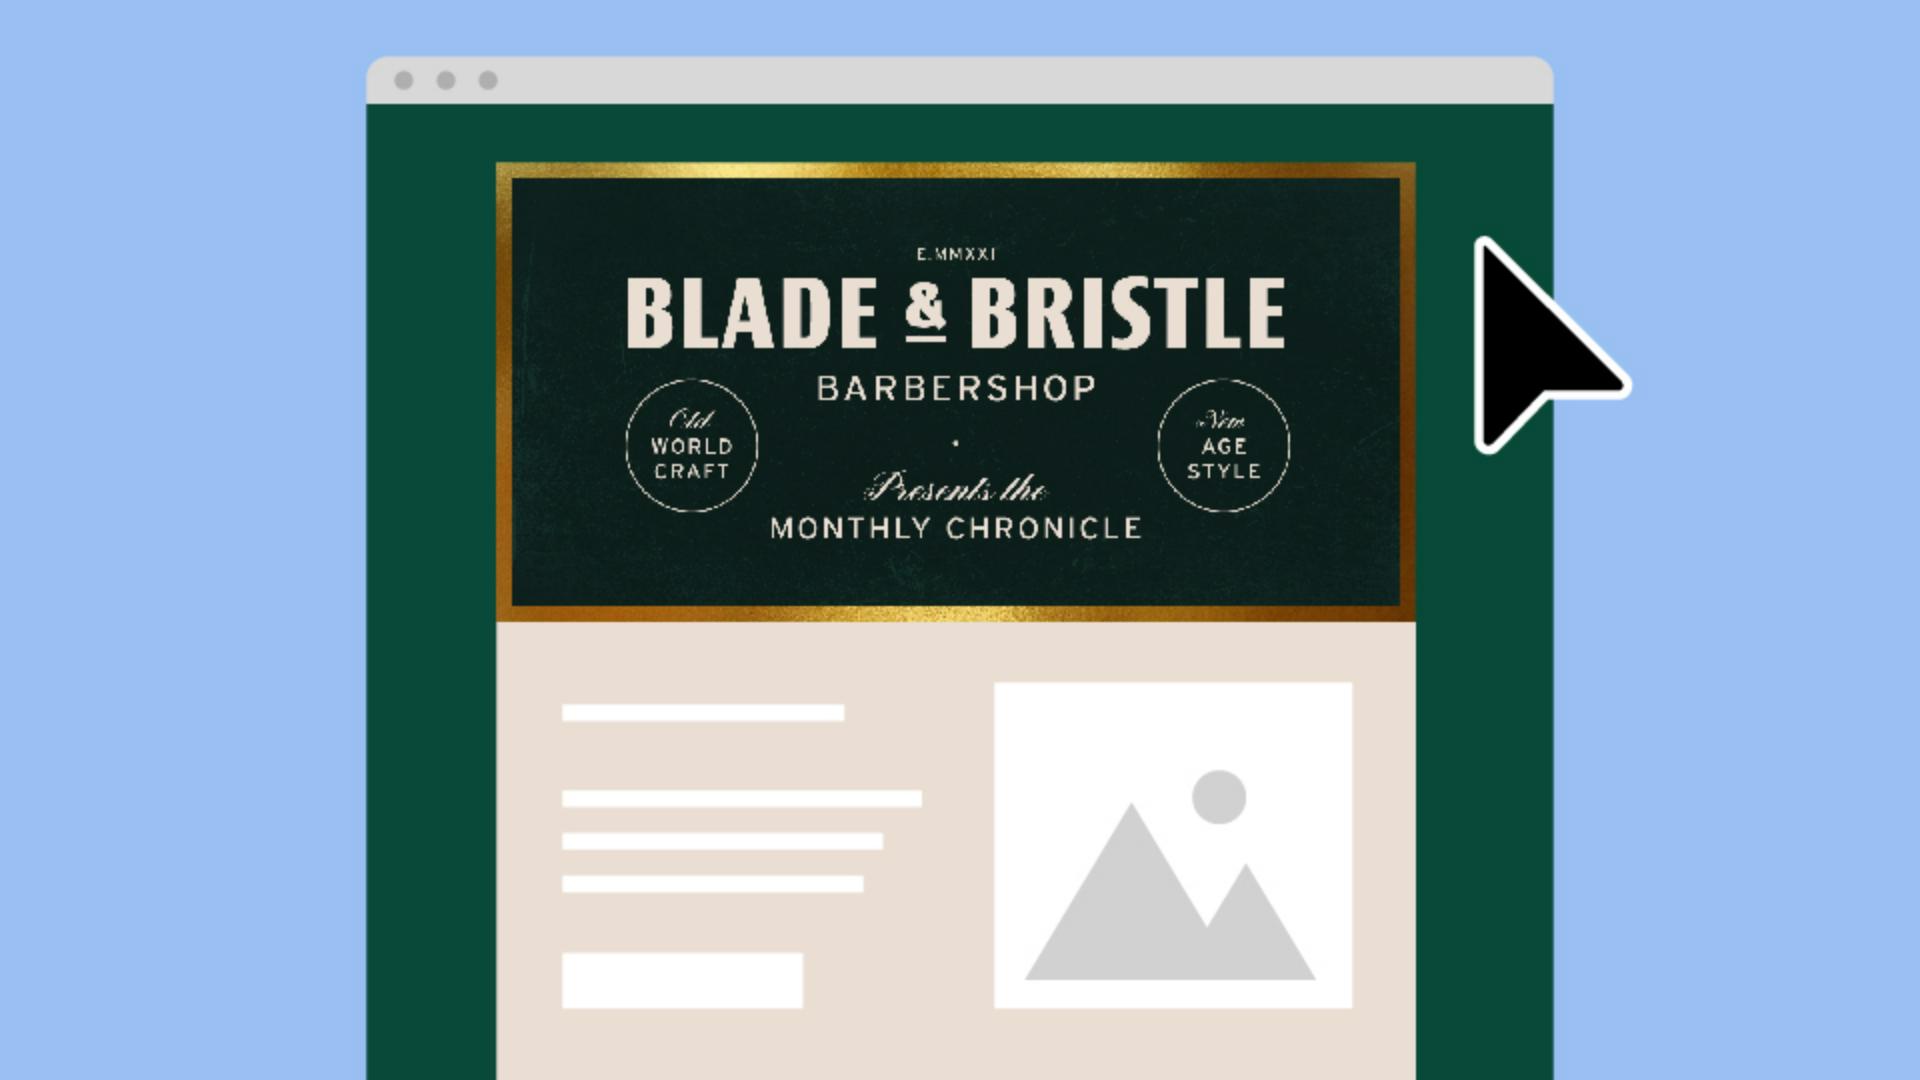
Lay out the design elements
Choose fonts that complement your logo’s unique style. Adjust font sizes and styles, and use stacked objects to create monogram-inspired elements. A shiny border adds extra flair and ties the design together.
Explore variations and save your header
Experiment with color variations or swap design elements for seasonal use. Save the designs in Illustrator format for future edits and export a JPEG at medium resolution for email use.
Instruction by
Design by