Make repeating patterns to apply to art
See how to make a repeating pattern from your own artwork. Your custom pattern can now be applied to other shapes!
This sample file contains assets provided by Adobe Stock for your tutorial practice purposes only. Check out the ReadMe file in the folder for the terms of use for this file. Adobe Stock has millions of royalty-free images and videos for your commercial use. You can get 10 images with a free month trial.
What you learned
Start a pattern from existing artwork
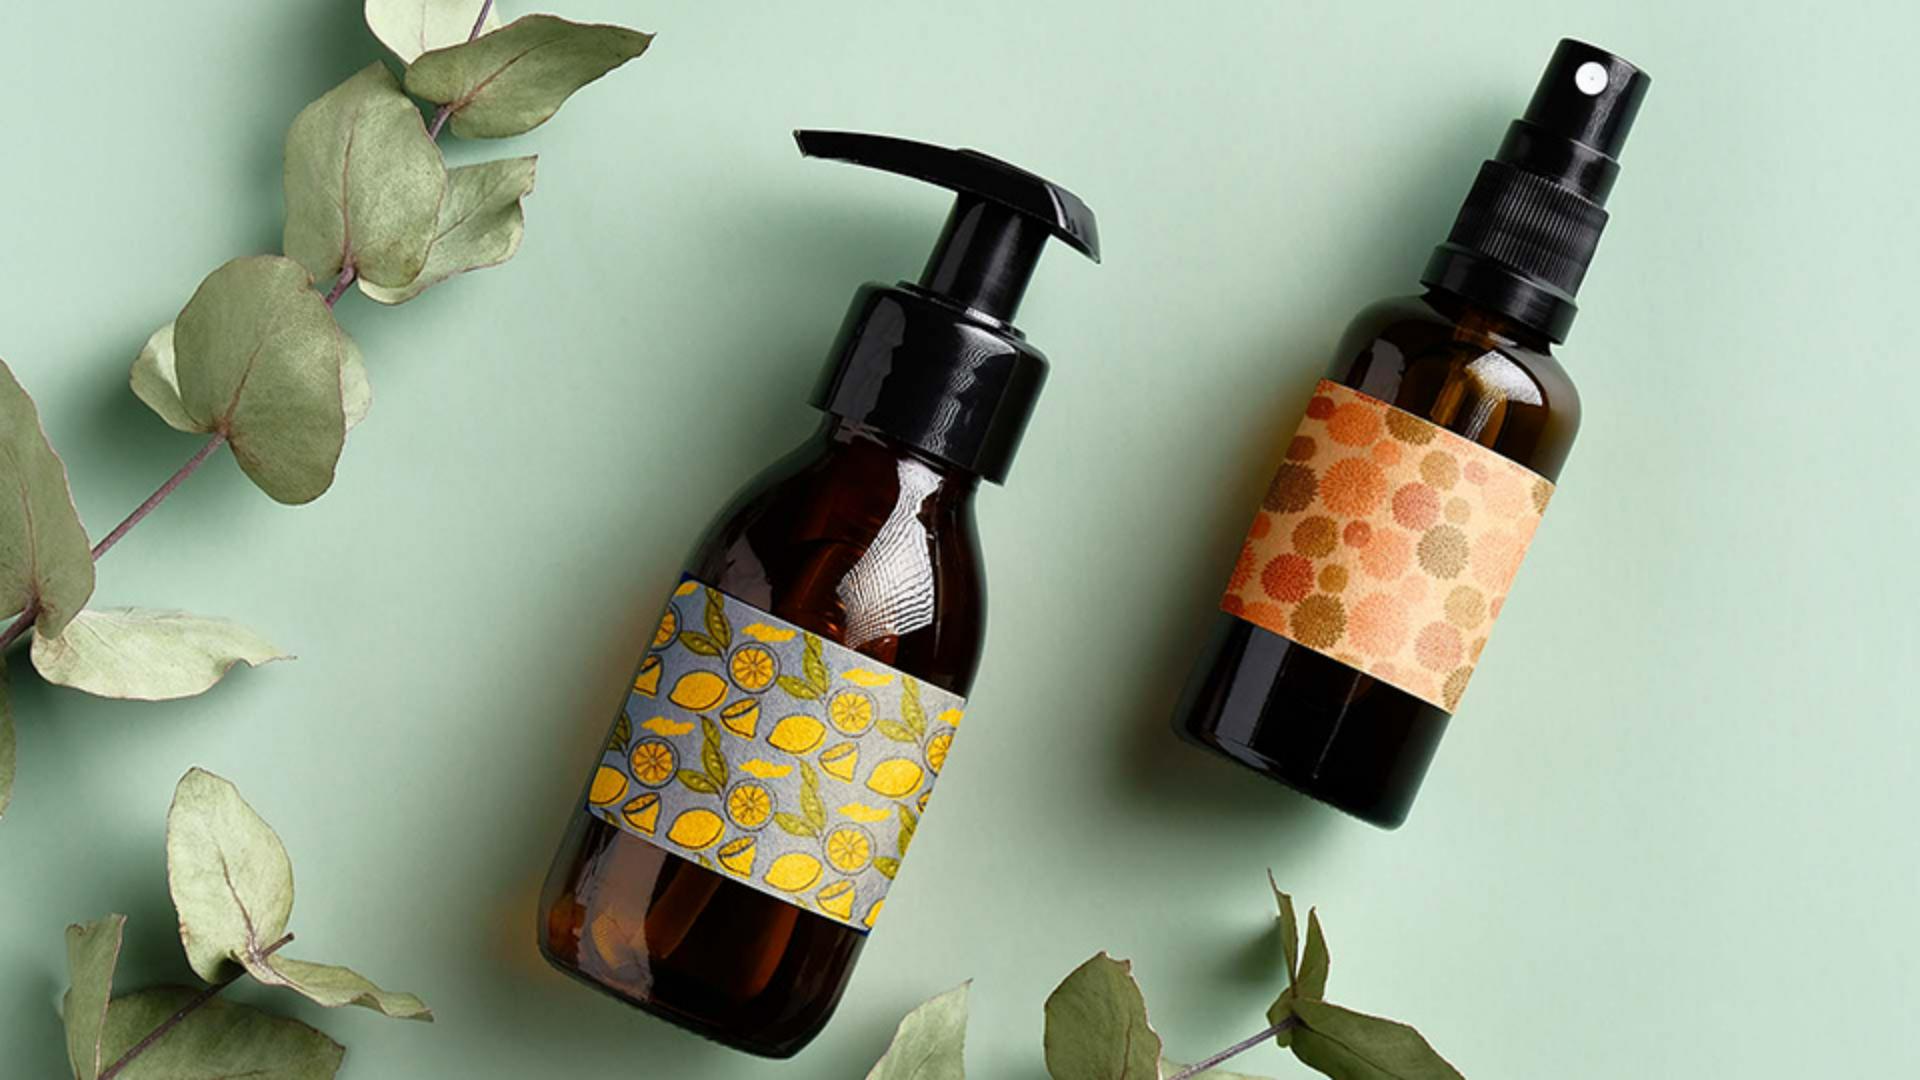
Select your design elements and apply some options to create a pattern tile that repeats to create unique designs. Your custom pattern tile is saved automatically, so you can easily access it to edit or apply it to artwork later.
Pattern design
Get familiar with the pattern tile and how it repeats to create a spare or densely-packed pattern. Modify various pattern options to change your pattern’s scale, spacing, and appearance. Create popular repeating styles like the “half-drop pattern” and others instantly!
Edit your pattern
Modify your pattern swatch to automatically update the pattern-filled areas in your design.
Watch until the end for a tip you'll use over and over— learn how to change the pattern scale to suit particular needs!
Instructor