Intro to different types of guides in Illustrator
Hey, my friends, my name is Tyler Pate, also known as The Creative Pain.
And today we're going to be walking through the different types of guides you can use in Illustrator to keep your work aligned, precise and organized.
Guides are one of those quiet but powerful features in Illustrator.
They don't print and they don't distract us from our art, but they keep everything consistent and in the right place when designing.
Show rulers and create drawing guides
Let's start by looking at our rulers.
Rulers are great for measuring and placing objects accurately.
We can show or hide rulers at any time by going to View, Rulers, Show Rulers.
And if you want to change the measurement units, head over to Preferences, Units, and pick what works best for you.
The best part is Illustrator actually gives you two types of rulers global rulers, which sit at the top and left of your whole document, and then artboard rulers which sit at the top left of whichever artboard you're working on.
What's the big difference?
With artboard rulers, the origin point resets at each artboard, while global rulers allow you to set the measurement origin to anywhere in the document.
We can change or switch between these settings by going to View, Rulers, Change to Artboard Rulers.
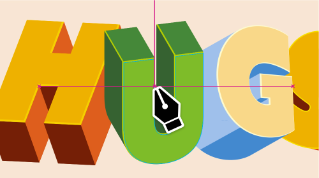
One of the best parts of using rulers in your workflow is that you can create guides directly from them.
Just click and drag down or across from your ruler to pull out a guide.
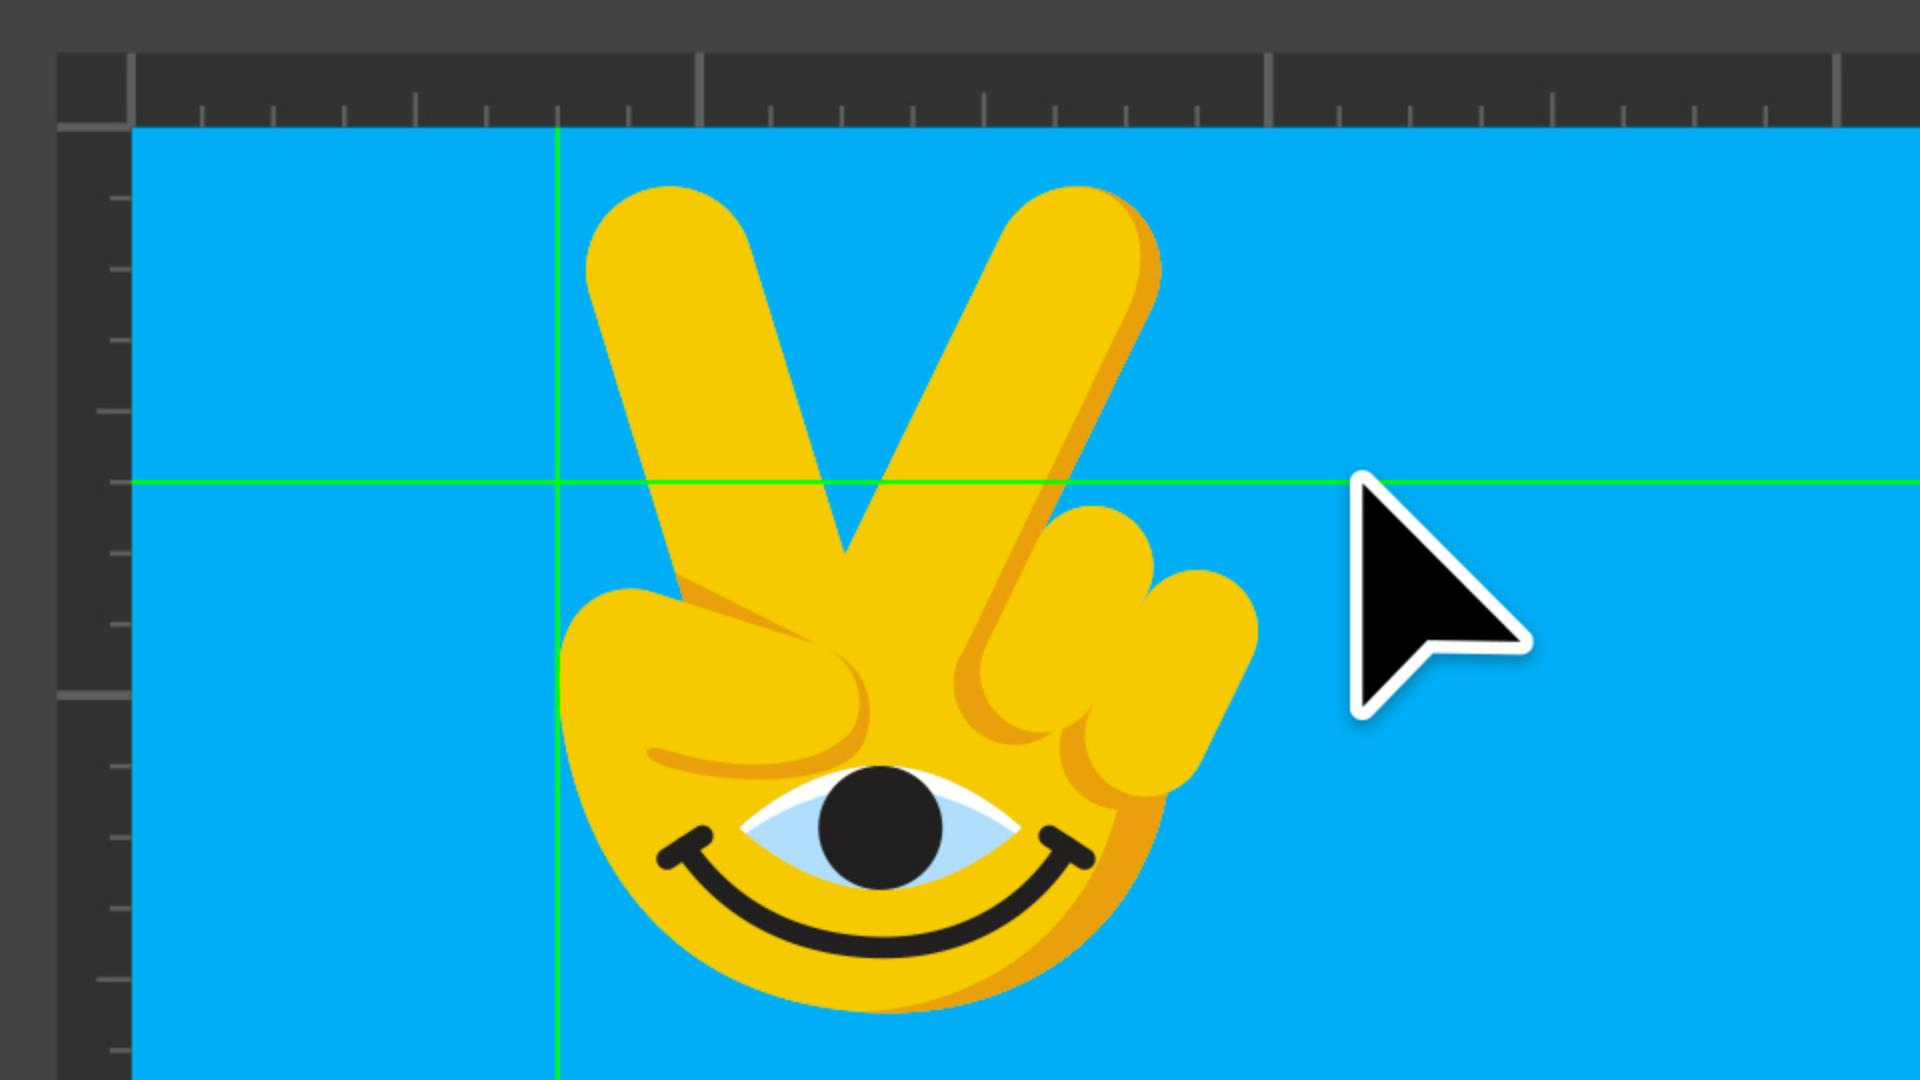
Guides can appear in lines or dots, and you can even customize their color in Preferences, Guides & Grid.
By default, guides are unlocked so you can move them freely, but if you want them fixed in place, go to View, Guides, Lock Guides.
You can show or hide guides at any time under View, Guides, Show/Hide.
And if you want to start fresh, just select View, Guides, Clear Guides.
Convert shapes into custom drawing guides
Did you know we can even convert shapes into guides?
Simply right-click the shape and select Make Guides.
This is super helpful when you need custom guides to work with during your creative process.
Employ Smart Guides
Now let's look at Smart Guides, my personal favorite.
We can easily turn these guides on or off by going to View, Smart Guides.
These are temporary Snap to Guides that pop up as you move, align, or transform objects.
Smart guides will show you things like alignment to edges, midpoints or centers, plus little labels for spacing or positioning.
We're able to customize exactly what they display in our Smart Guides Preference.
For me, smart guides are essential.
They keep my workflow fast and precise without needing to set up a ton of manual guides.
The last thing I want to show you is how easy it is to refine your guides' settings.
You can adjust Alignment Guides, Geometric Guides, Spacing Guides, even Construction Guides by going to Preferences, Smart Guides.
Each option gives you a different level of control over how your guides behave.
One of my favorites is construction guides.
They're perfect when you're working with angled grids, like building isometric artwork at a 30-degree angle.
That's a quick walkthrough of all the different types of guides in Illustrator, rulers, grids, custom guides, and smart guides.
Each one gives you a different way to keep your work accurate and your layouts consistent.
Thank you so much for watching.
My name is Tyler Pate, and I'll see you at the next one.