Introduction
Artboards are one of Illustrator's best kept secrets for staying organized.
Hi, I'm Nigel French.
I'm a graphic designer and photographer.
In this video, I'll share a few simple techniques to tidy up your workspace, reduce mistakes, and make managing your artwork a whole lot easier.
Let's get started.
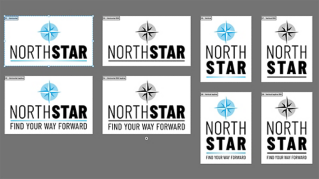
Focus on specific artboards
On the Artboards panel, I can lock artboards selectively.
For example, if I want to focus on Artboard 1, I can lock Artboards 2 and 3.
Now when I press Ctrl or Cmd A to select all, only the artwork on Artboard 1 is selected.
This lets me focus on a specific artboard, and it's a safer way to work.
Rename and rearrange with ease.
Artboards are easy to rename, either using the Properties panel, the Artboards panel, or directly on the canvas.
Notice that the artboard number updates automatically if you change the artboard order.
To have the order visually reflect the layout, rearrange the artboards.
You can rearrange artboards using the Artboard Tool or the Artboard panel.
Here, I'd like to arrange them as a single column and specify the Spacing between.
I'll press Shift O to access the Artboard Tool.
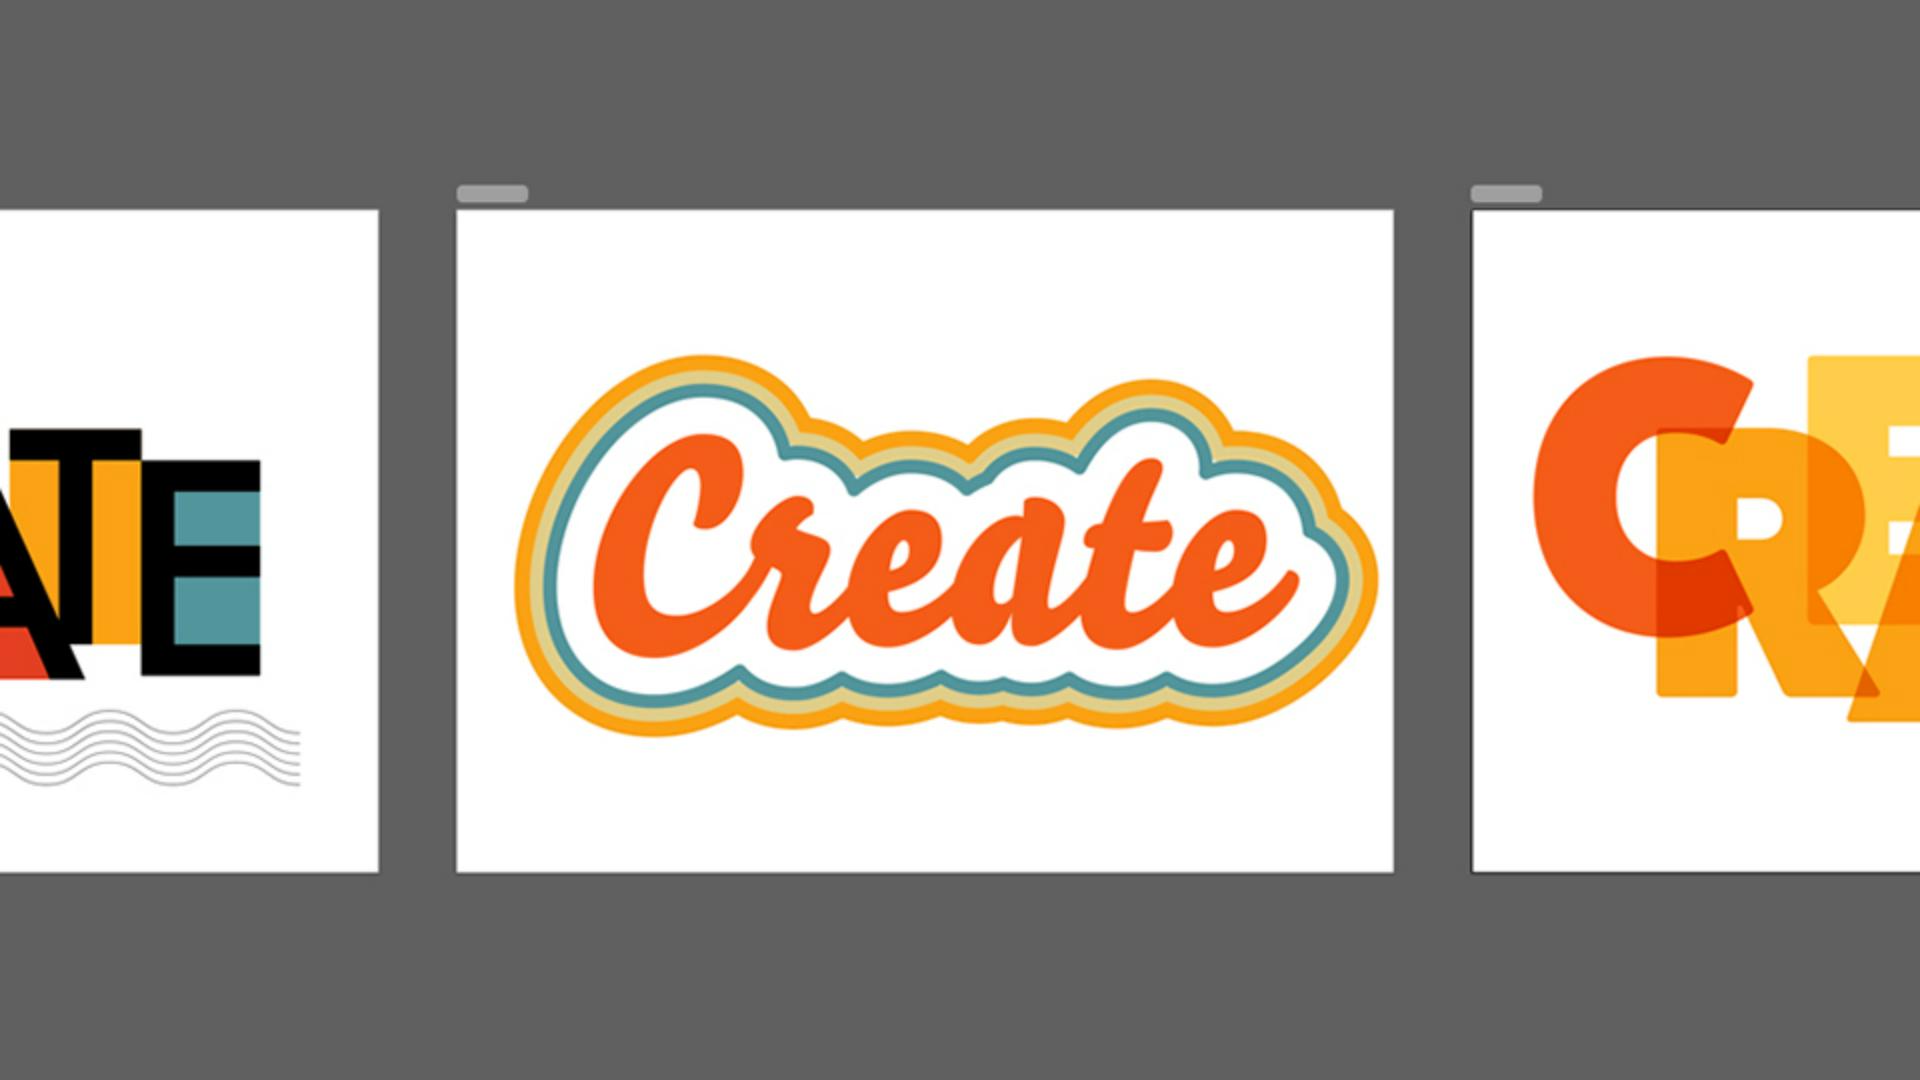
Customize artboard colors and export options.
In the Artboard Tool, we can change the Artboard Fill color.
The default is transparent.
We can also choose a color from the Color Picker or sample color from our artwork.
This saves the need to draw a background rectangle, fill it with a color, and then align it to the artboard.
In the Artboard Tool, right-click any of the artboards to bring up the context-sensitive menu.
Then choose Export...
Select which artboards you want to export and what file Formats and Scales you want to export them to.
There's also the handy option of adding a Prefix to the file names that are created.
Any artboard background is included for the SVG files, but reverts to transparency in the PNG files.
Thanks for watching!
Give these tips a try in your next project and see how they can help you stay organized and focused.