Make the perfect PDF for your needs
This sample file contains assets provided by Adobe Stock for your tutorial practice purposes only. Check out the ReadMe file in the folder for the terms of use for this file. Adobe Stock has millions of royalty-free images and videos for your commercial use. You can get 10 images with a free month trial.
What you learned: Best practices to optimize the PDF files you export from InDesign
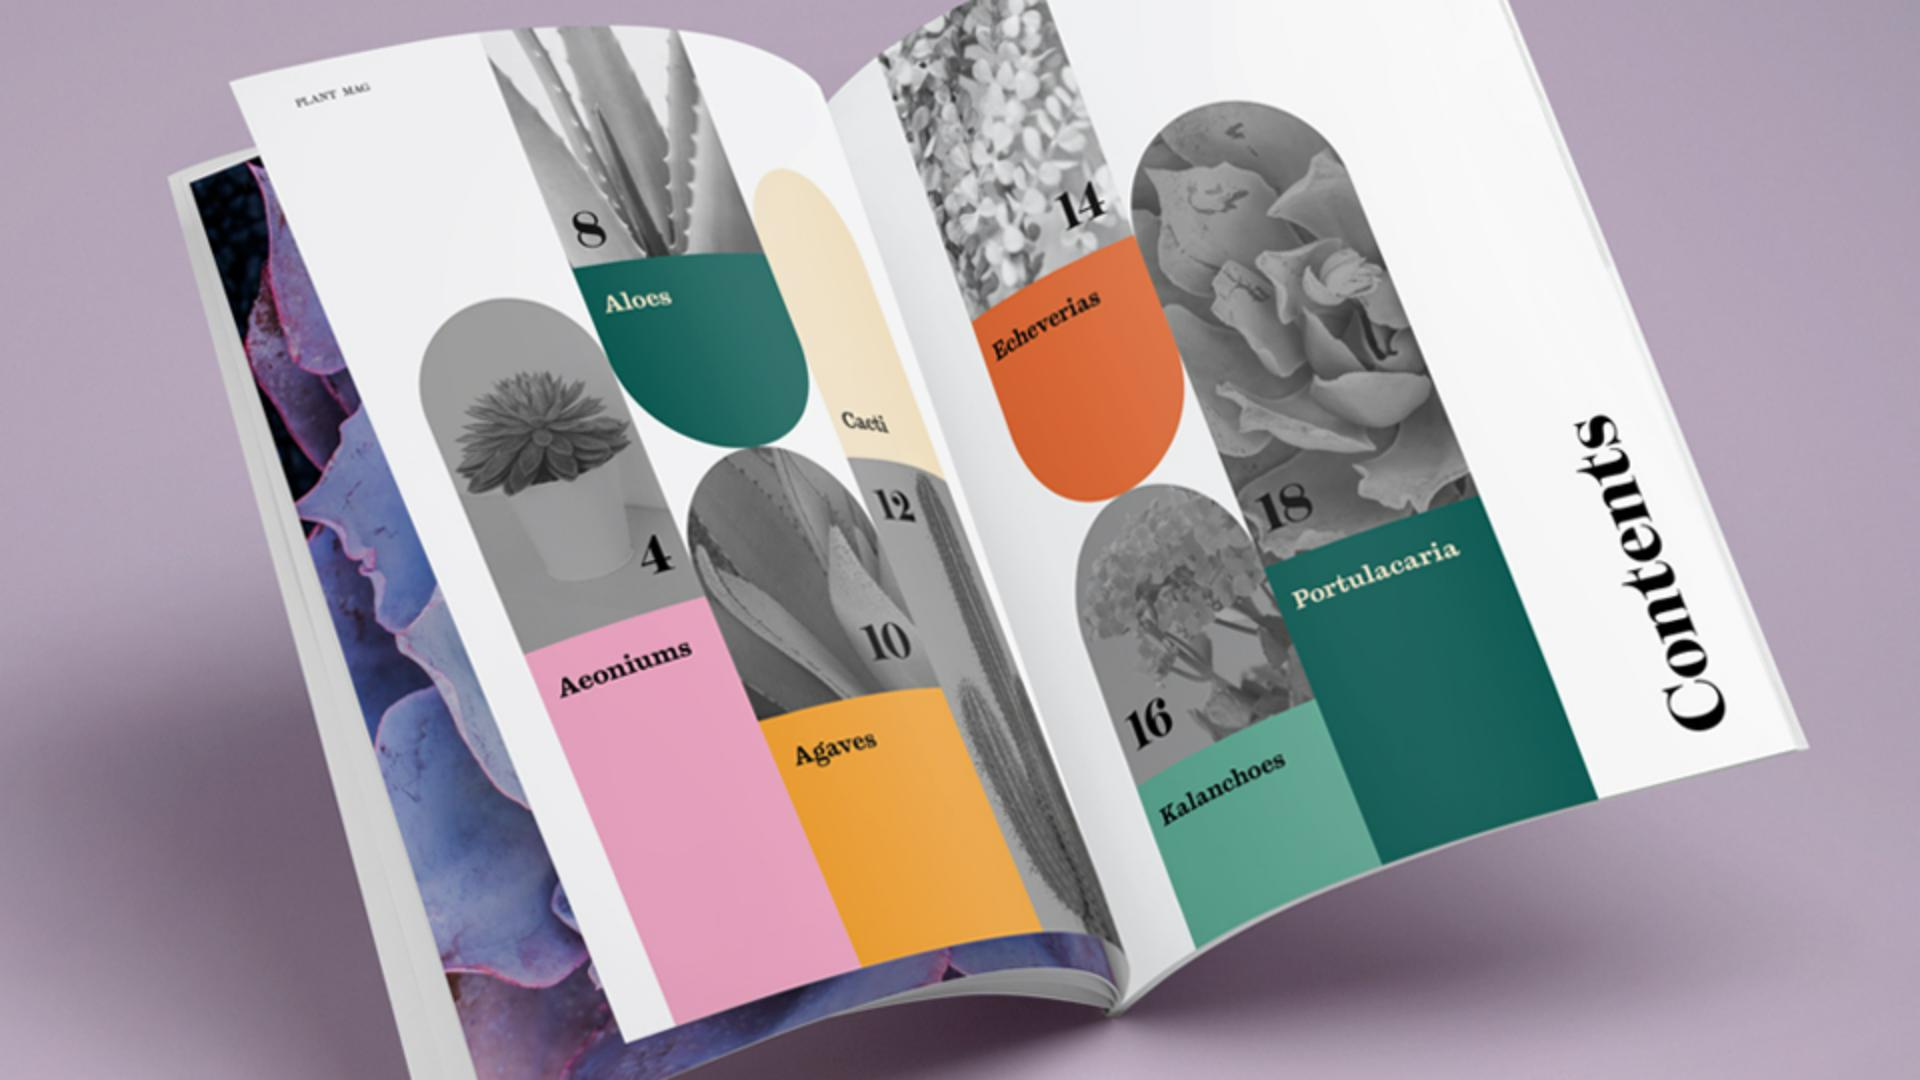
Saving your InDesign document as a PDF is a great way to share it with others or even for printing. When you create a PDF, there are many different options you can set—based on how you’ll use it. For example, preserve clickable links and buttons for interactive content, or generate a file to upload to an online print service.
Check for issues first
Before you make a PDF from your InDesign document, double-check the images, fonts, spelling, and more, to ensure it looks good and prints correctly.
Here is a sampling of the key things to check before exporting:
Check your spelling! To spellcheck your document, choose Edit > Spelling > Check Spelling.
Make sure your images aren’t missing or modified in the Links panel (Window > Links).
Check for missing fonts. When you first open a document with missing fonts, an alert appears. Get those fixed so the text looks the way you intended.
Make sure all of the text is visible.
Luckily, when you export a PDF, InDesign automatically performs a quick check for some of those issues for you. When exporting, you’ll be notified if any images are missing or modified, if there is overset text, and if there are missing fonts.
Tip: You can also employ the Preflight feature in InDesign to run a more thorough check of your document. Preflight can be found in the status bar below the document.
Export your PDF
Choose File > Export. In the Export dialog box, choose Adobe PDF (Interactive) for a document with interactive content like links and buttons meant for on-screen viewing, or Adobe PDF (Print) for a document you mean to print. For this tutorial, we chose Adobe PDF (Print).
In the Export Adobe PDF dialog box, you can set any number of options to tailor your PDF. Here are some of the more commonly used options:
Start with a Preset: Presets are a predefined group of settings that are chosen depending on how the PDF is used. For example: Smallest File Size is best when you plan on emailing the PDF and High Quality Print is a great choice if you are printing on your desktop printer.
General: Specify which pages to export and whether they should be single pages or spreads (for facing page documents).
Compression: Specifies if artwork should be compressed and downsampled, and if so, which method and settings to use.
Marks and Bleeds: Specifies printer’s marks and the bleed and slug areas.
Security: Adds security to the PDF file, like setting up password-protection to open or edit the PDF.
Adobe Stock contributors
Presenter
Brian Wood