Create a layout with text and graphics
Learn how to create and manipulate frames in InDesign.
Published

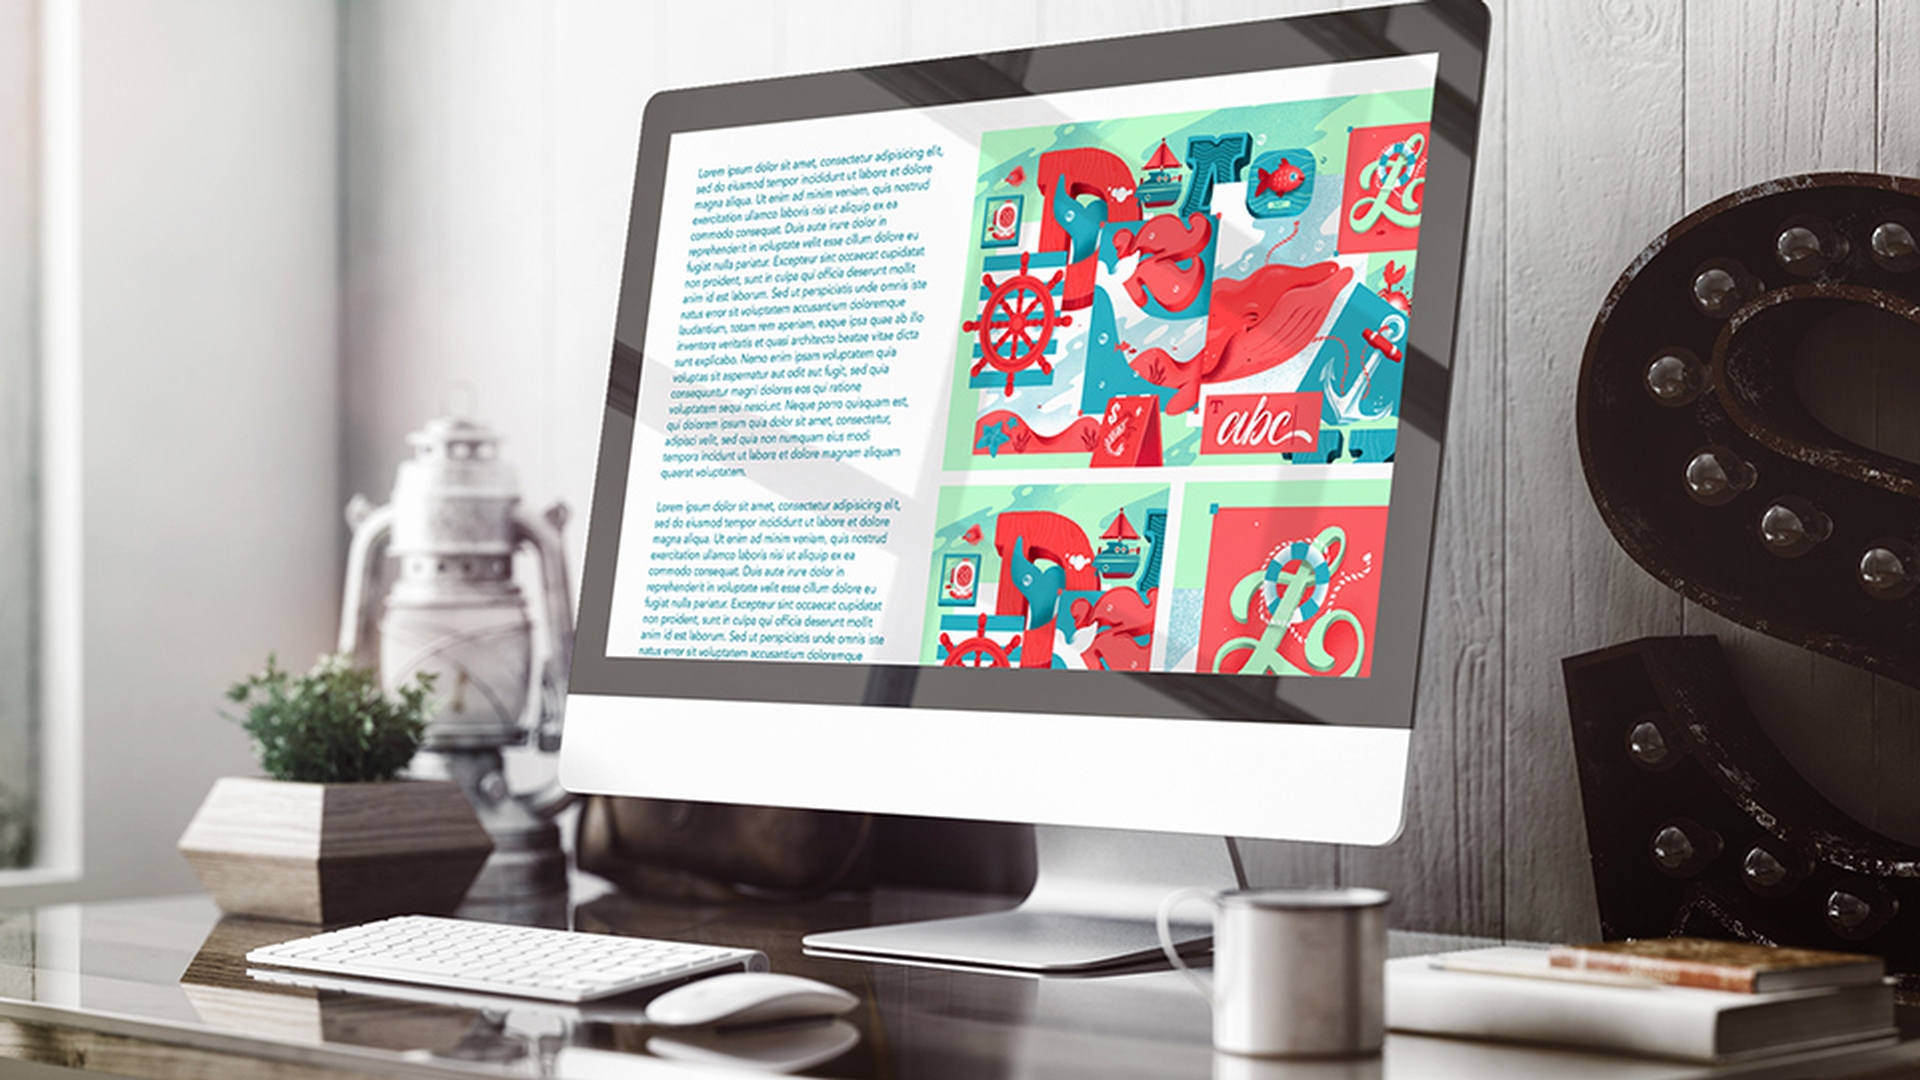
All text, illustrations, and images exist inside of a frame within InDesign.
The first thing that I'm going to do is show you how you can create a text frame.
I'm going to press the T key on the keyboard to activate the type tool.
You'll notice that the cursor changes to an I beam.
All I have to do is click and drag to define the text frame.
After doing that, I can come up to the Type menu and from the Type menu, I can choose Fill with Placeholder Text.
Now what I want to do is place an image within the document.
It's really important not to have a frame selected so I'm going to press the escape key on the keyboard to activate the selection tool.
Then I'm going to click away from this frame to de-select it.
Now we can come up to the File menu, and from the File menu, you can choose Place.
Command D or Control D is the keyboard shortcut.
Select an image, and click Open.
When you do that, you'll notice that your cursor changes.
It indicates that you have a graphic loaded.
If you click once, the image will be brought in at 100%.
If you prefer to define the size of the frame, you can do that as well.
I'll go ahead and undo this, Command Z or Control Z, then I'll simply click and drag again, and this will define the size of the frame.
Of course you can always resize the frame.
You can use any one of these resize handles.
You can make it larger or smaller by dragging these handles.
If you place your cursor outside of one of the corners, you can rotate the frame.
I'll go ahead and undo that.
And if you hold down the shift key, you'll constrain the proportions of the frame.
If you increase the size of the frame, you have some options in terms of what the image will look like inside of it.
Up here in the control panel, you'll notice that there's a collection of buttons.
This first button will allow you to fill the frame while maintaining the proportions of the artwork.
You also have the ability to numerically change the width and the height of the frame.
For example, if I know that I want this frame to be five inches, I can come over to the width text field in the control panel and type that value in.
I'll type in 5 in, and in this case, I'll have this chain link icon selected which will constrain the proportions of the frame.
Once I tab away from it, you'll notice that it's resized.
In this case, I resized it so it's a little bit smaller.
Because it's a little bit smaller, you'll notice that the image is cropped.
If I place my cursor inside of the frame, you'll notice I get a move arrow.
If I click and drag, I can move the frame.
But you'll also notice that there's a circle in the center of the frame.
And this circle is the content grabber.
It allows you to grab the content within the frame.
And in this case, if I click, I can drag to move the image around within the frame to essentially recompose it.
There's also several tools that give you the ability to create new frames within InDesign.
One of course is the rectangle frame tool.
If you select it, you can click and drag out a new frame, but if you prefer to be a little bit more precise, you can simply click once and a dialog box will appear.
In this case, I want this frame to be 1.67 inches wide and 1.67 inches tall.
If you click OK, the frame is created to those exact dimensions.
But you're not restricted to just that tool.
For example, I can come over and highlight the rectangle tool.
In this case you'll notice that I have a stroke color associated with it.
Again, I'm going to click one time to open up a dialog box so I can type in specific dimensions for this frame.
After doing that, I'll click OK, and you'll notice that the frame is inserted.
But you'll notice that there's a difference between this frame that we just created and the frame that we created a moment ago.
I can press the W key on the keyboard to enter the Preview mode.
By doing that, you can see that this frame has a black stroke whereas the first frame that we created is essentially invisible.
I'll press W again to return to the original view.
If we want to insert images into these frames, all we have to do is select the frame.
In this case, I want to place an image within the first frame that we created.
So with it selected, we can come up to the File menu.
And from there, I can choose Place.
I'll go ahead and select this second image and click Open.
And likewise, I'll add the third image to this frame.
With it selected, I'll use the keyboard shortcut Command D on the Mac, Control D on Windows.
I'll select the third image, and I'll click Open.
Remember, you always have the ability to use these options up here towards the top to manipulate the content within the frame.
So as you can see, all text and images exist inside of frames within InDesign, and you can use the frame handles to manipulate the frame and the content grabber to manipulate the image or the content inside of the frame.
Contributors
Train Simple
Matthew Pizzi

