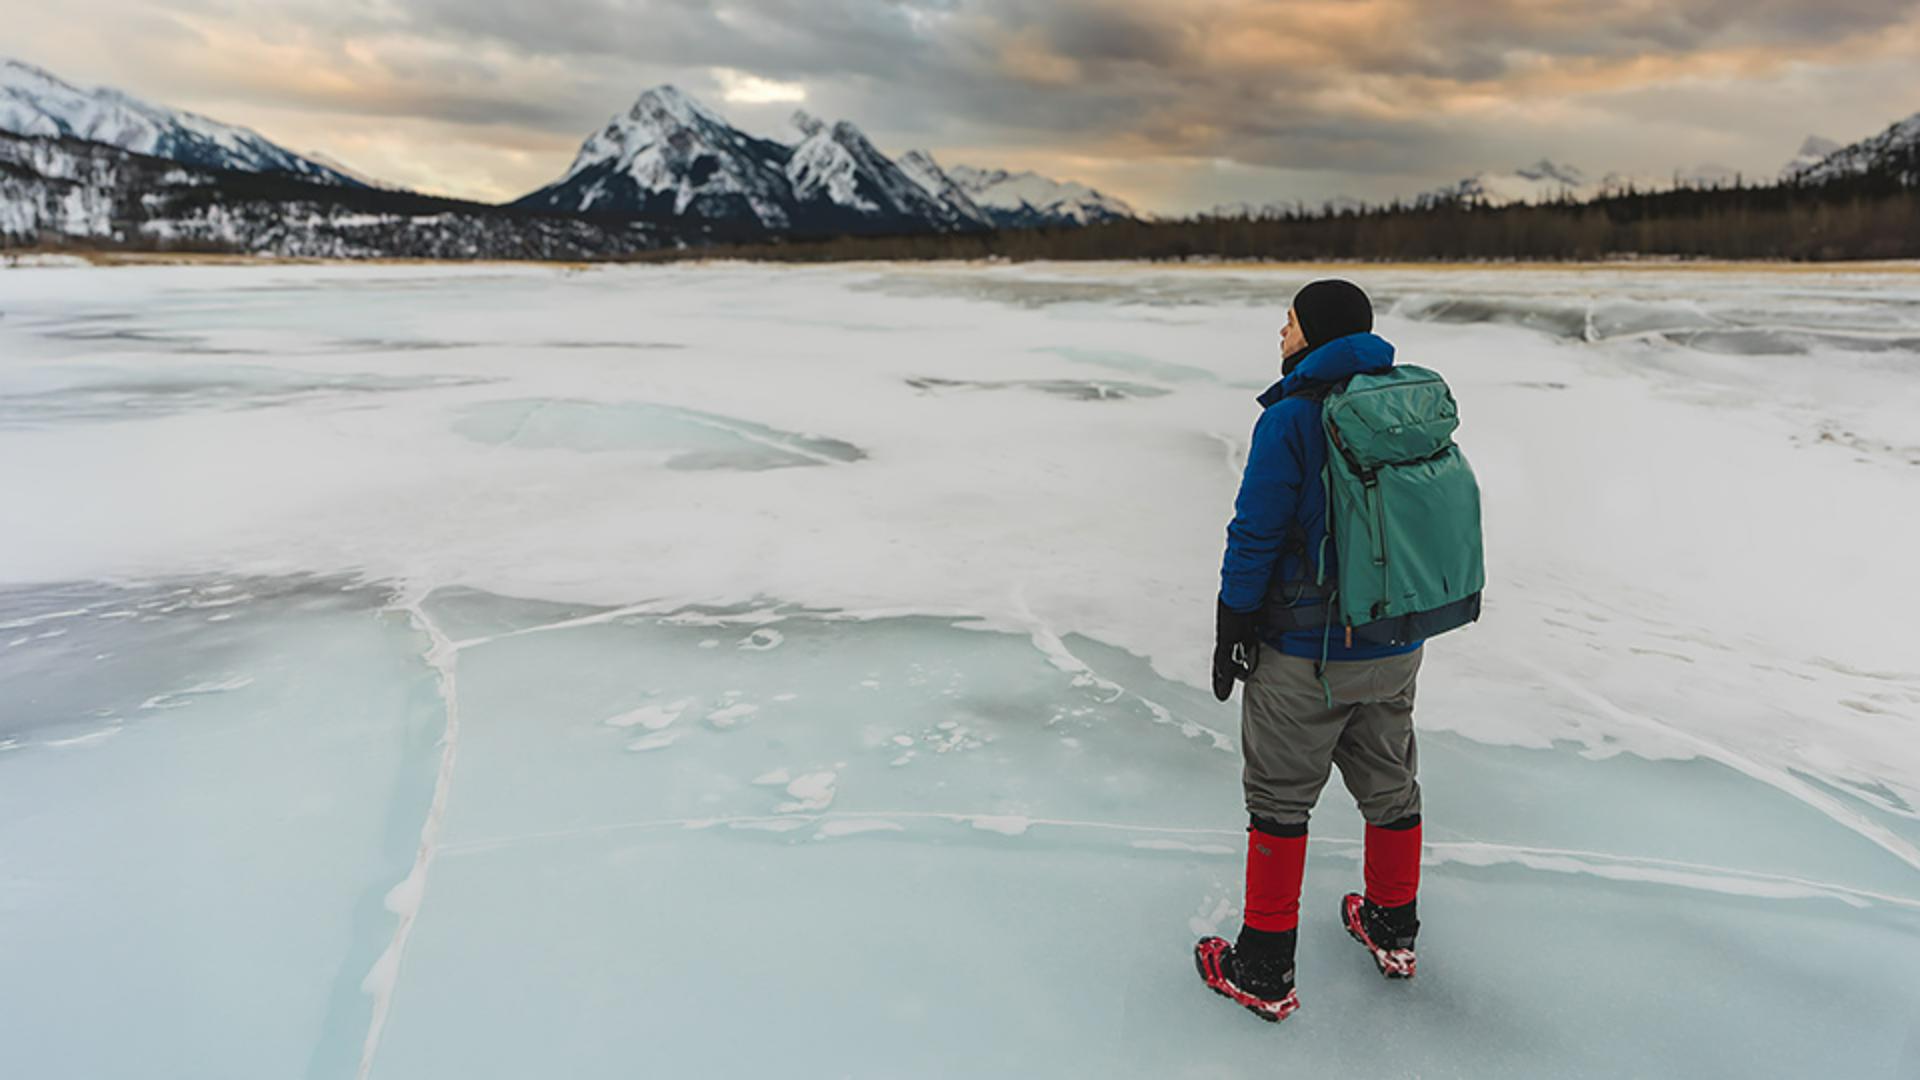
Create custom masks for precise image adjustments
Apply edits to specific areas in a photo by combining and modifying masks using add, subtract, and intersect.
Published
Note: Stock assets provided are for practice purposes only. See terms.
What you'll learn
Combine and modify masks
Lightroom provides a range of excellent masking features that can be used to apply adjustments to specific areas in a photo. You can modify a mask using both manual and AI-powered masking tools. To add to or subtract from an existing mask, click those buttons below the mask thumbnail in the masks panel, and choose the masking feature you want to use. To modify an existing mask with intersect, click the three dot icon below the mask, select Intersect with Mask Using..., and then choose a masking method.
Instruction and photography by