In this video, you will learn how to import presets from other creators into Lightroom.
To follow along download the sample files from the Adobe page for this tutorial.
You can use your own photo if you like, but make sure that you download the free preset pack, so that you can import the same presets that I will be using.
Opening the presets panel and preparing to import
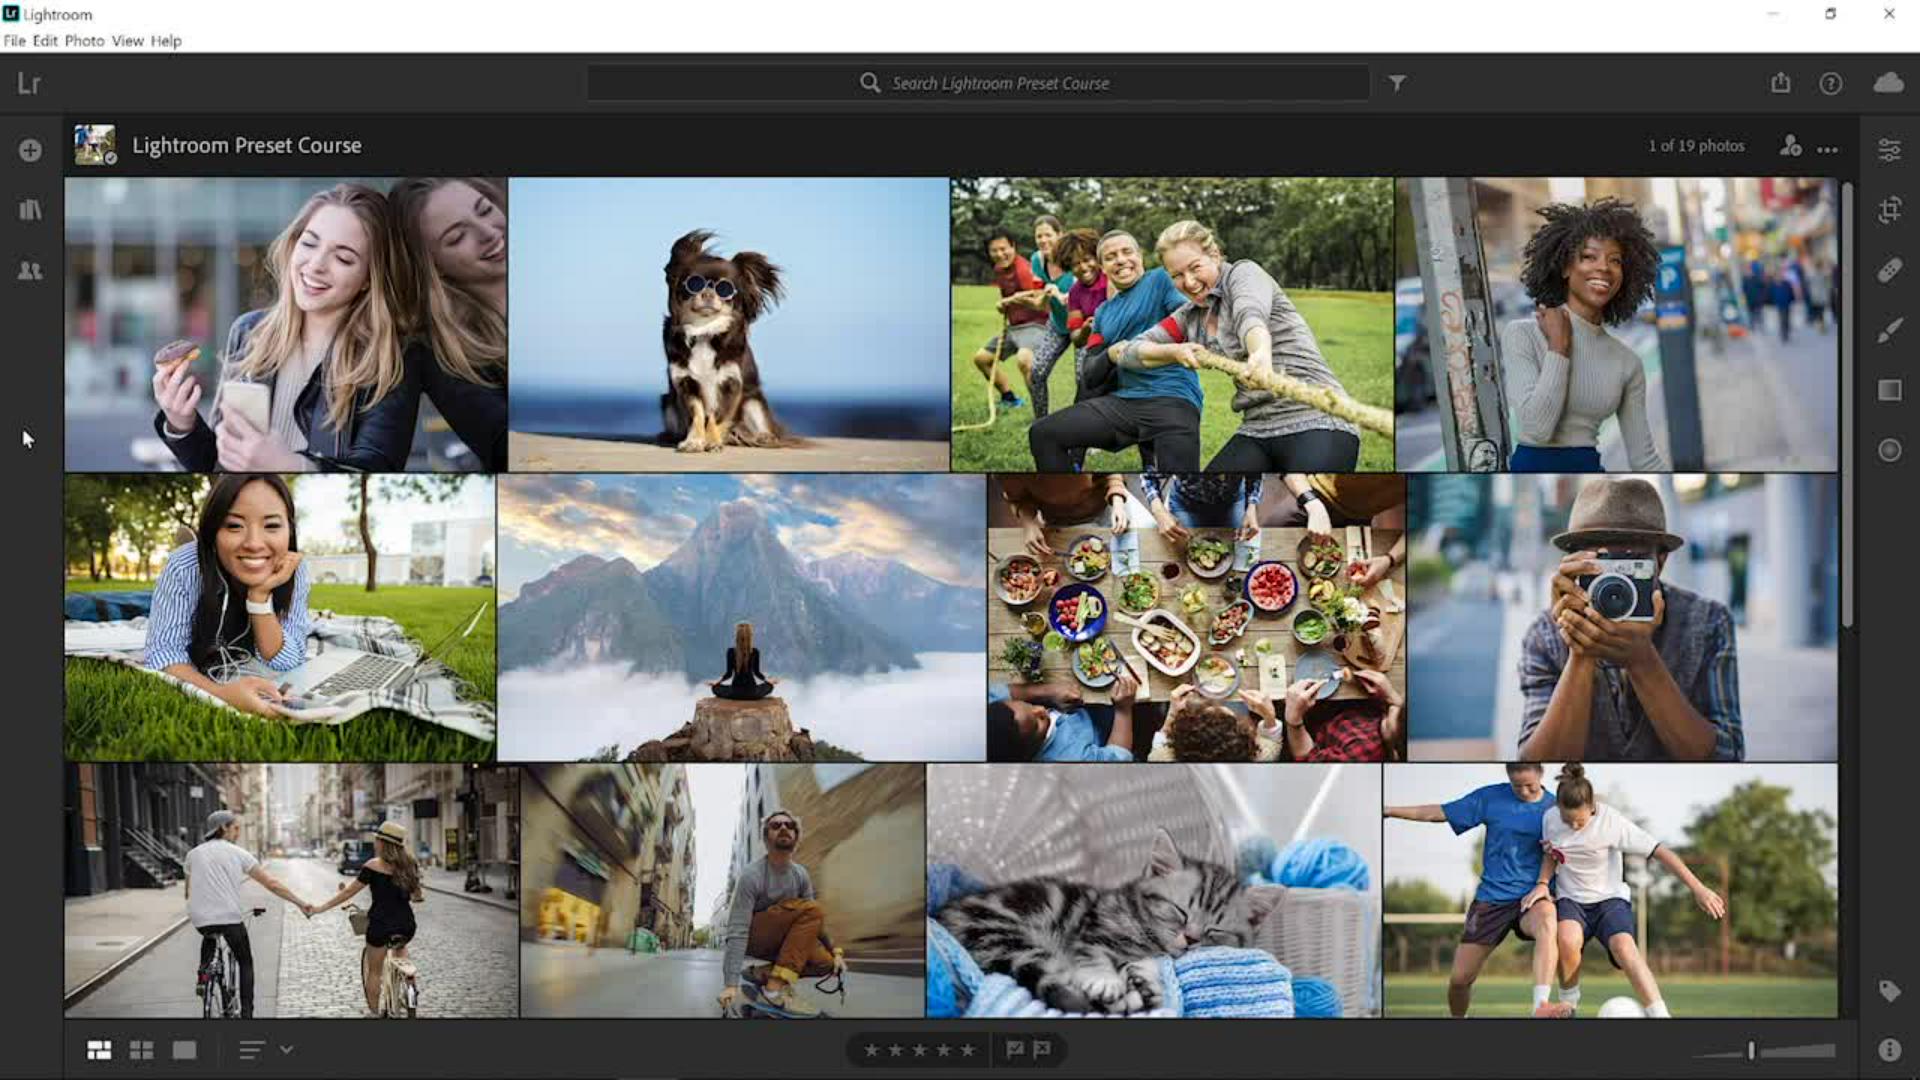
I'll start by double clicking on a sample photo from the photo grid then click on the Edit icon or press the E key on the keyboard to go into the Editing workspace.
Next, click on the Preset button under the Editing workspace.
To import a preset,
Importing presets and supported file types
click on the ... icon and select Import Presets...
This will bring up a window where you can navigate the files in your computer and find the preset files that you would like to import.
The supported files are lrtemplate which is the old preset file type, xmp which is the file type of the new version of Lightroom uses for storing presets.
If you import an old lrtemplate file, Lightroom will automatically convert it into an xmp file.
Zip files allow you to import multiple presets at the same time and dcp files which are not development presets, but instead are camera profiles.
In this case we're going to work with a zip file that contains multiple presets inside.
Click on the zip file to select it.
This zip file is available as a download from the page where you are watching this video from.
Then click on Import to load the presets.
The presets will appear in the Presets panel.
Exploring and applying imported preset packs
This new presets group is called Vintage Pack and it contains eight presets.
The three vintage presets give the image an old retro look and feel.
Hover over the presets to preview them.
This is Vintage - 1, Vintage - 2 and Vintage - 3.
Select the one that you like best.
I'll go for Vintage - 1.
The Vintage Pack also comes with five additional optional presets.
You can add a bright light to the top right of the photo or to the top left.
In this case the light source is on the left-hand side of the photo, so I'll apply the Top Left Highlight preset by clicking on it.
Stacking creative presets for enhanced effects
Applying this additional preset does not replace the effects of the first vintage preset that you applied, because this highlight preset uses different adjustments.
I can also add light leaks to this image to simulate the old film camera look and feel to further enhance the retro effect.
Light Leak - 01 adds a light leak to the bottom of the image, Light Leak - 02 adds a light leak to both the bottom and top of the photo and Light Leak - 03 adds a light leak to the left side of the photo.
In this case I'll go for that Light Leak - 02.
I'll click on it to apply it.
Fine-tuning images after applying presets
After you apply your preset you can make edits to your image if you like.
Close the Presets panel.
In the Light panel you can increase the Contrast of the image and from the Color panel you can decrease the Vibrance to reduce the saturation further.
Remember that these adjustments are subjective.
Feel free to make any adjustment that looks good to your eye.
I'll click on this icon so that you can see the original image and I'll click again so that you can see that edited version.
And as simple as that we were able to bring in a preset from another creator to expand our preset library and we applied it to our photo just with a few clicks.
Now that you know how to input presets into Lightroom, feel free to import the preset sample file and give these presets a try with your own images.
This sample file contains Adobe Stock assets you can use to practice what you learn in this tutorial. If you want to use the sample file beyond this tutorial, you can purchase licenses on Adobe Stock. Check out the ReadMe file in the folder for the terms that apply to your use of this sample file.
What you learned: Import new presets
Import presets
You can import presets you purchase or receive from others into Lightroom on your computer with just a few clicks.
Open the Presets panel by clicking the Presets icon at the bottom of the Edit panel. Then click the three-dot icon in the upper-right corner of the Presets panel, and choose Import Presets. Alternatively, you can import presets from the Menu bar by choosing File > Import Profiles & Presets.
In your Finder (MacOS) or Explorer window (Windows), navigate to the preset files that you want to import. Select a single preset or multiple presets. Creators sometimes deliver presets in a ZIP file. You can select and import a ZIP file of presets into Lightroom without unzipping them.
Click the Import button in your Finder or Explorer window. You now see the imported presets in the Presets panel. You can preview how an imported preset will look on an open photo by hovering over the preset, and you can apply the preset to a photo with one click.
Note: Any preset that you import into Lightroom on a computer automatically syncs to Lightroom on your mobile devices too, so you can apply the same presets to photos no matter where you are.
You can control how Adobe websites use cookies and similar technologies by making choices below. But note that if you disable cookies and similar technologies entirely, Adobe websites may not function properly.
Cookies are small text files stored by your web browser when you use websites. There are also other technologies that can be used for similar purposes like HTML5 Local Storage and local shared objects, web beacons, and embedded scripts. These technologies help us do things like remembering you and your preferences when you return to our sites, measure how you use the website, conduct market research, and gather information about the ads you see and interact with.
You can make choices in the menu below about what cookies and other technologies you want us to use on Adobe sites when you visit them from this browser. You can always change those choices later by clicking on the Cookie Preferences link at the bottom of the page.
If enabled:
We can improve your experience by tailoring the site and the content to things we think might be of interest
We can better keep track of your preferences — like what language you prefer to use
We will better understand your likely interests so we can provide you more relevant Adobe ads and content on non-Adobe websites and in non-Adobe apps
It will help us improve the performance of our website and those of our partners who use the Adobe Experience Cloud
If disabled:
We won’t be able to remember you from session to session so the experience may not be tailored to your interests
You’ll still have access to the content of the site but certain features that depend on cookies may not function
You’ll still see ads, they just may not be as relevant to you
General information
You can control how Adobe websites use cookies and similar technologies by making choices below. But note that if you disable cookies and similar technologies entirely, Adobe websites may not function properly.
Cookies are small text files stored by your web browser when you use websites. There are also other technologies that can be used for similar purposes like HTML5 Local Storage, web beacons, and embedded scripts. These technologies help us do things like remembering you and your preferences when you return to our sites, measure how you use the website, conduct market research, and gather information about the ads you see and interact with.
You can make choices in the menu below about what cookies and other technologies you want us to use on Adobe sites when you visit them from this browser. You can always change those choices later by clicking on the Cookie Preferences link at the bottom of the page.
If enabled:
We can improve your experience by tailoring the site and the content to things we think might be of interest
We can better keep track of your preferences — like what language you prefer to use
We will better understand your likely interests so we can provide you more relevant Adobe ads and content on non-Adobe websites and in non-Adobe apps
It will help us improve the performance of our website and those of our partners who use the Adobe Experience Cloud
If disabled:
We won’t be able to remember you from session to session so the experience may not be tailored to your interests
We’ll still count your use of our site and services
You’ll still have access to the content of the site but certain features that depend on cookies may not function
You’ll still see ads, they just may not be as relevant to you
Operate the site and core servicesOperate site and measure engagement
Always active
These cookies are required, and they are used to enable the site and related services core functionality. Without them the site could not operate, so they cannot be disabled.
These cookies enable the site and related services’ core functionality and collect statistics about user engagement, such as counting active use to help us understand trends. These cookies cannot be disabled.
Measure performance
These cookies are used to analyze site usage to measure and improve performance. Without them Adobe cannot know what content is most valued and how often unique visitors return to the site, making it hard to improve information we offer to you.
These cookies are used to analyze site usage to measure and improve performance. Without them Adobe cannot know what content is most valued, making it hard to improve information we offer to you.
Extend functionality
These cookies are used to enhance the functionality of Adobe sites such as remembering your settings and preferences to deliver a personalized experience; for example, your username, your repeated visits, preferred language, your country, or any other saved preference.
Personalize advertising
These cookies are used to enable Adobe and our partners to serve ads more relevant to your interests. Without them you will still see ads, but they might not be as relevant to you.
Personalize advertising
These cookies are used to enable Adobe and our partners to serve ads more relevant to your interests. Without them you will still see ads, but they might not be as relevant to you.