Edit a landscape photo with linear gradient adjustments
This sample file is an Adobe Stock asset you can use to practice what you learn in this tutorial. If you want to use the sample file beyond this tutorial, you can purchase a license on Adobe Stock. Check out the ReadMe file in the folder for the terms that apply to your use of this sample file.
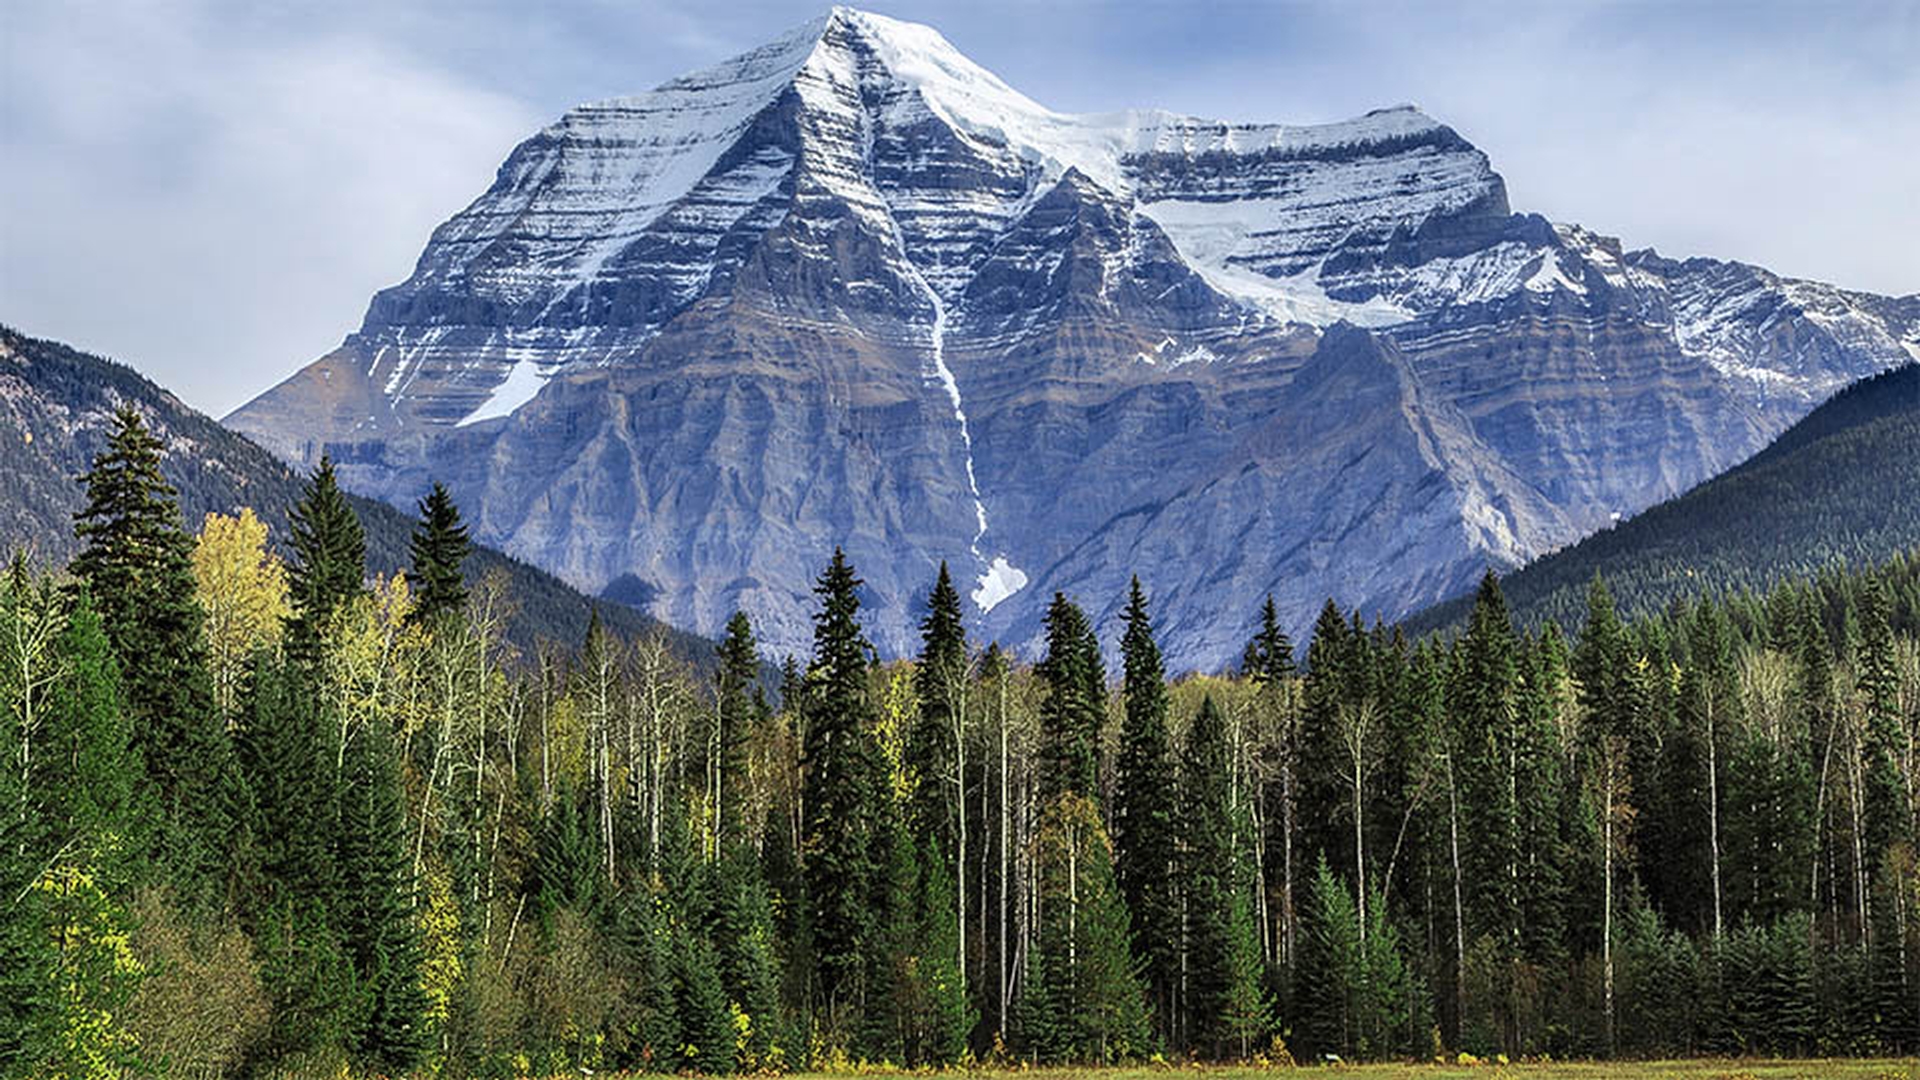
What you learned: Adjust different areas of a landscape photo with multiple linear gradients
Landscape photos often need local adjustments to balance a bright sky with a darker foreground. You can adjust areas like these separately using the Linear Gradient tool, which applies adjustments in a gradually fading pattern that creates soft transitions between multiple local adjustments.
Apply a Linear Gradient
Select the Linear Gradient tool by clicking its icon in the column on the right or pressing the L key.
To adjust the foreground of the image, click anywhere on the foreground and drag up. This creates a linear gradient that will apply the strongest adjustments starting at the bottom of the image, gradually fading out to no adjustments above the top line of the gradient.
Tip: If you want the linear gradient to be straight, hold the Shift key as you drag.
Use the sliders in the Linear Gradient panel to apply one or more adjustments to this linear gradient.
Hover over the pin on the center line of the gradient to view a red mask that shows the gradually fading pattern in which your adjustments are applied. If you don’t see the red mask or pin, press O on your keyboard several times until the label that appears under the image reads Tool Overlay.
Tip: You can draw a linear gradient in any direction–horizontally, vertically, or diagonally, depending on which part of the image you want to affect.
Adjust the Linear Gradient
To fine-tune the size of the gradient, drag either or both of the two white outer gradient lines.
To move the gradient, drag the pin.
To rotate the gradient, drag the center line.
Erase or add to the Linear Gradient
You can erase part of a selected gradient by selecting the Eraser icon at the top of the Linear Gradient panel and painting over the unwanted area.
You can add to a gradient by selecting the Brush icon at the top of the Linear Gradient panel and painting on additional areas you want to include.
Make a second Linear Gradient
-
Create a second linear gradient to affect only the sky and background. Select the small Linear Gradient icon at the top of the Linear Gradient panel. Then drag over that area in the photo and set the adjustment sliders for this gradient.
Edit Gradients
To make changes to a gradient, select the pin for the gradient you want to edit and adjust sliders in the Linear Gradient panel.
Adobe Stock Contributor
Presenter