Highlight parts of a photo with radial gradients
This sample file is an Adobe Stock asset you can use to practice what you learn in this tutorial. If you want to use the sample file beyond this tutorial, you can purchase a license on Adobe Stock. Check out the ReadMe file in the folder for the terms that apply to your use of this sample file.
What you learned: Apply local lighting effects to a photo with the Radial Gradient tool
How does the Radial Gradient tool work?
The Radial Gradient tool applies local adjustments inside or outside of an oval shape. It comes in handy for creating natural-looking lighting effects.
Apply a highlight effect to a photo
Select the Radial Gradient tool by clicking its icon in the column on the right or pressing the R key.
Drag over the area that you want to adjust. The point where you start to drag will become the center of the radial gradient.
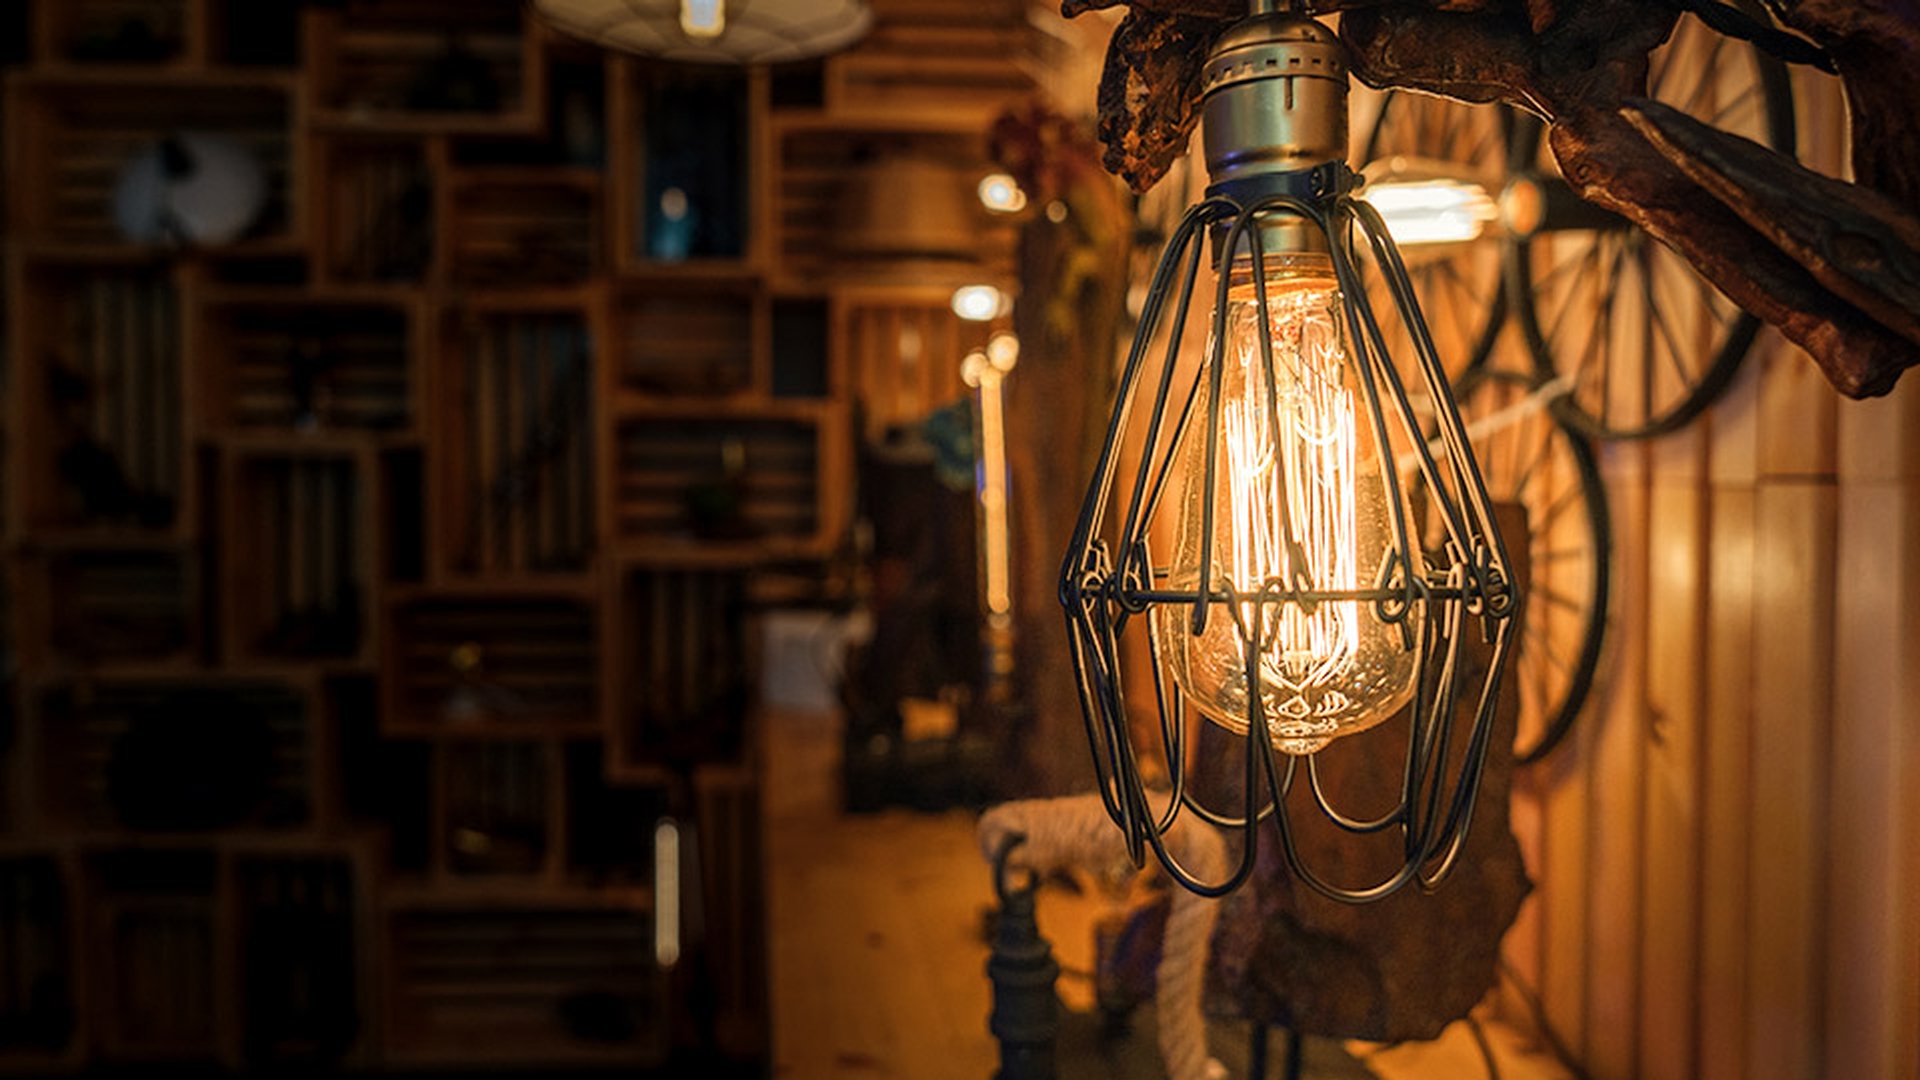
Drag the sliders in the Radial Gradient panel to make your adjustments. For example, to add an effect that looks like a lightbulb, try dragging the Exposure and Temperature sliders to the right.
Tip: Use the Invert checkbox in the Radial Gradient settings to control whether adjustments affect the area inside or outside of a radial gradient. When Invert is checked, the adjustments will be outside the radial gradient; when Invert is unchecked, the adjustments will be inside the radial gradient.
Create additional radial gradients
To create another radial gradient in the photo, drag over the photo again and set the adjustment sliders for this radial gradient.
Tip: You can also duplicate a radial gradient to apply the same adjustments elsewhere in a photo. Right-click or Control-click (MacOS) a radial gradient pin and choose Duplicate. Then drag the duplicate pin to a new location.
Move or modify a radial gradient
To move a radial gradient, select its pin and drag. If you don’t see the pin, press the O key several times until you do.
Tip: Pressing the O key cycles through different views of the pin and red mask that represent each radial gradient. You can choose to view the pin, the mask, both, or neither.
To change the shape of a radial gradient, drag any of the small circles on the gradient outline in or out.
To rotate a radial gradient, drag just outside the gradient outline.
Edit radial gradient adjustments
To make changes to the adjustments on a radial gradient, select the pin for that radial gradient and adjust sliders in the Radial Gradient panel.
Adobe Stock Contributor
Presenter