Improve color, lighting, and clarity in underwater photos
Note: Stock assets provided are for practice purposes only. See terms.
What you’ll learn
Restore natural colors with the White Balance tools
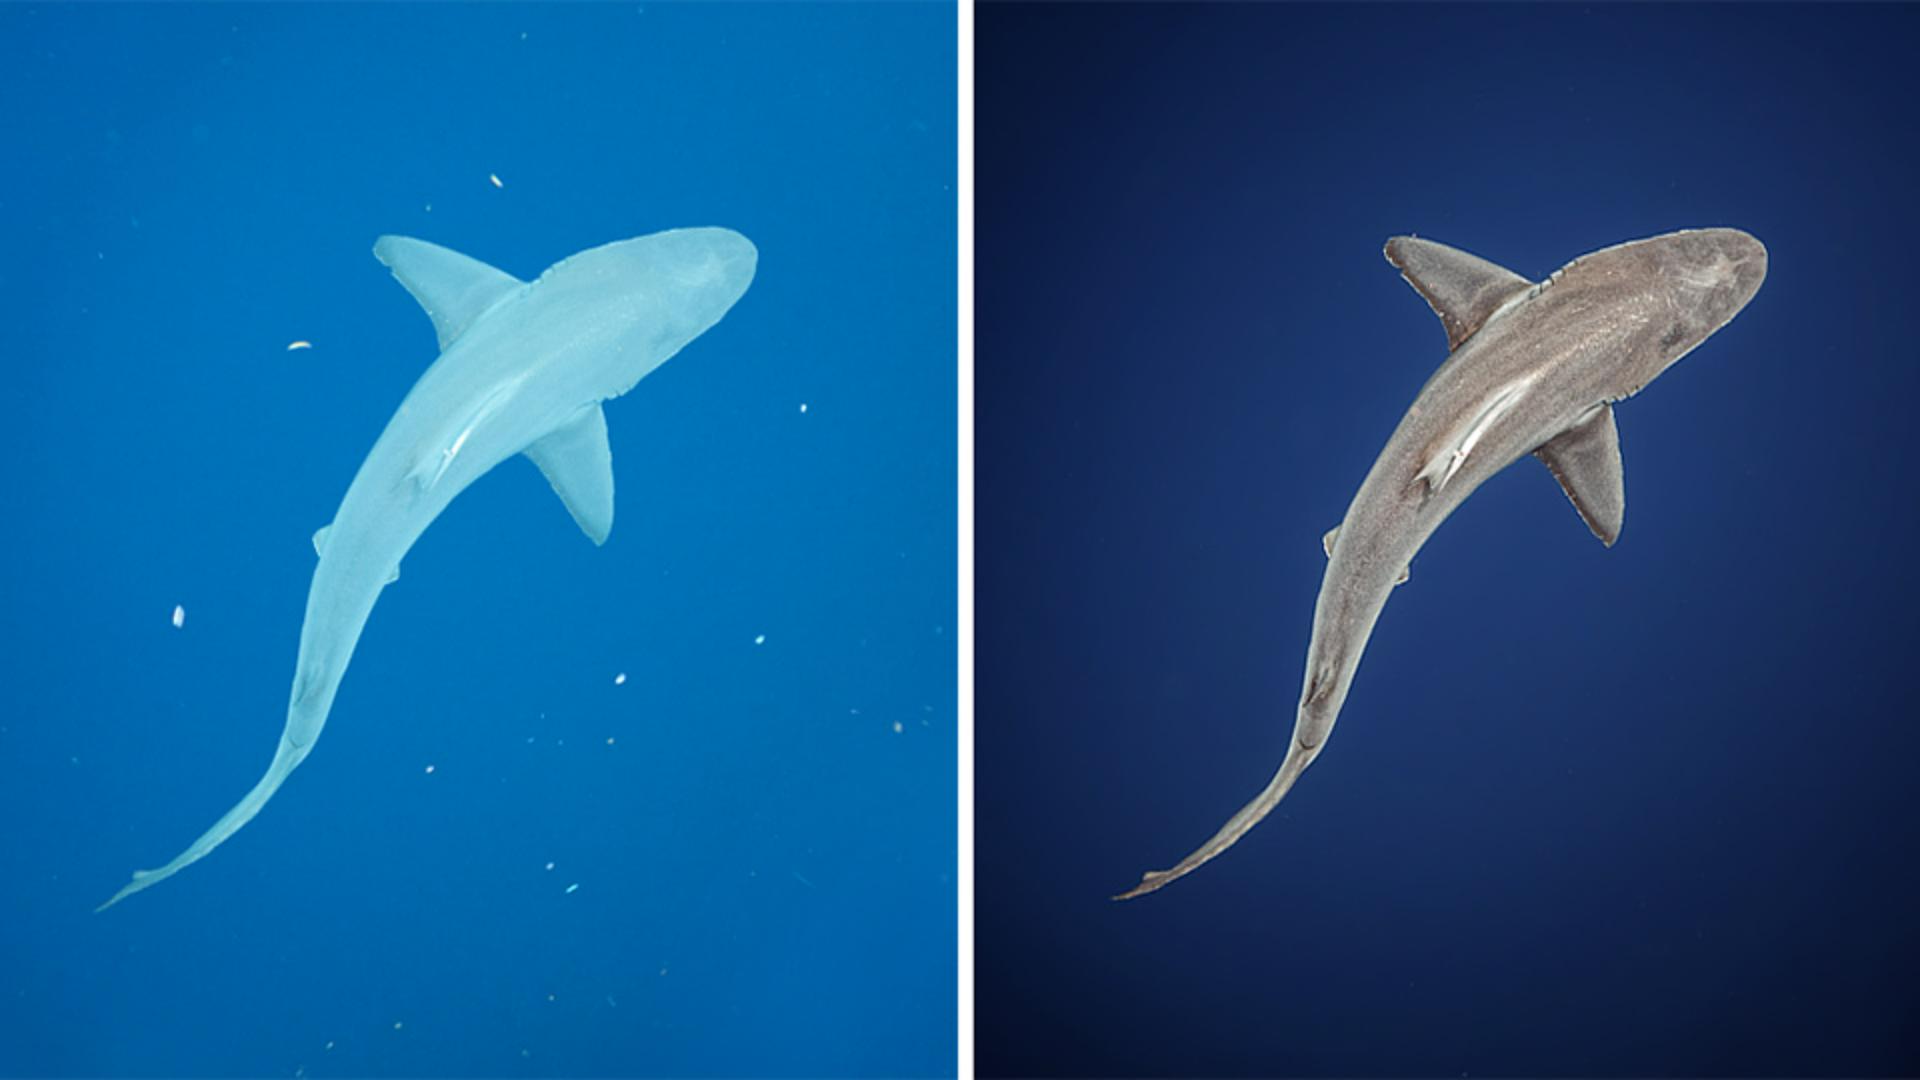
Photographs taken underwater often have a strong blue or green color cast. You can restore a more natural color balance to the scene by using the White Balance eyedropper to click on an area that should be neutral, such as the gray shark, or adjusting the Temp and Tint sliders to remove the cast by increasing blue and magenta.
Fine-tune the color with a Color Mixer adjustment
Some underwater color casts may require further adjustments, especially if using the White Balance tools for the subject has resulted in changes to the rest of the image, such as the ocean in this scene. The Color Mixer panel lets you adjust specific colors to fine-tune the colors in the image.
Apply separate adjustments to the subject and the background
For scenes where there are a clear subject and background, you can use the masking tools to create AI-generated masks for those areas and then apply adjustments that are customized for each area.
Enhance the texture and details of the shark
To bring out details in the subject and remove some of the murky quality that is present in some underwater photos, you can make the subject mask active and modify three sliders in the Effects panel: Texture, Clarity, and Dehaze.
Remove particles with the Healing Brush
In many photos taken in the ocean, there are often visible particles floating in the water. To clean these up, you can open the Remove panel and use the Heal tool to click on each particle and remove them from the scene.
Instruction and photography by