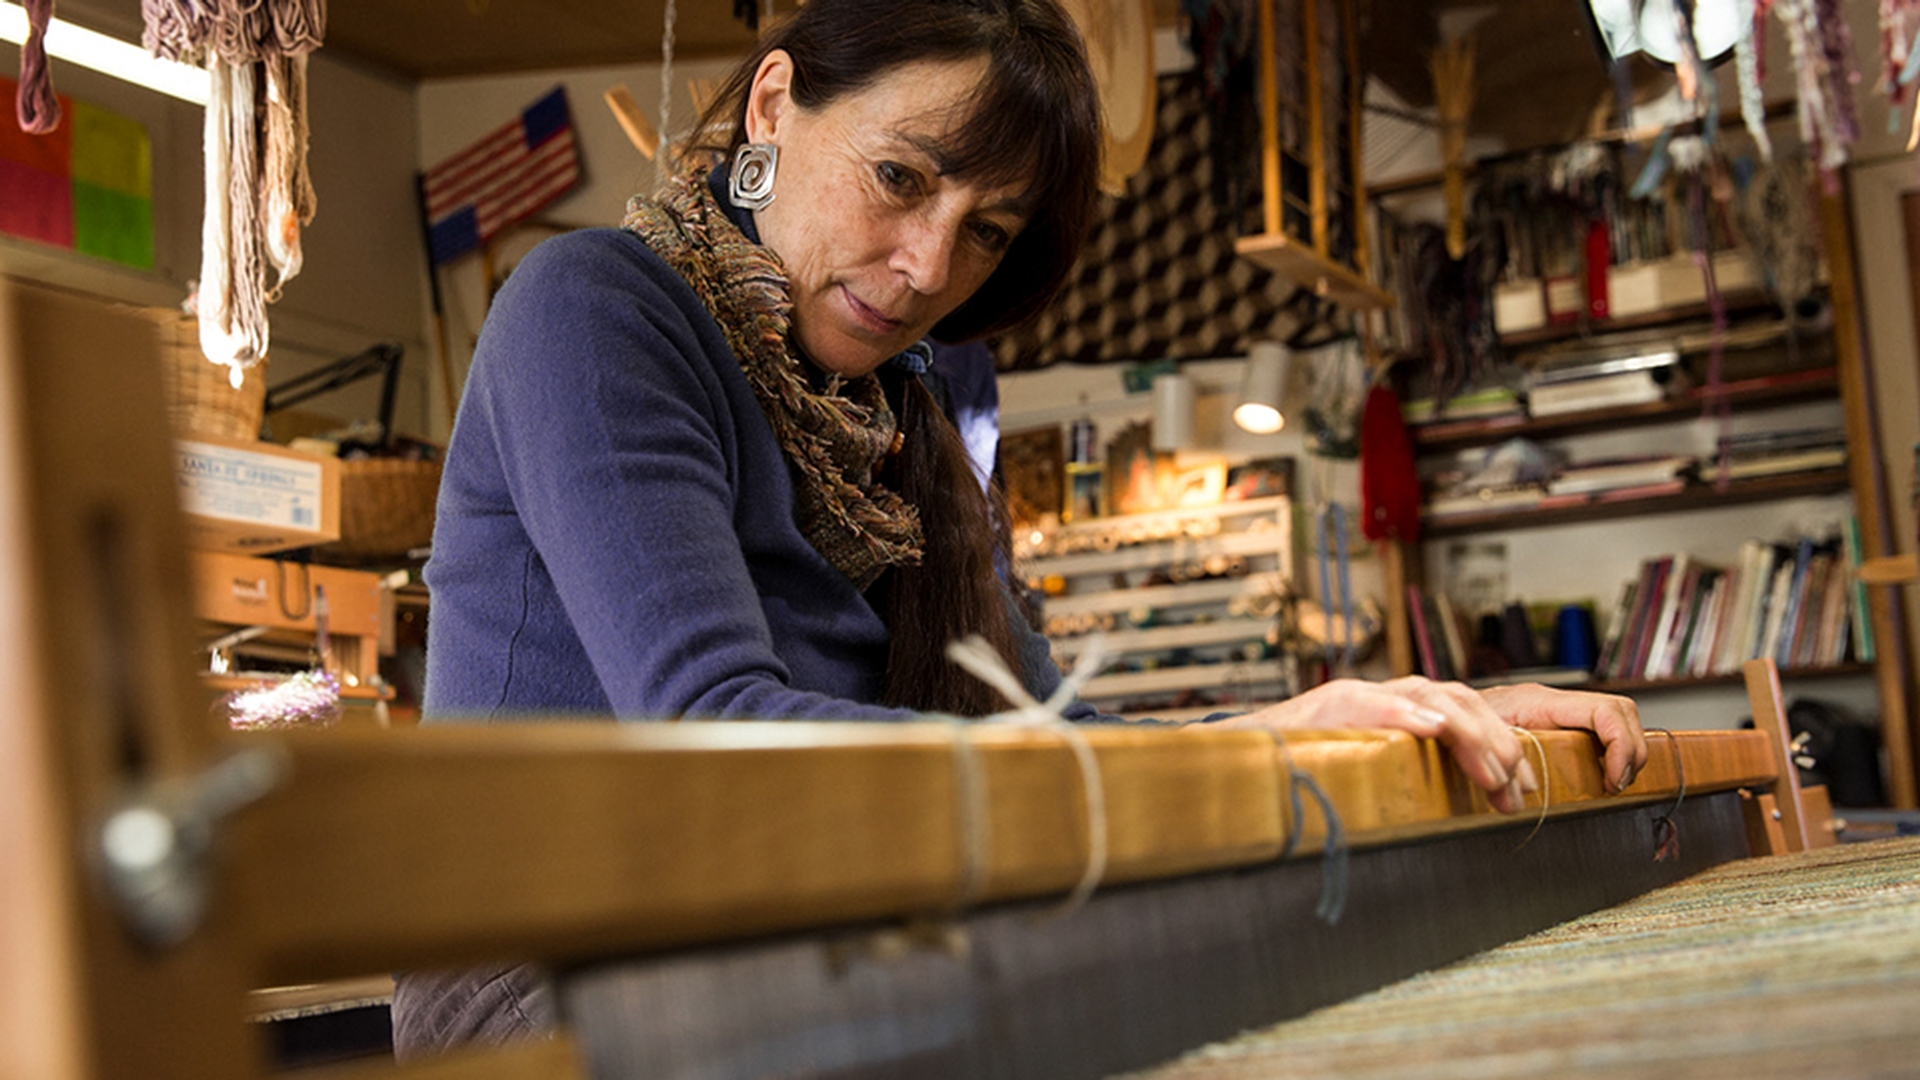
Adjusting the intensity of color in a photograph can have a big impact.
In this video, we'll explore how to do that with a Vibrance adjustment.
You can follow along with this image from the practice files for this tutorial.
First, whenever you're applying a direct adjustment to an image, you want to make sure that you have the layer selected that contains the image.
Here we just have a single layer in this photograph, so it's not a problem.
But if you have a multi-layer image, then you should check the Layers panel first.
Now, let's say that we want to make the color of this weaver's sweater richer or more intense.
But we don't want her skin to look too saturated.
That's a perfect job for a Vibrance adjustment.
To apply a Vibrance adjustment, I'll go up to the Image menu, choose Adjustments and here, there are 2 kinds of adjustments that would affect color intensity.
There's Vibrance... and there's Hue/Saturation...
When skin color is involved, or when you need a subtle enhancement to color intensity, then Vibrance... is the best choice.
We'll cover a Hue/Saturation..., and talk about when it's most useful in another video in this tutorial.
I'll select Vibrance... here, and that opens the Vibrance dialog box.
In this dialogue box, you have 2 choices: Saturation or Vibrance.
You can use them singly or you can use them together.
Let's see what they do.
If I drag the Saturation slider over to the right, you'll see right away that the intensity of all the colors is ramped up.
Not only does the weaver's sweater become a richer, more intense purple, but the intensity of the flesh tones and of the loom increases too.
And it really is too strong an effect in this photo.
So, I'm going to put Saturation back to 0.
I'll just type 0 in its value field.
Instead, let's try dragging the Vibrance slider to the right.
Vibrance does a more subtle job of intensifying color and it protects the flesh tones from over saturation.
Let's compare a before-and-after view by clicking the Check box to the left of Preview.
That's how the image looked without the Vibrance adjustment, and here's how it looks with the Vibrance adjustment.
We've managed to make the sweater a stronger purple without overdoing the subject's face and the color of the wood.
If you're happy with the result, click OK.
And go to the File menu.
Choose Save As..., and I suggest that you change the file name so you don't save over the original photo with this adjusted version.
So that's how to subtly increase color intensity by applying a Vibrance adjustment.
We applied this adjustment directly to the photo.
But it could be applied as a flexible adjustment layer.
That's a topic we'll cover in another video in this tutorial.


