Add photos into a composite
Learn how to bring new photos into a composite.
Published

Have you ever wanted to learn how to combine different photos and create multiple image composites?
Well, you've come to the right place.
In this short series, we'll show you some of the essentials for compositing in Photoshop so that you can quickly get started combining your own photos into new image creations.
Hi, I'm Seán Duggan from the Adobe Learn team.
In this tutorial, we'll start with the very first part of the compositing process with a look at a couple of ways you can add different photos into a single file.
I like to think of making composites as starting with an empty stage and creating the scene for a new story to take place.
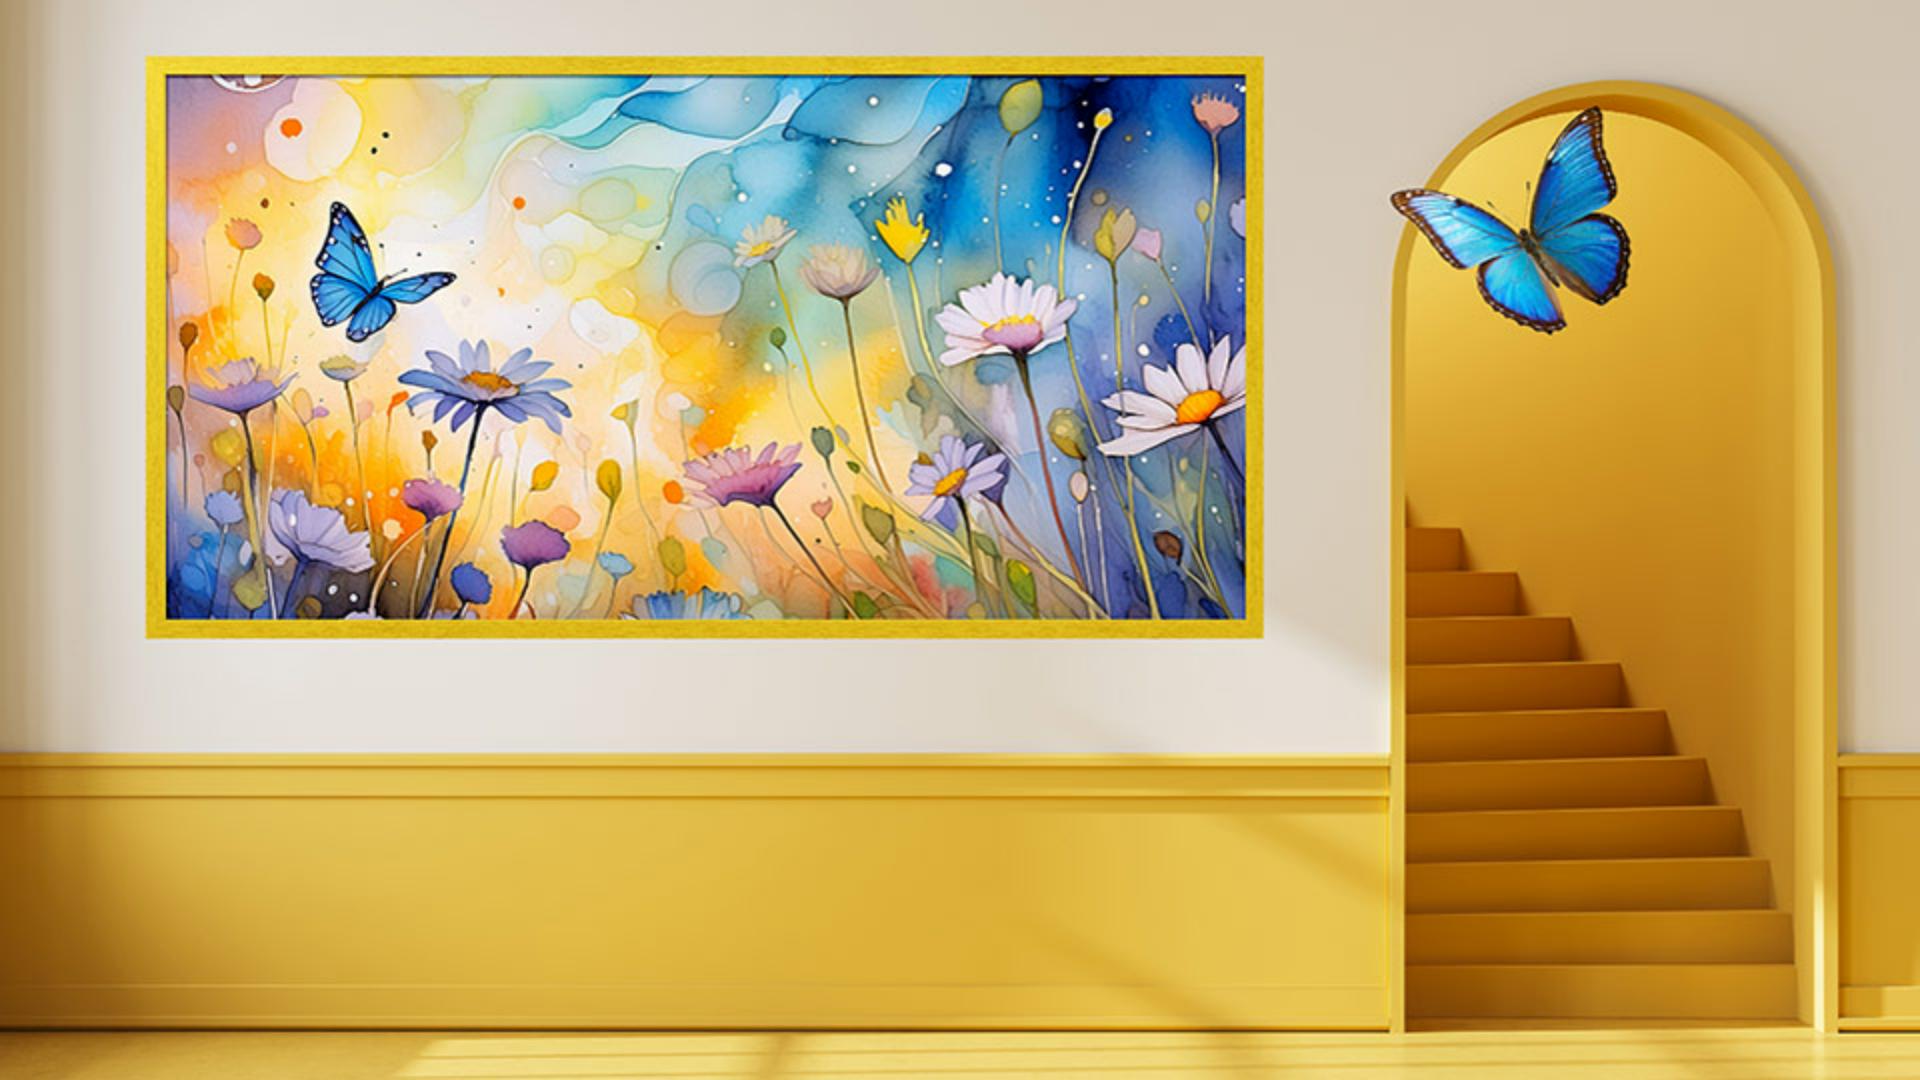
For this image, the first part of that story is to bring in a colorful painting to hang on the wall.
I'll add the new photo using the simple drag and drop method.
This is very easy, and it works with both the Windows File Explorer and the Mac Finder.
To do this, go out to your system and locate the file that you want to add.
Then simply drag and drop it onto the open Photoshop file.
The image will appear with a bounding box around it, as you can see here.
At this stage, you can click and drag on any of the small square handles to resize the image.
The scaling will always be proportional, and it will not affect the original aspect ratio of the photo.
The painting is a bit too large to fit on the empty area of the wall, so I'll drag inward on one of the corner handles to make it smaller.
I'll scale the painting down to about 75% of its original size.
You can see that value reflected up in the Width and Height fields in the Options bar.
You can drag inside the bounding box to reposition the image where you want it.
There, that looks pretty good.
To apply this, I can click the Checkmark in the Options bar, or I can also click Done in the Contextual Task Bar.
If you look over at the Layers panel, you can see that the image of the painting has been added as a new layer.
The small badge in the corner of the layer thumbnail indicates it is a Smart Object.
This is a special kind of layer that stores all of the original image information inside the Smart Object.
So transformations such as scaling the layer smaller are not permanent, and you can always return it back to its original size with no loss in quality.
I think the room is looking a lot better with the addition of the colorful painting.
Now let's explore another way you can add an image to a composite that will also result in a Smart Object.
I have a photo of a butterfly that I want to add into the room, to make a visual connection with the butterfly in the painting.
To do this, I'll go to the File menu, and I'll choose Place Embedded...
In the dialog that opens, I'll find the file that I want to add and select it.
This is a Photoshop document where the butterfly is already on a layer surrounded by transparency.
To bring it into my composite, I'll click Place in the lower right corner.
As with the first image that I added, you can see the transform bounding box that will allow you to resize the image before you place it.
I'll move the butterfly over the arched opening on the right so I can see it a bit better, and I'll drag inward on one of the corner handles to scale it a bit smaller.
If you position the cursor outside the bounding box, you'll see it change to a Rotate icon, and you can drag to rotate the placed image.
There, that looks good.
I'll click Done in the Contextual Task Bar to apply the transformation and place the image.
And that's it.
With the addition of just two photos, we've transformed the scene from an empty room to an interesting story.
There are other ways that you can add images into an open Photoshop file.
The main advantage of the method shown in this video is that they both result in the creation of a Smart Object layer.
This allows for open ended flexibility for transforming the new image element, which can be very useful when making multiple image composites.
Note: Stock assets provided are for practice purposes only. See terms.
What you'll learn
Combine images to create a composite
Add photos into an image and arrange them to create a new scene.
Instruction by

