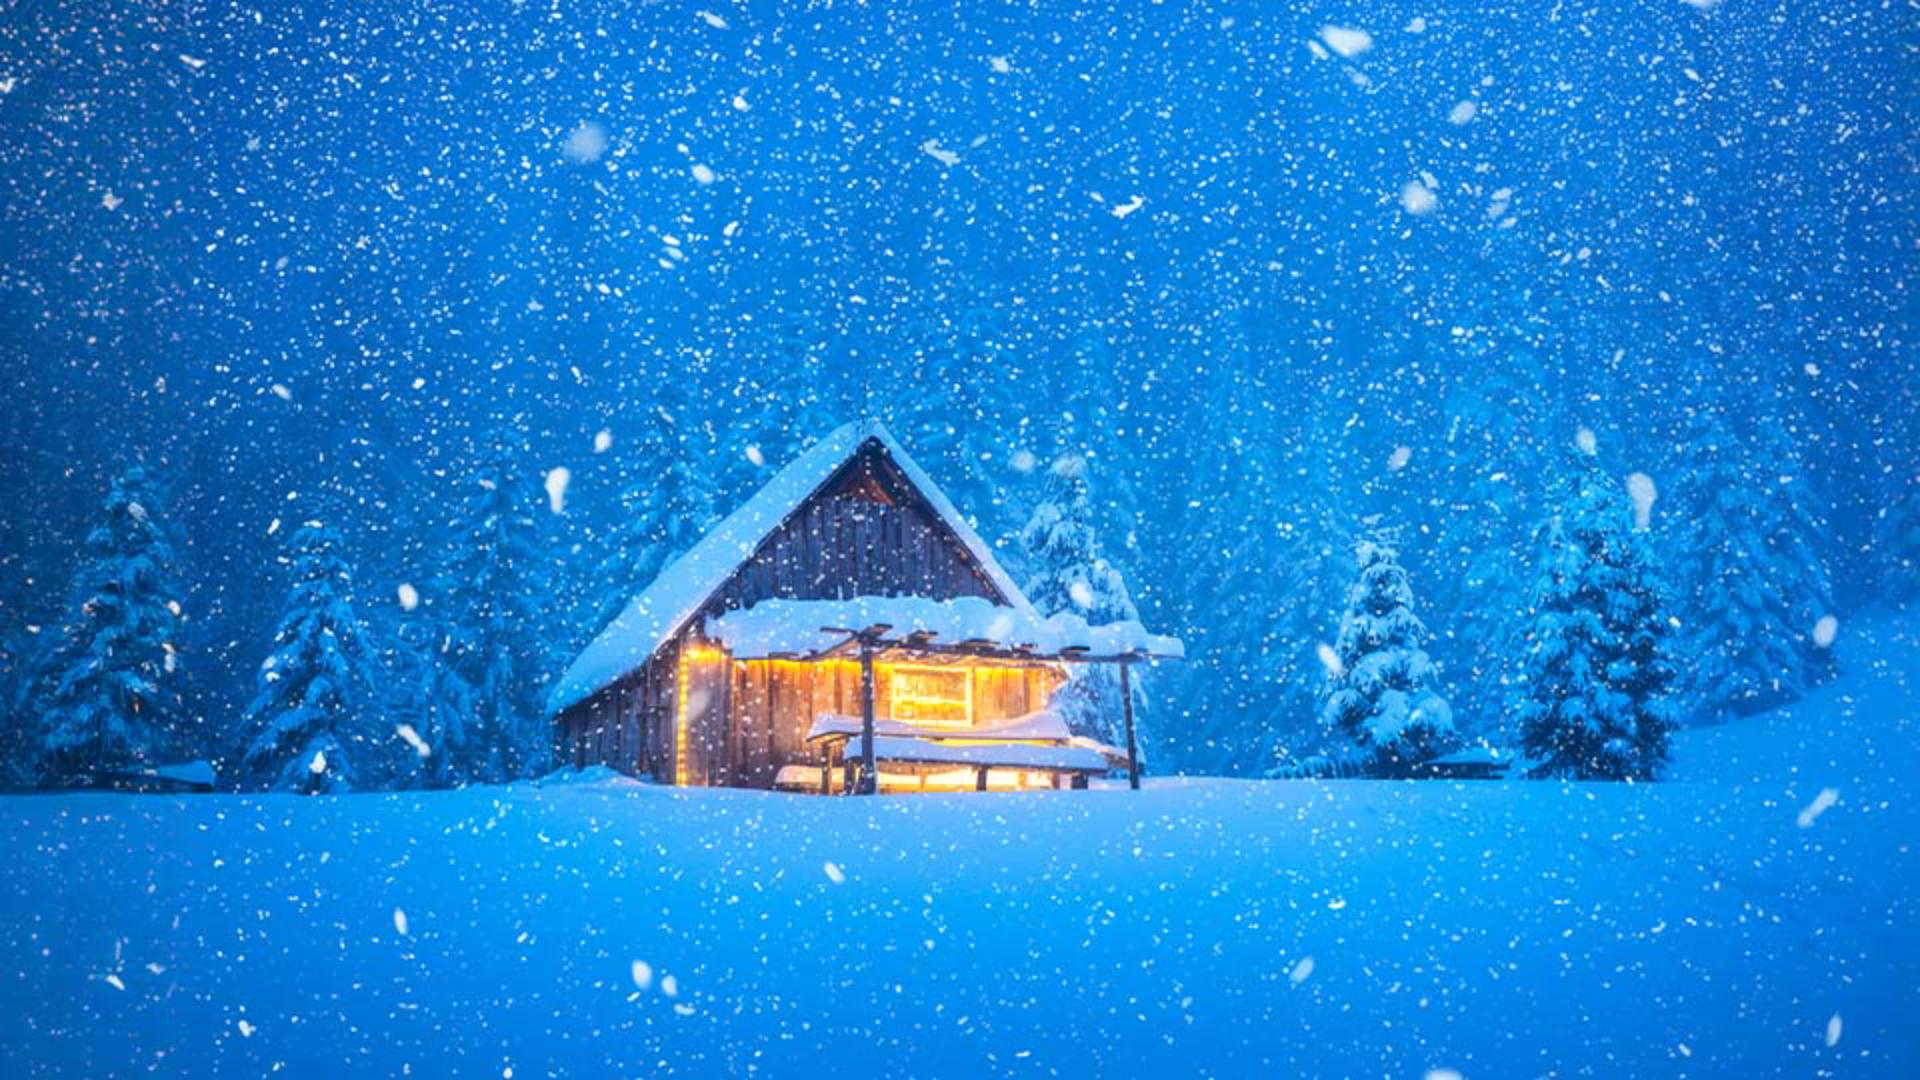
Did you know that you can create beautiful reusable image overlays with the new Generate Image feature in Photoshop?
Think of a snow or rust overlay that you can use to give your image an atmospheric, creative look.
My name is Rob de Winter.
I'm an Adobe Certified Instructor, Author, and Designer from the Netherlands, and in this video, I'll show you how to generate an overlay and how to blend it nicely into your image using Blend modes.
In this image it would be nice to add some snow.
Let's do that with the Generate Image feature.
Click on the Generate Image button in the Toolbar and enter the prompt: winter snowfall with realistic snowflakes falling, isolated on a black background.
The most important thing when writing a prompt like this is to describe it as precisely as possible.
In this case, we want to generate snowflakes on a black background, so adding the words isolated on a black background in your prompt works really well.
Then click Generate.
I think all three variations look great.
I'm going to choose this one, but if you don't get a result you like, just click Generate again to generate three new variations.
With the new generative layer selected in the Layers panel, open the Blend modes list.
Blend modes offer different ways for a layer to blend or interact with the layers below it.
Let's choose the Screen Blend mode to make all the blacks transparent and all the whites 100% visible.
If you see snowflakes that you'd like to hide, you can create a layer mask and then paint over the snowflakes with the black brush.
You can also use this technique to give your image a vintage look by creating an old film overlay with dust and scratches.
Click the Generate Image button and use the prompt: Dust scratches overlay; old film effect; blue distressed faded glass with smeared dirt stains colorful rainbow lens flare design.
After clicking Generate, you'll get results like these.
Now choose the blending mode that best suits your desired result.
I'll choose the Blend mode Overlay.
If necessary, you can also change the Opacity to decrease the intensity.
The nice thing about these generated layers is that you can also reuse them in other images by simply copying the layers to another Photoshop document.
Now that you've seen how to create your own creative overlays, I invite you to try this yourself on your own images.
Again, my name is Rob de Winter and I'm looking forward to seeing you in more Adobe videos.


