When you generate large areas with Generative Fill, you might sometimes notice that the generated areas don't perfectly match the detail and sharpness of your original photo.
Fortunately, there's an easy way to ensure that your generated areas blend seamlessly with your original image.
My name is Rob de Winter.
I'm an Adobe Certified Instructor, Author, and Designer from the Netherlands, and in this video, I'll show you how you can produce Generative Fill variations with greater sharpness and detail using Enhance Detail.
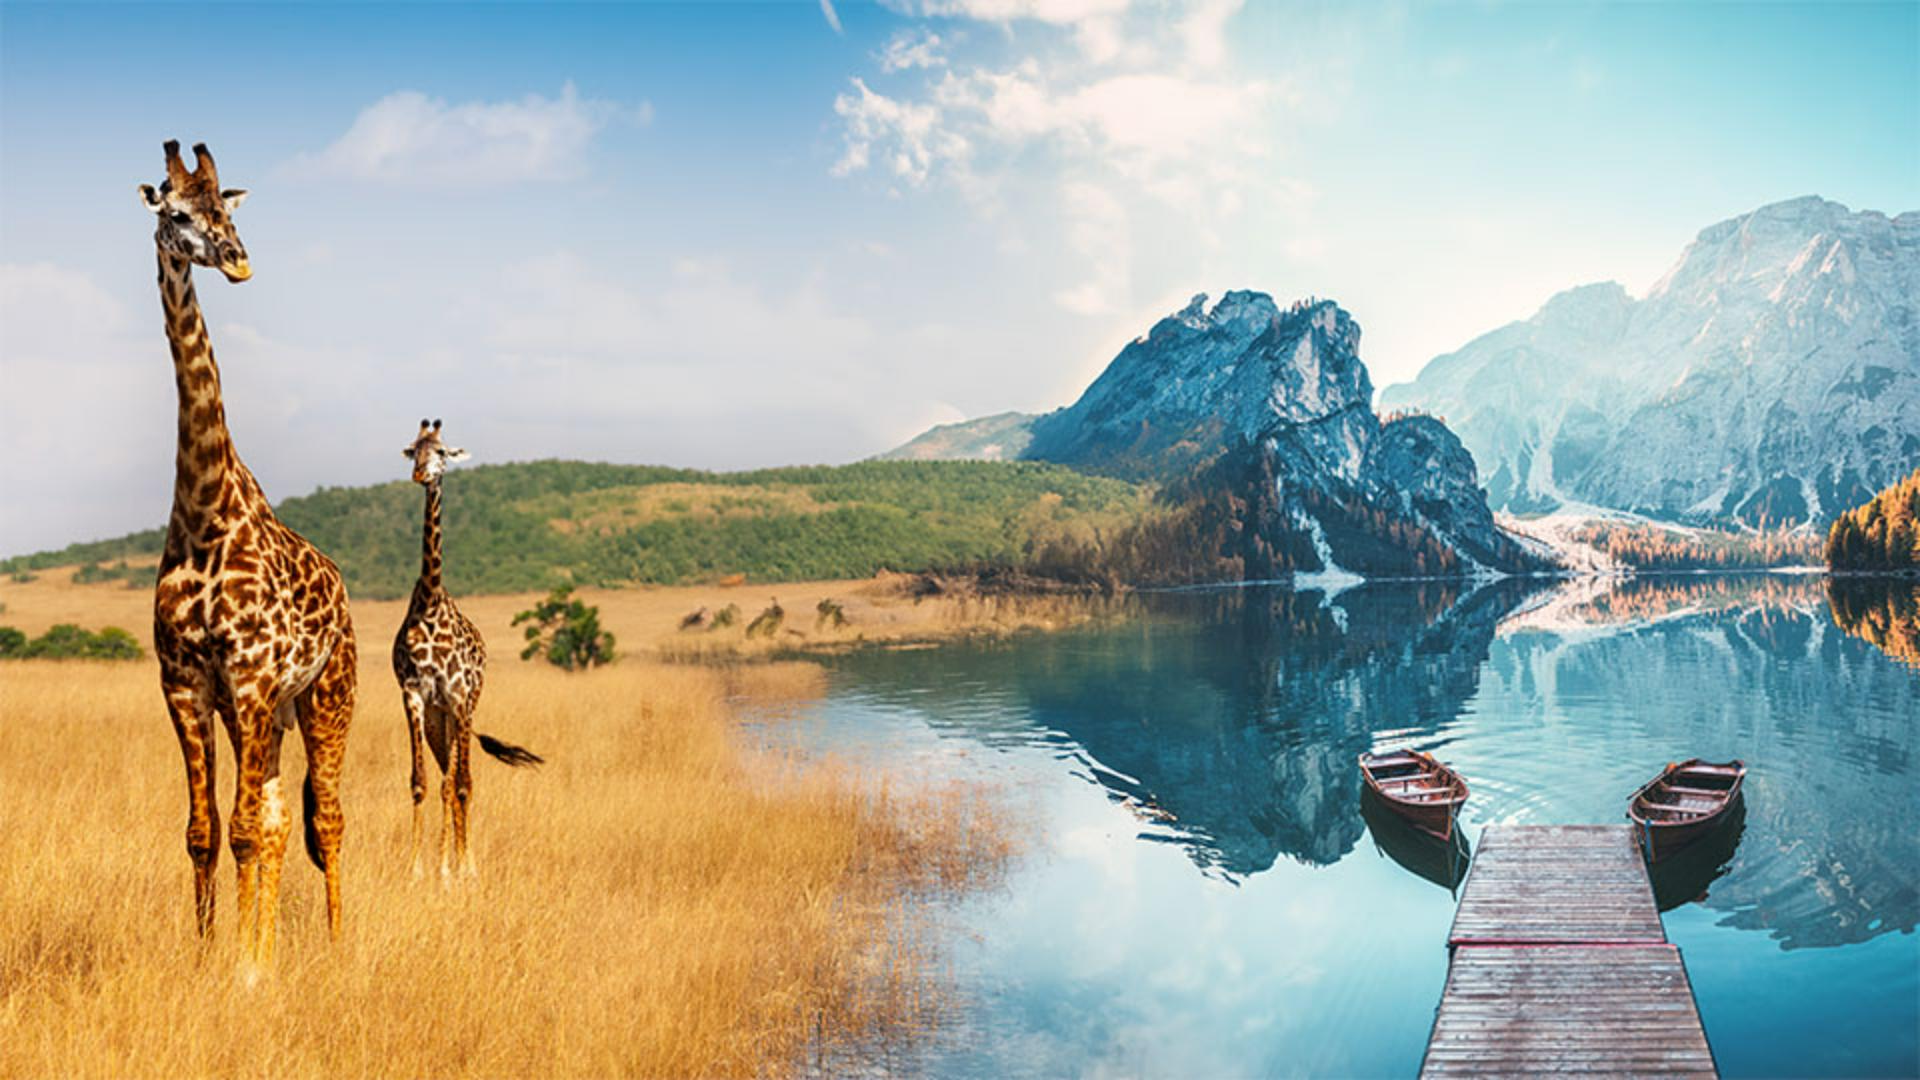
Let's start with two images that have been placed together in one Photoshop document.
To make the photo of the giraffes blend with the photo of the mountains and the lake, we can use Generative Fill.
First, select the Rectangular Marquee Tool in the Toolbar and make a rectangular selection over the overlapping area.
The larger you make the selection, the nicer the two photos will blend.
Now click Generative Fill in the Contextual Task Bar and click Generate.
There's no need to fill in a prompt if you just want to blend the images.
These results look really great.
However, when we zoom in on the generated image, you might notice some differences in detail and sharpness between the generated content and the original photo.
This happens especially when you use Generative Fill in a relatively large area in a fairly large image, and especially in areas with a lot of texture and detail, like in these two images.
So let's head over to the Variations in the Properties panel and hover over the Thumbnail of the selected variation.
You'll see this Enhance Detail icon.
Now let's click it.
Photoshop will enhance the sharpness and detail of your generated content.
The enhanced result looks amazing.
As you can see, Photoshop has added a new enhanced variation to the left of the original variation.
You can recognize this enhanced variation by the dimmed icon.
Because the original variation is still there, you can now toggle back and forth between the original and the enhanced variations to compare the differences.
This is the enhanced variation, and this is the original variation.
Now that you've seen how easy it is to enhance detail and sharpness in your Generative Fill variations, you can start applying this technique to your own projects.
Again, my name is Rob de Winter and I'm looking forward to seeing you in more Adobe videos.