Knowing how to use layer masks is an important skill if you want to make great looking composites either here in Photoshop on your iPad or in Photoshop on your computer.
And the good news is that layer masking works the same way on both of these surfaces.
It's just a matter of getting to know where the various features are.
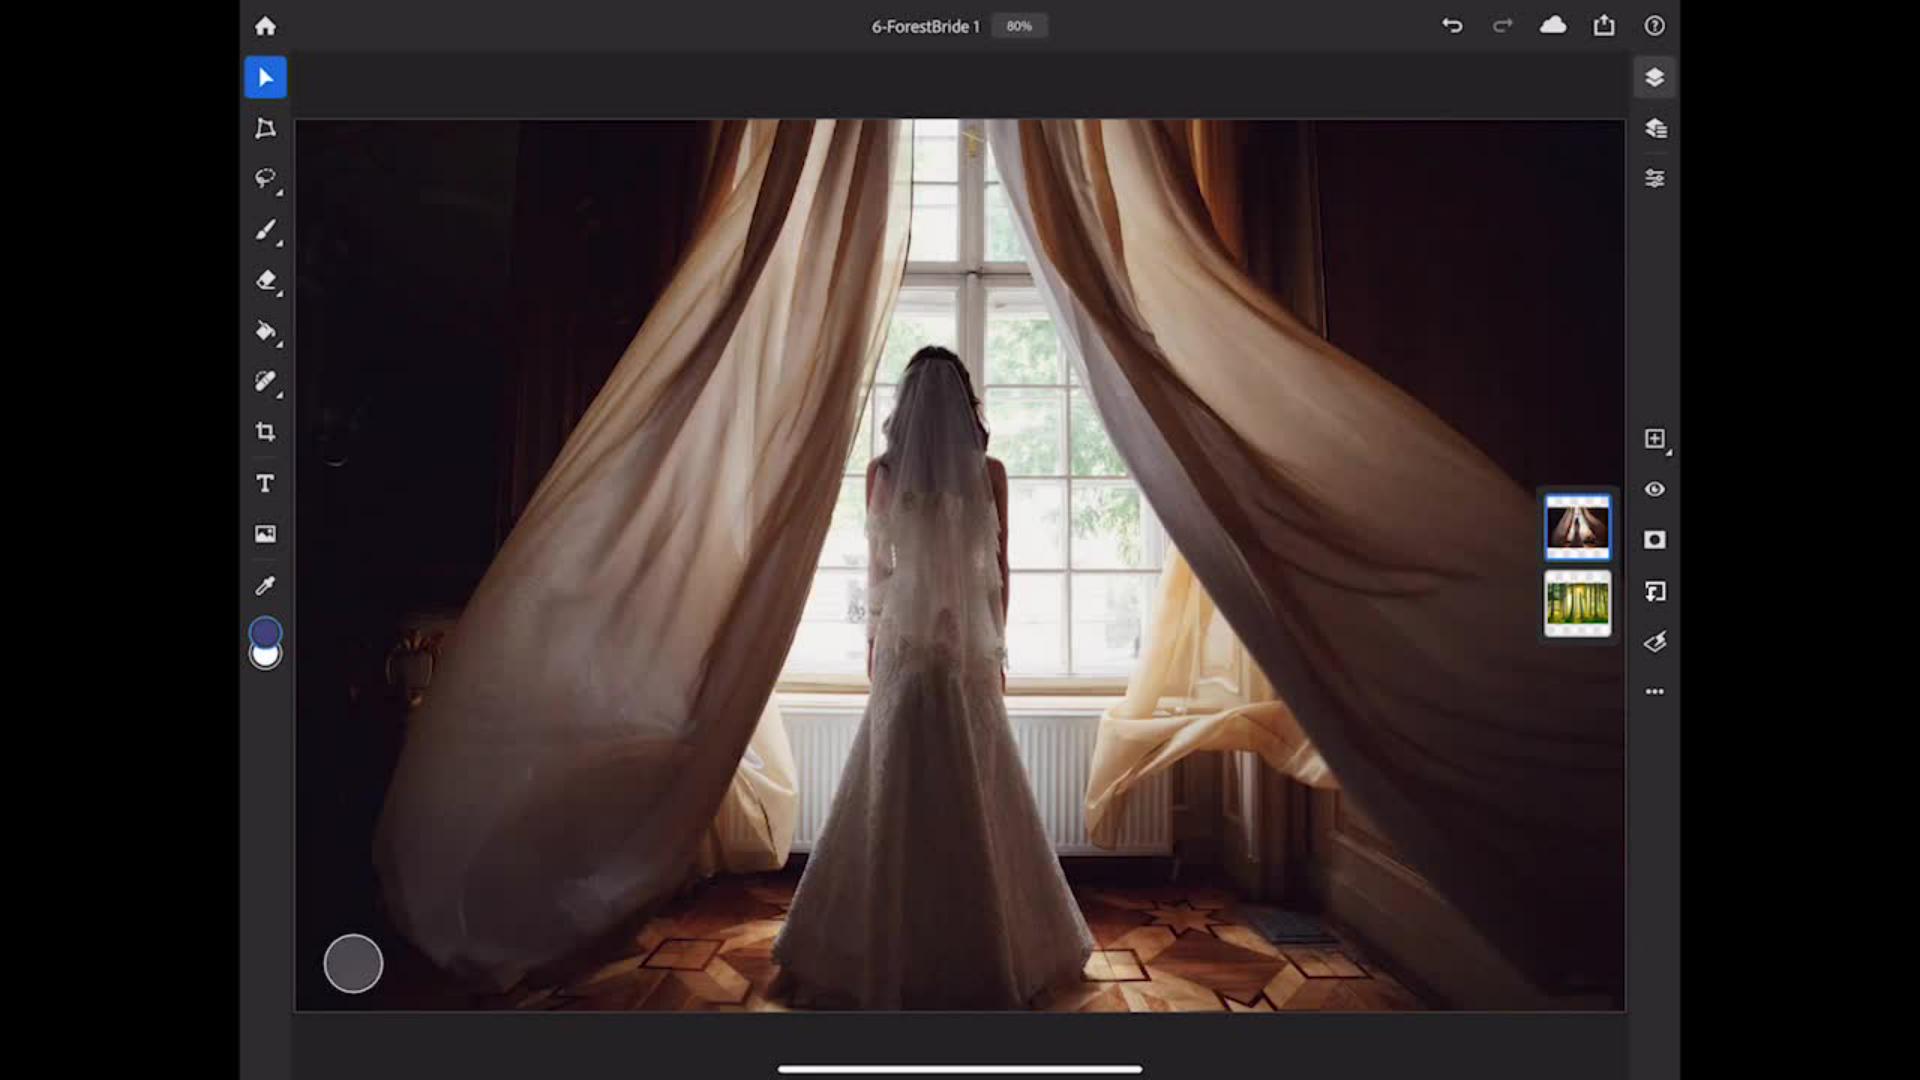
So here in Photoshop on the iPad I'm starting with a simple document that has two layers.
It has this bride image on the top and if I make that invisible you can see that there is a forest image on the bottom of the layer stack.
What I'd like to do is hide part of the bride layer so we can see them through to some of the forest on the layer below.
So, start by making sure that the top layer is selected then go to the Taskbar and tap the Mask icon.
That adds a new empty layer mask to the bride layer. the white thumbnail that you see in the Layers panel is that layer mask.
Next, we're going to brush with black on the layer mask to hide part of the bride layer.
Select the Brush Tool in the Toolbar.
In the Tool Options bar, the colour chips should be black and white because we're working on a layer mask.
With black as the foreground color, I'm going to brush and wherever I brush on the layer mask on the bride layer I'm hiding part of the bride layer so we can see down through to the forest on the layer below.
The big advantage of using a layer mask to do this as opposed to say selecting something and cutting it out is that layer masks don't make permanent changes to the image.
For example, if I brush somewhere that I didn't mean to and I hide part of the bride layer that I'd like to bring back into view, all I have to do is go to the Tool Options bar for the Brush Tool and swipe up on the color chips to make white the foreground color and then brush over part of the area of the bride that I'd hidden.
So, all the changes I make with layer masks are always editable.
If you ever want a closer view of your layer mask just double tap the layer mask thumbnail in the Layers panel.
Now you can more clearly see the black on the mask that's hiding the corresponding part of the bride layer and the white on the mask that's showing part of the bride layer.
I'll double tap again on that layer mask thumbnail to go back to the normal view.
You always want to be aware of whether you're working on the layer mask or on the image that's on the layer so that you get the results that you want.
Here in compact view of the Layers panel you can switch from the layer mask to the actual layer by swiping side to side on the layer mask thumbnail.
To switch from the layer mask to the layer I'll swipe left to right on the layer mask thumbnail.
And to go back to the layer mask I'll swipe from right to left.
So far, we've been working in compact layers view.
If you prefer to work with layer masks in detailed layers view where they look more like they do in Photoshop on the computer then tap the Detailed Layer View icon in the Taskbar.
Now you can see the layer mask thumbnail on the right side of the bride layer and the layer thumbnail on the left side of the bride layer.
The blue highlight indicates which thumbnail is active.
Make sure your mask thumbnail is highlighted.
In either compact or detailed layers view you can delete a layer mask all together without harming the image itself.
To do that with the layer mask thumbnail selected tap the three-dot menu in the Taskbar and choose Delete mask.
If you're just getting started with layer masking those are the basics of layer masking in Photoshop on your iPad.
Practice these techniques a few times on different images and you'll get the hang of it.
If you already have experience using layer masks in Photoshop on the computer, here's some additional information you may appreciate about using layer masks in Photoshop on your iPad.
For one thing just like in Photoshop on your computer you can create a layer mask from a selection on the iPad.
Let's switch back to Compact Layers view.
Select one of the Selection Tools and make a selection.
Here will be easiest to select over the dark corners.
So, I'll drag over those with the Quick Selection Tool.
Down at the bottom of the screen there's now the Selection Tool action's bar which appears whenever you have a selection active.
I'll invert my selection by tapping Invert in that bar and now let's make this into a layer mask by going to the Taskbar and tapping the Mask icon.
Then you can use the Brush Tool to fine tune the mask by brushing on it with black.
Another technique for experienced users is to try brushing with lowered brush opacity for a semi-transparent look like this.
So that's a look at layer masking in Photoshop on the iPad that I hope you find useful whether you're new to layer masking or whether you're used to doing it already in Photoshop on your computer.


