If you made a selection that's relatively complex or one that you think you may want to use again in the future it makes sense to save that selection, so you can bring it back at any time and use it again.
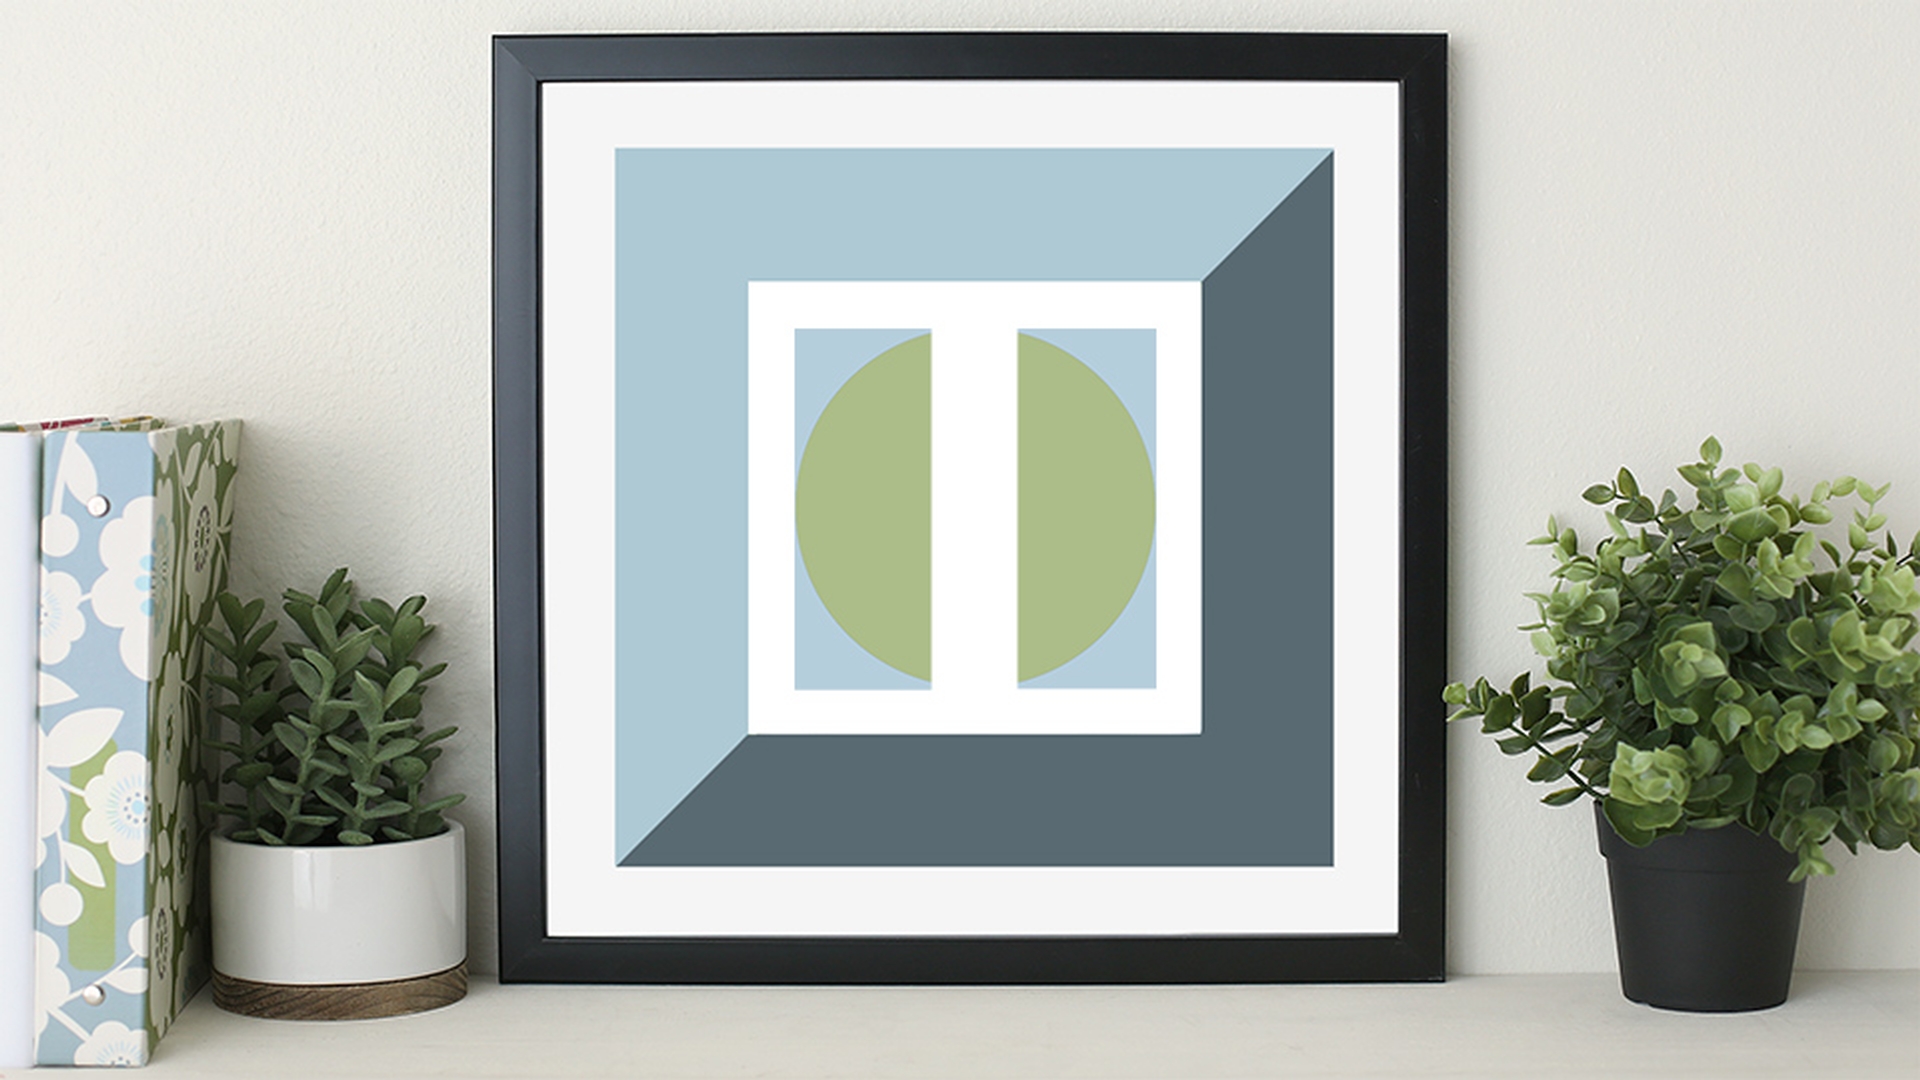
To show you how to do that I have a photograph and on top of the photograph I have this design, these two rectangles.
I'll turn off the Background layer for a moment, so you can see that the two rectangles are on their own layer.
Let's start by selecting those two rectangles.
Now here's a little trick for selecting objects on a transparent background.
If you hold down the Command key, that's the Control key on Windows and click on the thumbnail on the layer with transparent pixels, the Design layer, that selects only the non-transparent pixels on that layer, in this case the two rectangles.
Now I'm going to go to the Tools panel and select the Elliptical Marquee tool and I'll make sure that the Intersect with option is highlighted in the Options bar.
Now make a circular selection which can be a little tricky, so you may have to practice a couple of times to get it just right.
I'll come into the image and I'll start dragging an oval selection then a hold down the Shift key to constrain the selection to a circle, then with my finger still on the mouse and another finger still on the Shift key I'll hold down the Spacebar too and I'll push the circle up into the left where I want it, then still keeping the mouse and the Shift key held down I'll release the Spacebar and continue to drag.
When I'm happy with the selection I'll release the mouse and the Shift key and here's the result.
So, let's make use of the selection.
I'm going to fill it with color on the design layer.
So, I'll select the design layer and then I'll go up to the Swatches panel and I'll select a color.
You can choose any color you like.
And then I'm going to use the shortcut for filling with the foreground color and that's Option Delete on the Mac or ALT Backspace on Windows.
Now since it took me a little while to make the selection, I'm going to save it and that will give me the option to bring it back in the future and make a change.
I go up to the Select menu and I'll choose Save Selection...
I'll give the selection a Name.
I'll call this my circle and I'll click OK.
And then I'll deselect by pressing the shortcut Command D on the Mac or Control D on Windows.
So now let's say that I've saved and closed the image and some time has gone by and I want to go back in and change that purple circle.
Even at that point I can load my selection back in.
I go up to the Select menu, I'll choose Load Selection.
I'll go to the Channel menu and I'll choose my selection by name and then I'll click OK.
To make it change I'm going to go over to the Tools panel and select the Eyedropper tool and select a color from the image.
And now I'll fill this selection with that new color by pressing Option Delete on a Mac or ALT Backspace on Windows.
And then I can deselect Command D on Mac or Control D on Windows.
Now here's a little bonus information.
As you get more advanced in Photoshop CC, you may want to know more about what's going on under the hood and when you save a selection what's happened is if you go to the Channels panel you'll see that there is a channel that represents that selection.
But in most cases, you won't have to go to the Channels panel to work with the saved selection.
You can do it just the way I showed you by saving and loading selections from the Select menu.