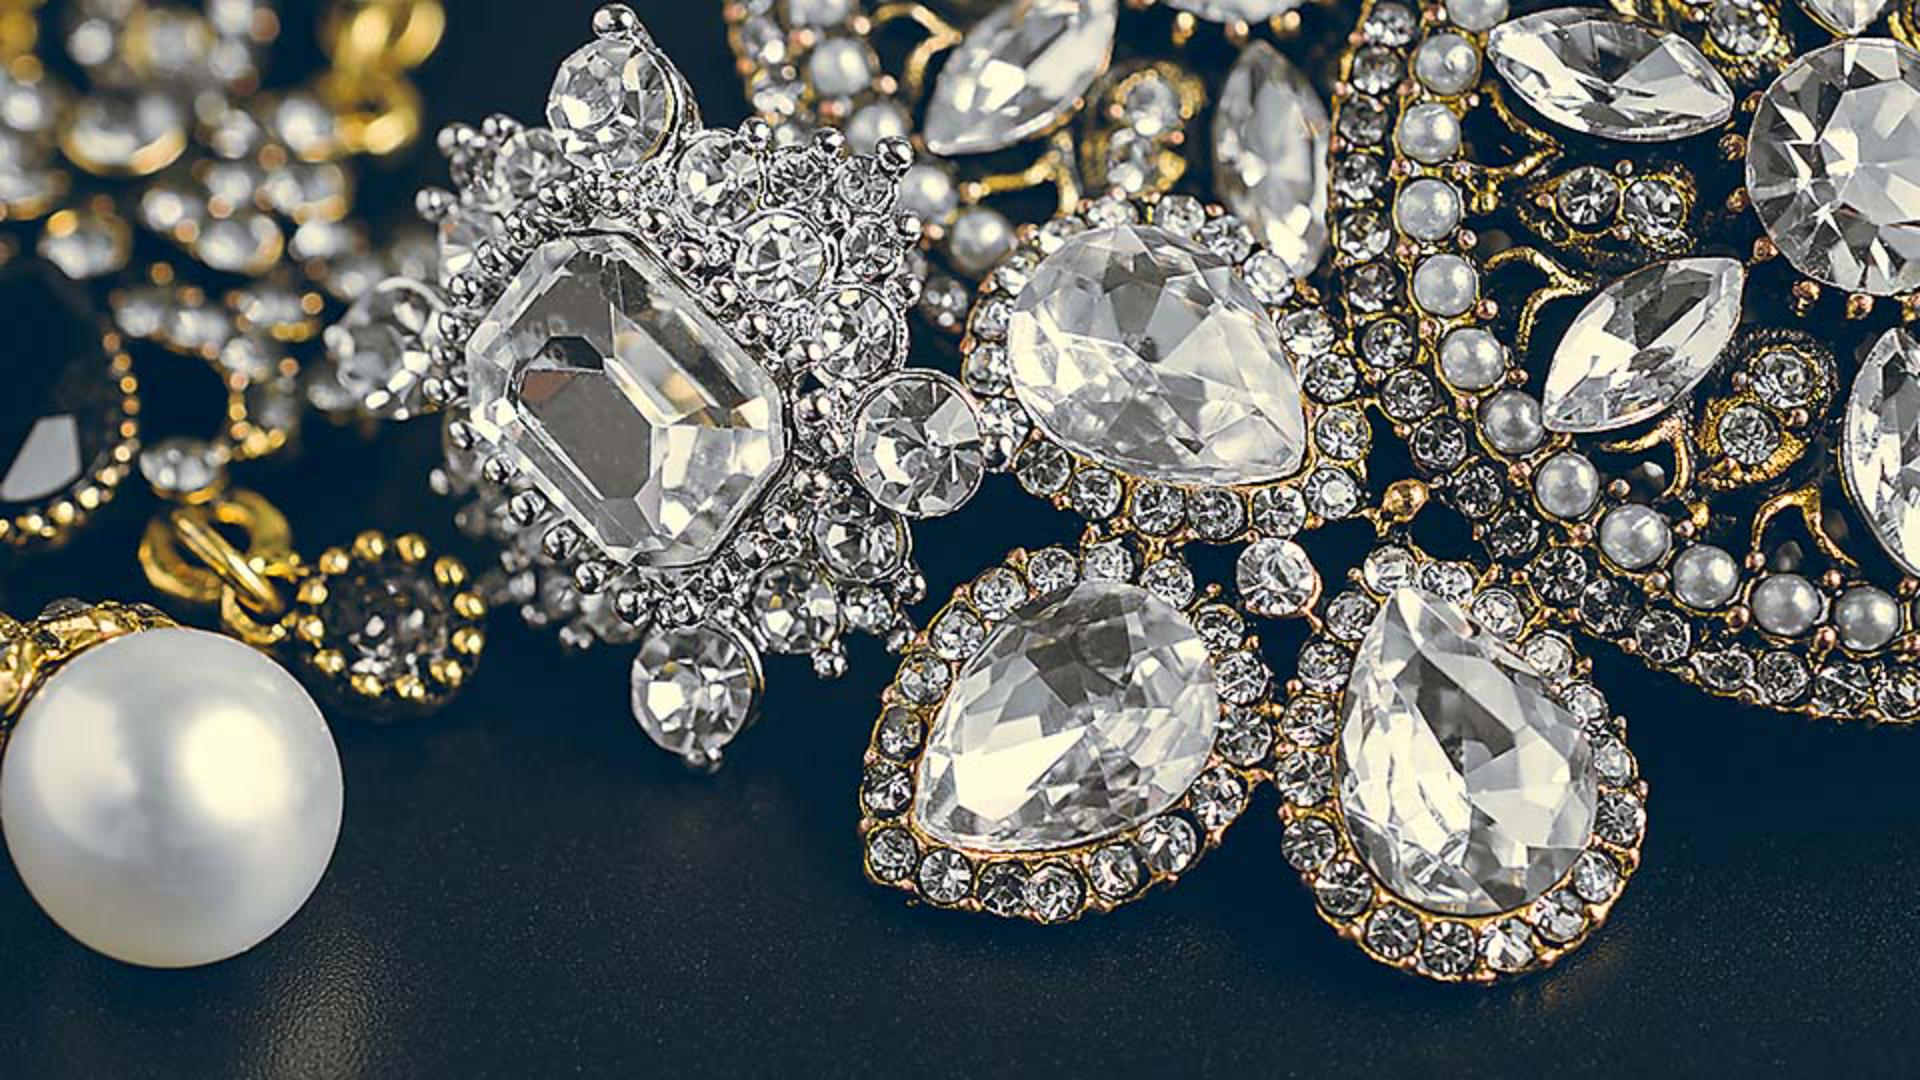
Sharpening is an important part of any photo editing workflow.
In this tutorial, you'll learn a simple way to sharpen in Photoshop using the Unsharp Mask filter and you'll learn how sharpening works.
I'm Jan from Adobe's Learn team.
Did you know that sharpening does not fix a blurry photo nor bring unfocused areas into focus?
What sharpening does is accentuate details that are already in focus to draw users' attention to them.
So let's jump in and sharpen a photo together.
We'll start by zooming in to 100% view, since that's the only really accurate view for evaluating sharpness.
A quick way to do that is to double click the Zoom Tool in the Toolbar.
Next, you'll wrap your photo in a package called a Smart Object that will keep your sharpening settings re-editable.
So make sure that over in the Layers panel the layer with the photo is selected.
Then go up to the Filter menu and choose Convert for Smart Filters and click OK.
Next, go back to the Filter menu and choose Sharpen and Unsharp Mask...
The Unsharp Mask dialog box pops up with some settings for this Sharpening filter.
The dialog box also has this small preview.
So if your image is not at 100% view for any reason, you could view a small bit of the photo here in the dialog box at 100% as you work.
And you can choose which part to view.
Just move your cursor into the image and click on an area of detail that you want to sharpen like the edge of this pearl, and it will appear here in the Unsharp Mask dialog box at 100% view by default.
Before you apply the sharpening settings, it's a good idea to know how sharpening works.
Photoshop looks for all the places inside the photo where there's a big drop off from dark to light.
Those are called edges.
Photoshop makes the dark side of those edges darker and the bright side of the edges brighter, increasing contrast at those edges.
And it's that increased edge contrast that makes the photo look sharper.
Fun fact, this is an illusion that artists used in their paintings centuries ago, and we're still using it today to make our photographs look sharper.
I'm going to exaggerate the first two sliders in the Unsharp Mask dialog box so you can see this for yourself.
The first slider, the Amount slider, controls the brightness and darkness of the sharpening effect I described.
I'll drag that way over to the right to start.
The Radius slider controls the width of the sharpening effect at the image edges.
Those are sometimes called the sharpening halos.
Keep your eye on the edge of the pearl over on the left side of the image as I drag the Radius slider to the right and notice how the white and dark halos around the pearl expand as I increase the radius.
Obviously, that's way too much.
So a good way to work is to drag the Radius slider back to where you can barely see the halos.
And then let's reduce the Amount slider to where the sharpening is visible, but natural looking at 100% view.
There's also a Threshold slider.
When Threshold is at 0 everything in the photo is getting the same sharpening treatment.
But if you drag it to the right, then you're protecting items that have less contrast from being sharpened.
So this could come in handy to avoid sharpening something like grain in a bright blue sky, or even the texture and glitter here on the table.
But unfortunately it could cause other items not to be sharpened to items you want to sharpen.
So I often leave Threshold at a really low setting, and instead I use a mask to protect the areas I don't want to sharpen.
Now keep your eye on the image and click the Preview checkbox in the Unsharp Mask dialog box, off to see a view of the image without sharpening and on to see how it looks with these sharpening settings.
Again, off and then on.
If you like the results, then click OK to apply these sharpening settings.
And you're done.
Because you convert it to a Smart Filter before sharpening at any time you can edit your sharpening settings by double clicking the Unsharp Mask sub layer in the Layers panel and the Unsharp Masks dialog box will open again.
So those are the basics of sharpening in Photoshop.
There are other sharpening methods in Photoshop but Unsharp Mask is often all you need and it's a really good place to start practicing your sharpening skills.


