Create an animated title graphic
Learn how to use the Type tool to create an animated title for your video projects.
Published
Introduction
[Stefan Gruenwedel]: Hello, I'm Stefan.
I'm a writer, editor, and instructional designer for Premiere Pro.
In this tutorial, I'll show you the basics of animating text over a video background.
Let's get started.
I have some footage in my Sequence right now.
I found this on Adobe Stock, and it's for a concept I want to run by my producer for a TV show.
The first thing I want to do is add the title of the show.
Adding and styling title text
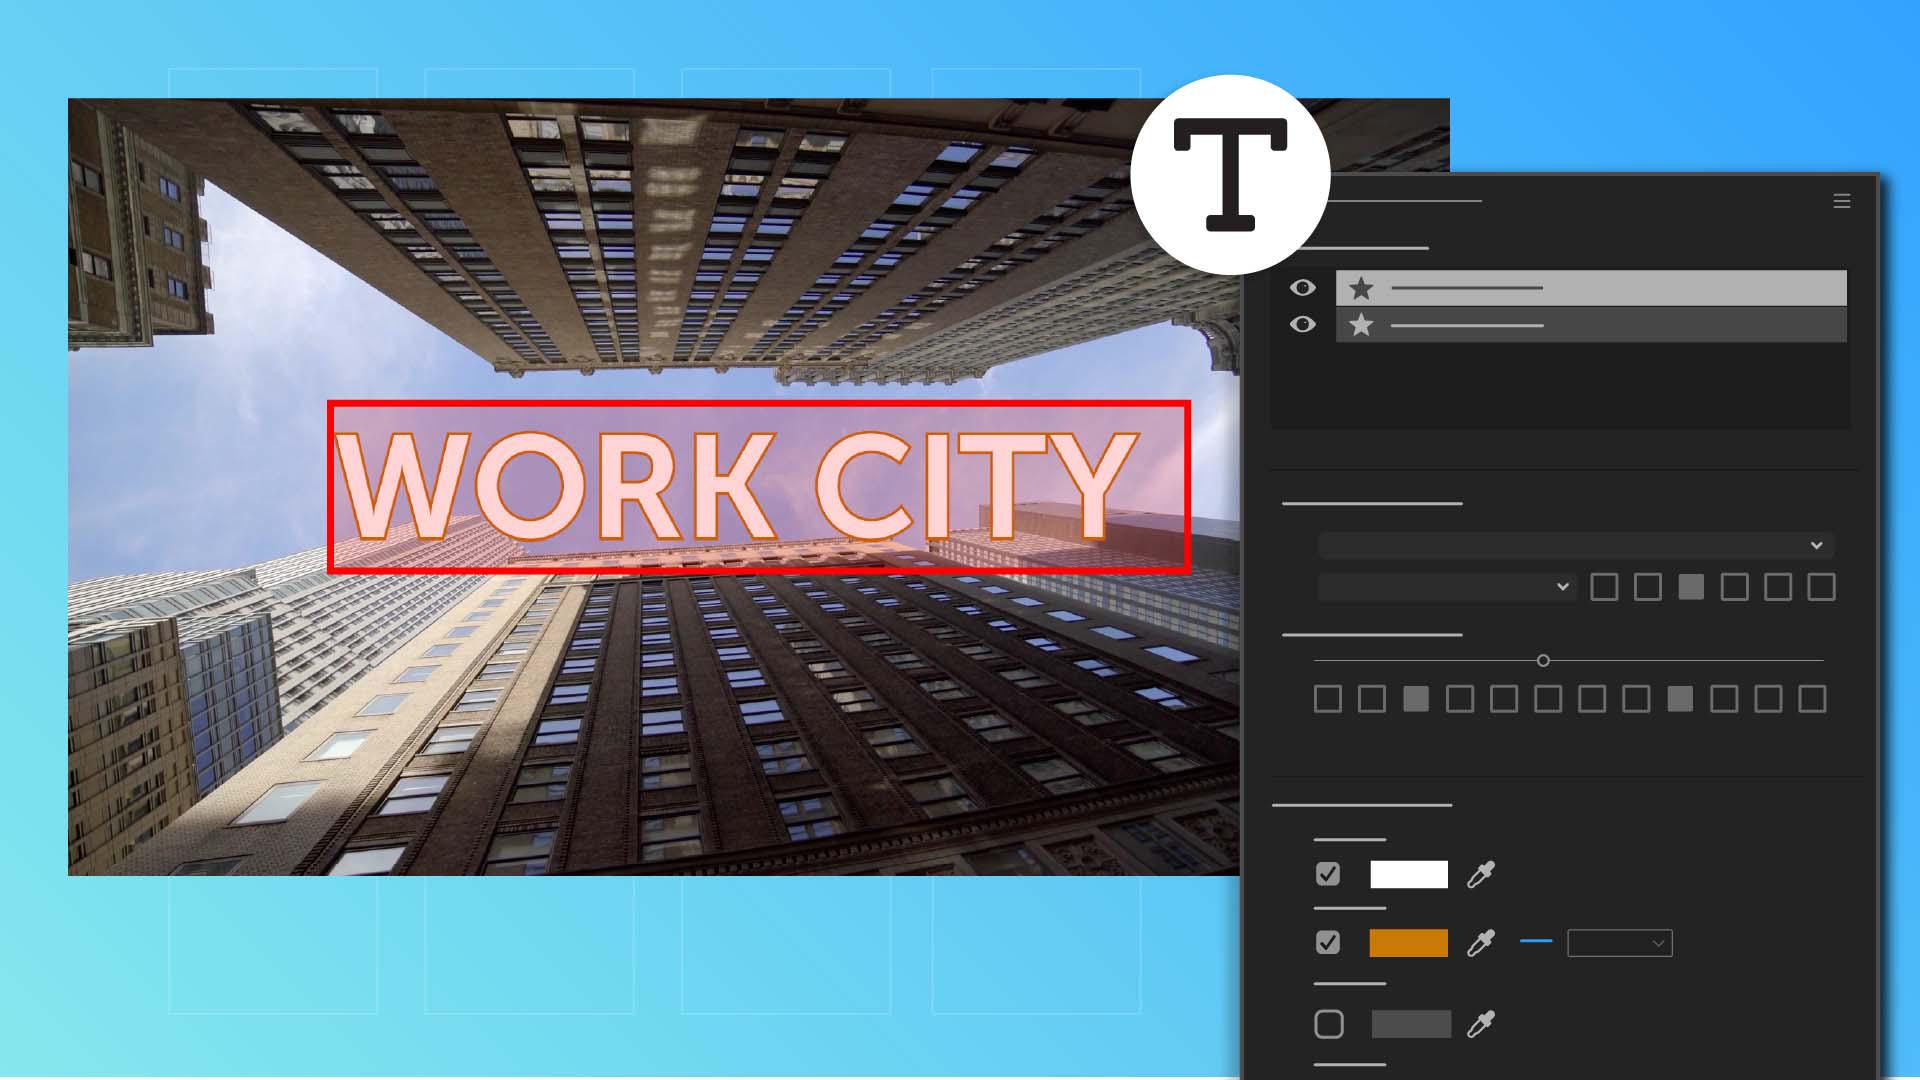
So, I click the Type Tool in the Toolbar and then click anywhere in the Program Monitor to type my text. [typing] Now, this font here isn't quite working for me, but I can easily change it in the Properties panel.
So, I'll go ahead and choose a font I like from the dropdown, adjust the Style, make it All Caps for impact, and increase the Size so it stands out.
I also want to change the Appearance.
I like the white Fill color, but I'll turn on the Stroke option and click the color chip to change the color of the outline.
Besides Font and Appearance options, I can also automatically align the text.
Here I'm going to center-align both horizontally and vertically.
Now I'll drag the end of the clip containing the title and extend it so it's as long as the background video is.
Now I want to animate this title into the shot,
Animating title text with position keyframes
so I'm going to move ahead in the Timeline a few seconds.
I like where the title is positioned at this point, so I'll add a Position keyframe by clicking the Keyframe button.
I want the title to animate in from the right, so I'll move the Playhead to the beginning of the Sequence.
Then I'll use the Selection Tool to drag the title offscreen.
I'm going to hold down the Shift key, so the motion is constrained in the horizontal direction.
Doing this automatically adds another Position keyframe at time equals 0.
I'll show you where you can see these keyframes.
With my text layer still selected, I'll scroll to the top of the Properties panel, click the More menu and choose Open advanced effect controls.
This opens the Effect Controls panel next to the Properties panel.
Here you can see those two keyframes.
They define the horizontal motion of the title.
Let's play the Sequence and see how things look. [silent clip playing] That looks pretty good.
The speed of the title matches the speed of the buildings pretty well, but at 8 seconds the text stops moving because I haven't told Premiere Pro where to move it next.
I'll need to add another keyframe so that it can continue moving where I want it to go.
Around here, I want the title to have gone off the screen on the left.
So, now I drag the title off the screen.
Adding and animating secondary text
Now I want to add some more text, so I'll move forward a bit to where I want the new text to appear.
This new text should have the same properties as the title I just added.
So, I'll use the Selection Tool to select the existing text layer before I use the Type Tool to add the new words - starring - hit Return and the actor's name.
In the Properties panel, there's now a new type layer above the title.
Because this new text isn't the title, I want to make it look a little different.
I'll activate the Selection Tool and size it down and center it.
I want to animate this new text in like the previous text, so I'll keyframe the Position at this point.
Then I'll move back in time to about here when the main title is leaving the screen and move the new text offscreen.
This will add another Position keyframe. [silent clip playing] Let's see how things look. [silent clip playing] As the main title comes and goes, the next words enter the frame and stop. [silent clip playing] At this point here the scene rotates 90 degrees,
Using rotation and exit animations
so I'm going to have to keyframe the Rotation property.
With the text layer selected here in the Properties panel, I'll add a Rotation keyframe.
Now about 10 seconds later the turn is completed, so I'll just rotate the text 90 degrees and add another keyframe for that property.
Now for the rest of the video clip, I want the word to move offscreen towards the top, so just after it stops rotating, I'll go back to the Properties panel and add two Position keyframes to move it out of the frame. [silent clip playing] Let's see how it looks. [silent clip playing] And there we have it.
I think my producer will love it. [silent clip playing]
Note: Stock assets provided are for practice purposes only. See terms.
What you’ll learn
Create a custom title
Use the Type tool to add a title to your video project. Then, customize your title using the options in the Properties panel.
Animate your title
Add keyframes to the Position property in the Properties panel to animate your title as it enters the scene.
Instruction by
Adobe Stock Contributors
VidPortPro