Try these tutorials with Premiere
Create and edit films and video.
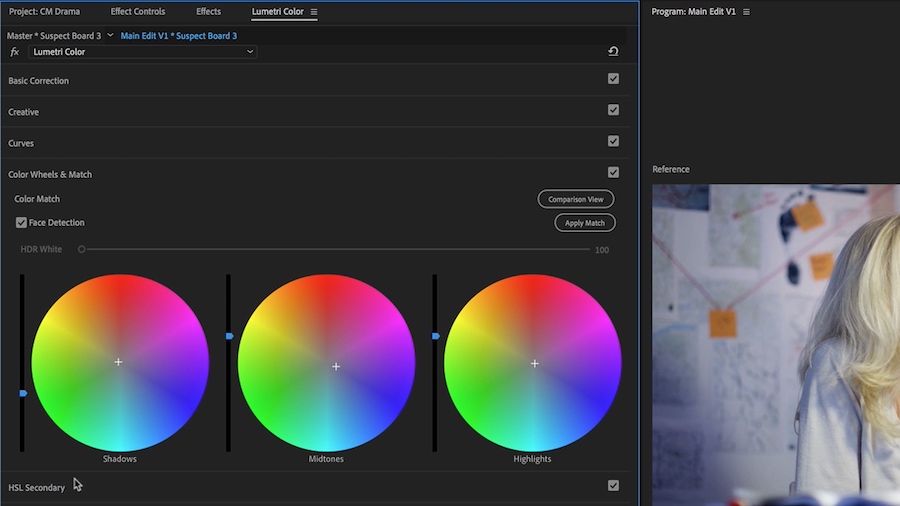
Color Match in Adobe Premiere Pro, powered by Adobe Sensei, applies light and color values from a reference clip to a target clip in the same sequence.
Refine it to get the color and light you want.

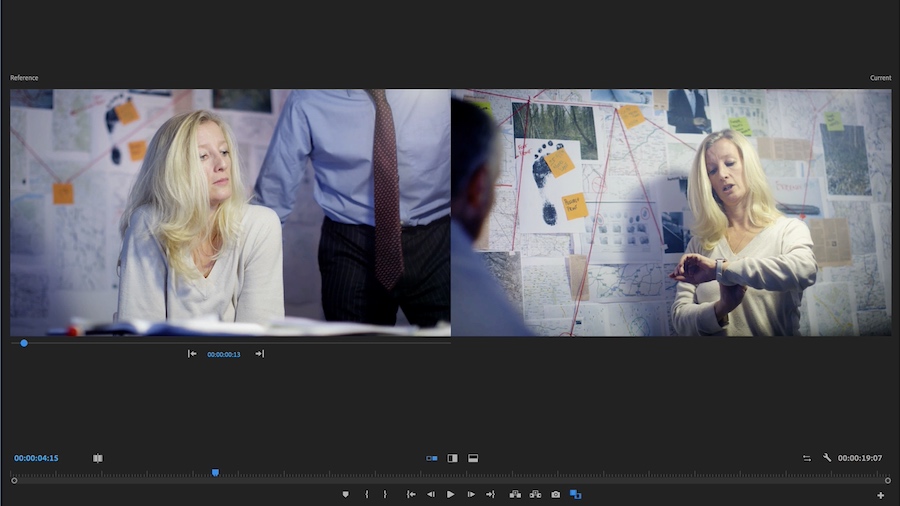
Park on it so it will show up in the Current window during the next step.

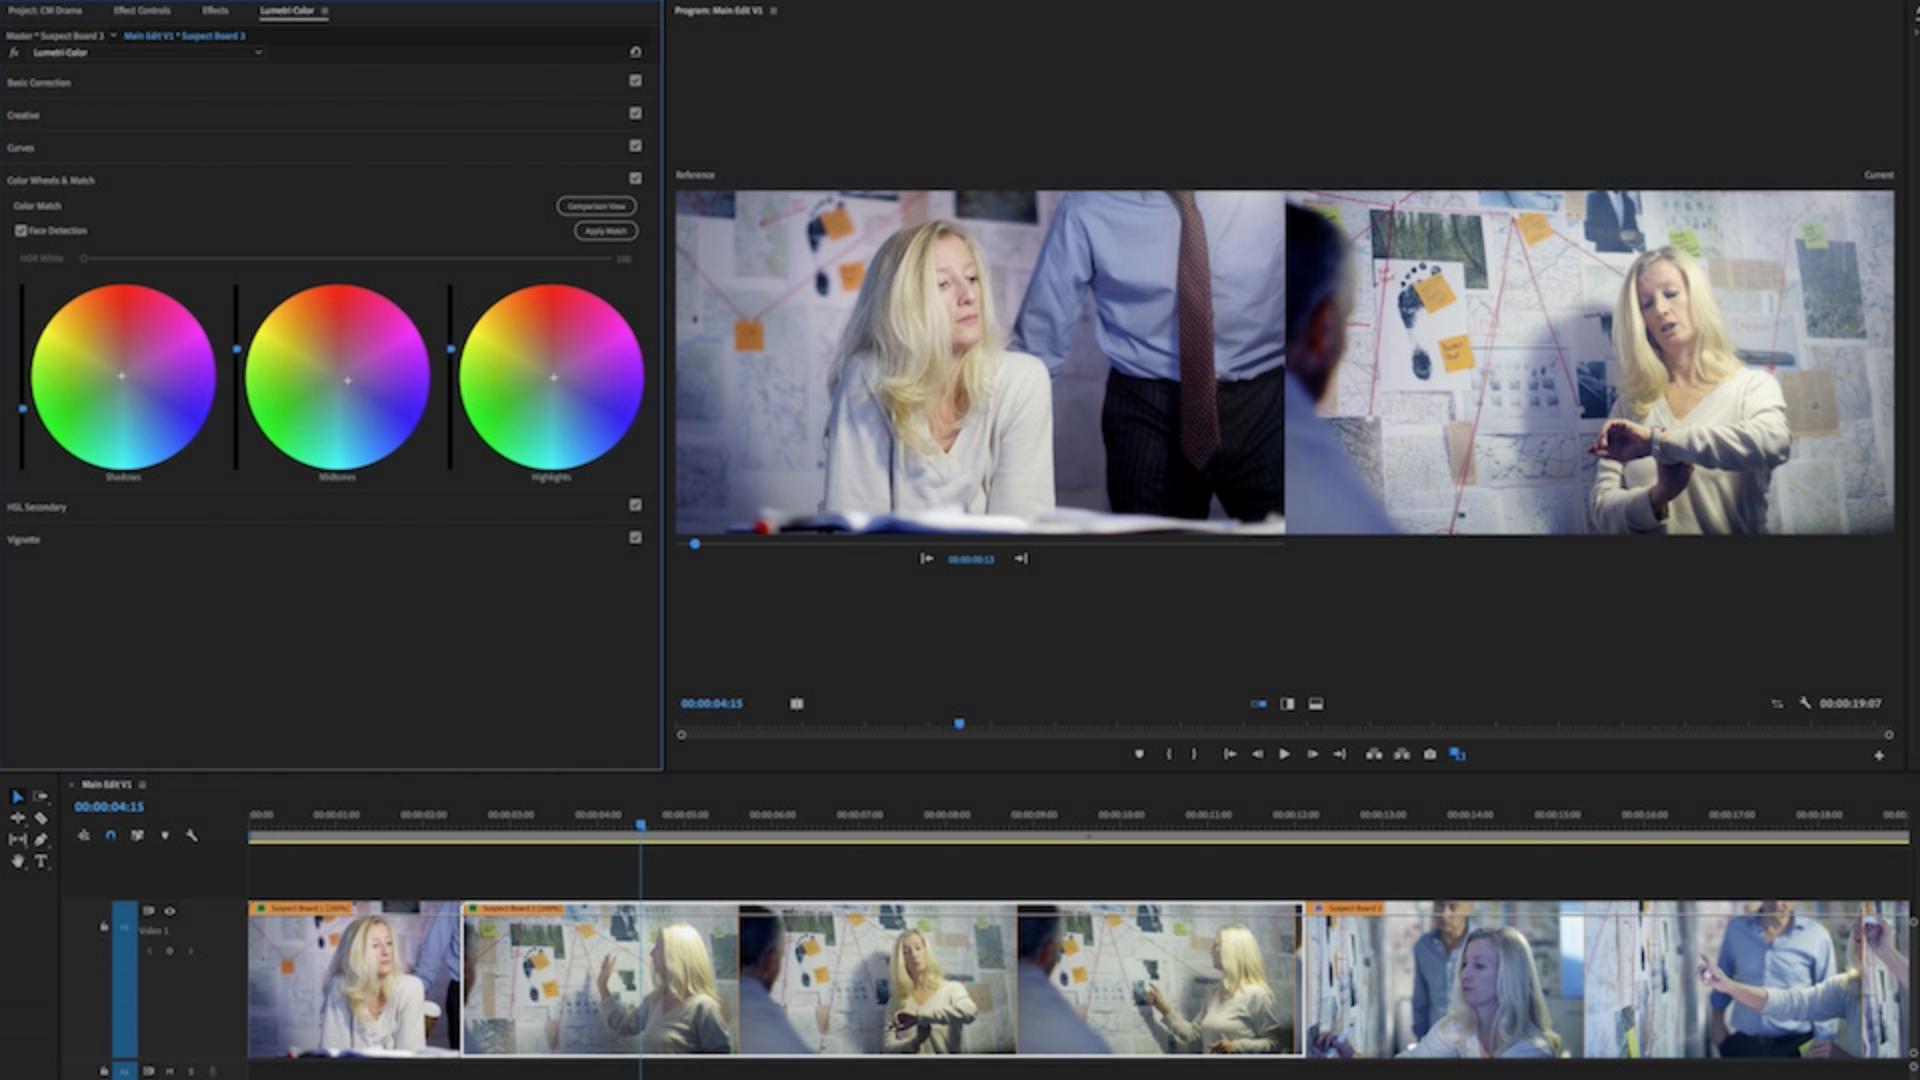
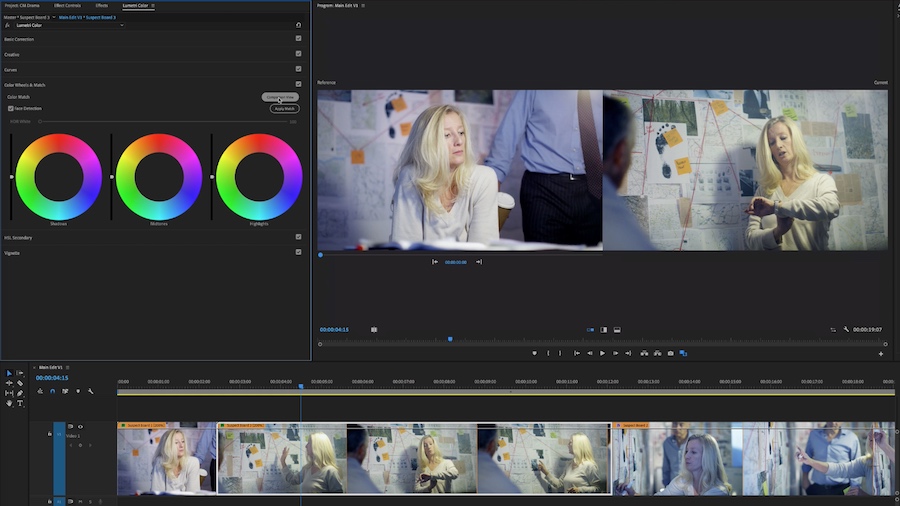
Select the Color Wheels & Match tab, and color wheels for Shadows, Midtones, and Highlights appear. Then enable Comparison View in the Program Monitor.
Face Detection is on by default. Adobe Sensei enables Premiere Pro to automatically apply the Lumetri settings, using Color Wheels and Saturation control to match the colors in the current frame to the colors in the reference frame.

You retain total creative control, and can modify the intensity levels of the Shadows, Midtones, and Highlights. You can also use all your regular color correction tools, so you can achieve the best possible match.
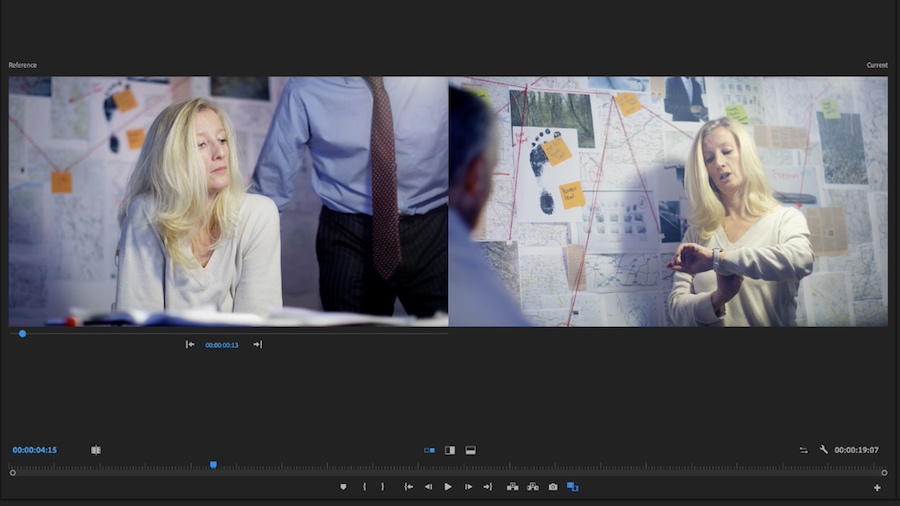
Thanks to the power of Adobe Sensei, your film now has visual consistency and continuity!