Try these tutorials with Premiere
Create and edit films and video.
Learn how to use Auto-Ducking in Adobe Premiere Pro, powered by Adobe Sensei, to simplify audio mixing so that your audience hears what matters most.
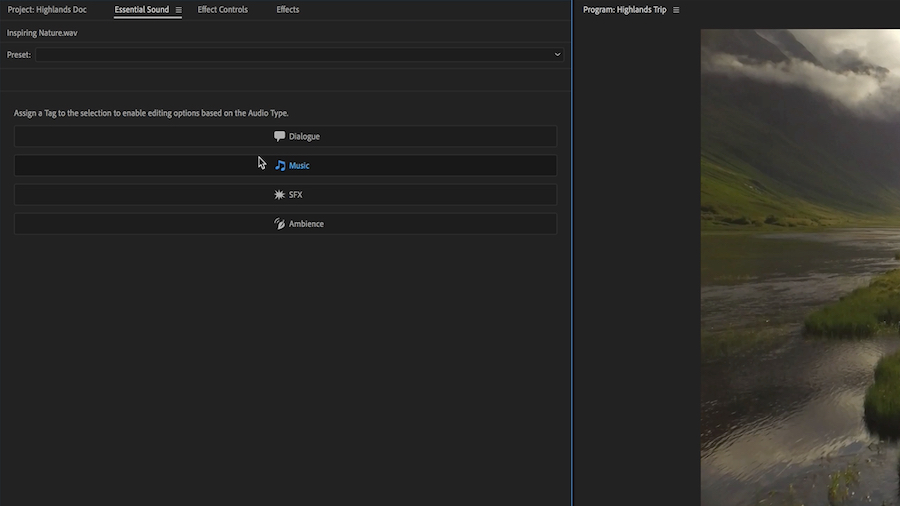
In the Essential Sound panel, assign the appropriate audio type for the clips you’re working with – Dialogue, Music, SFX, or Ambience.


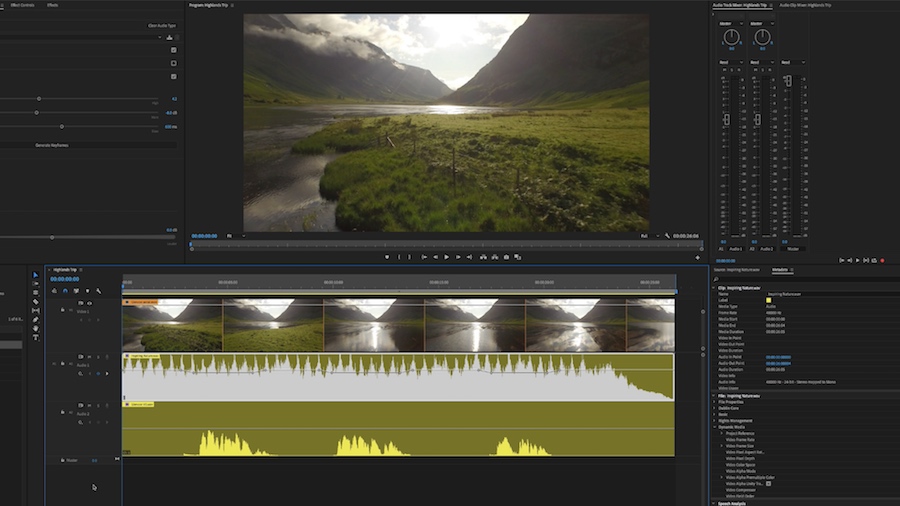
Use the Essential Sound tools to enhance and optimize your voiceover track.

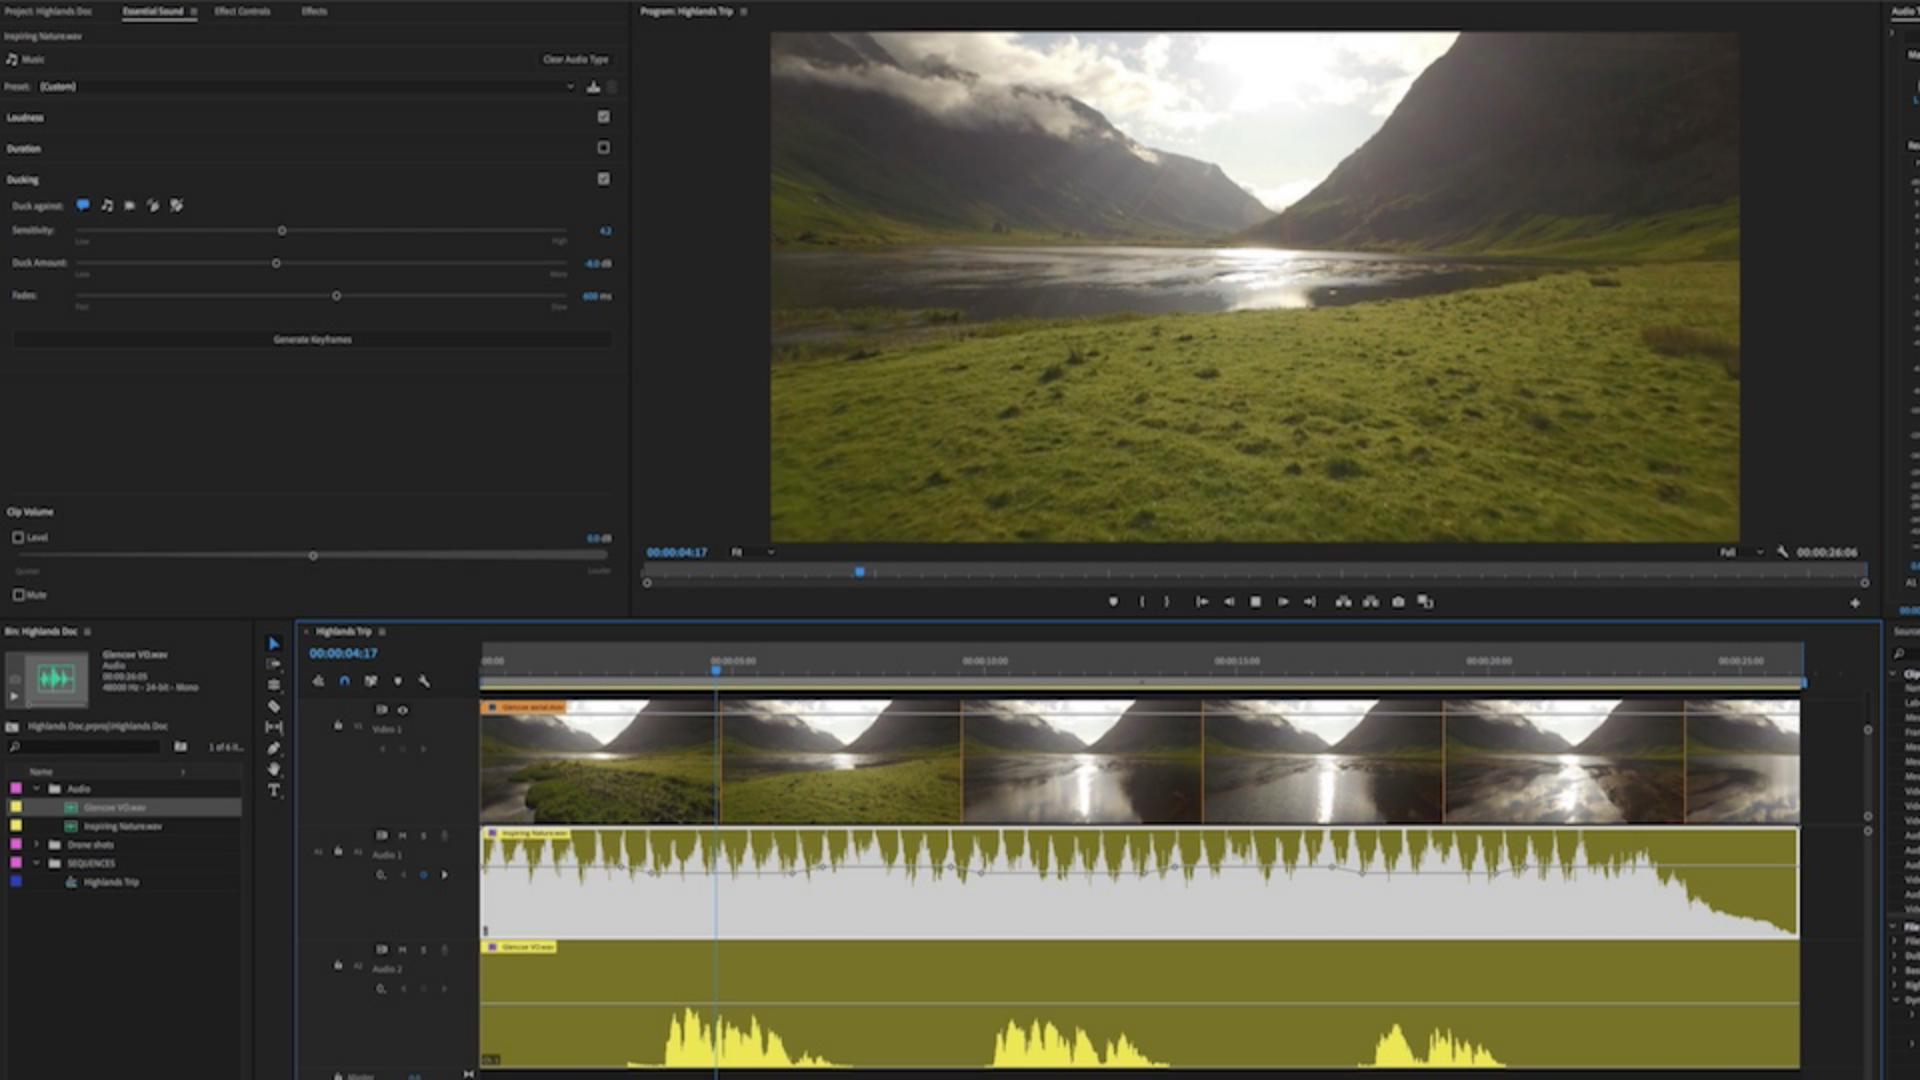
Assign the audio type again, this time to your music track.
Apply the Ducking settings. Choose what to Duck against and the degree of Sensitivity, Duck Amount, and Fades. Then click Generate Keyframes.

Adobe Sensei goes to work, automatically adjusting the volume levels on all your selected clips.

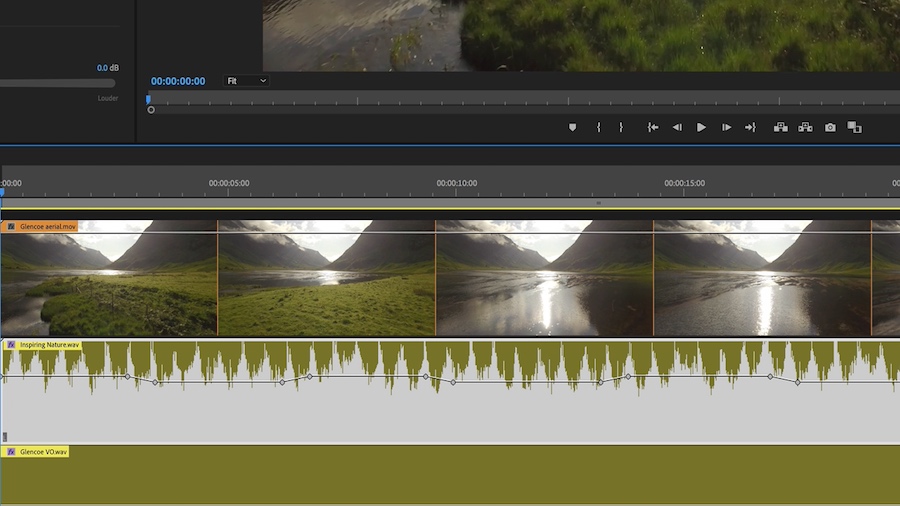
You retain complete control. If you want to make further adjustments you can manually adjust the keyframes for the perfect mix you desire.
The final mix means your audience hears what matters most!