Giving your videos a consistent and creative look has never been easier.
Hi, I'm Lauren from the Adobe Learn team and I'm here to show you how to use Premiere Mobile to give your footage a cinematic vibe in just a few taps.
Whether you're going for moody, warm, cool, or bold, color grading is how you make your videos look and feel like you.
I'm working on a post for Mud Witch, a colorful and playful ceramic shot.
My footage looks okay, but it's a little flat.
I'll tap the first clip and scroll over to Looks to browse the Lightroom presets.
I like to scroll through these options until I find one that fits the vibe I'm looking for.
I like the Dramatic option, but it's a bit strong, so I'll drag the slider down for a subtler look.
When I'm happy with it, I'll tap Apply to all to give every clip that same style.
I could stop here, but there are a few more tweaks I can make to bring out the bright and happy vibes of the shop.
First, I'll drag this splitter up to make my viewing window a bit smaller.
This way I can see the full frame and access Undo and Redo really easily.
Now I'll open the Adjust menu and start with the Light options.
If I'm unsure what something does, I'll just slide it all the way to one side to see the effect.
Then I'll dial it back until it feels right.
Next, I'll move over to the Color tab.
Vibrance will boost the color without overdoing it, which is perfect for Mud Witch's bright esthetic.
I can tweak the Saturation as well, but if I push it too far, it'll distort the colors.
That's not the vibe I'm after, so I'll bring it back down to around 5.
If I want to target specific colors, I'll head to the Mix tab.
Say I want this green bowl to stand out even more.
I'll tap the green chip and then adjust the sliders to boost it without affecting the rest of the clip.
The Grading options let you go even deeper.
You could tint just the Shadows, Mid Tones or Highlights.
Or you can use the Global option to shift the whole image.
The best way to find your look is to bring in your own footage and play around.
You might find that adding a Vignette or some Grain is exactly what you need.
If I decide I want to start over, I can hit this button here to undo all of the changes.
Once I'm satisfied, I'll hit Apply to all again.
Once I'm done, I like to scrub through my video and look for any obvious issues.
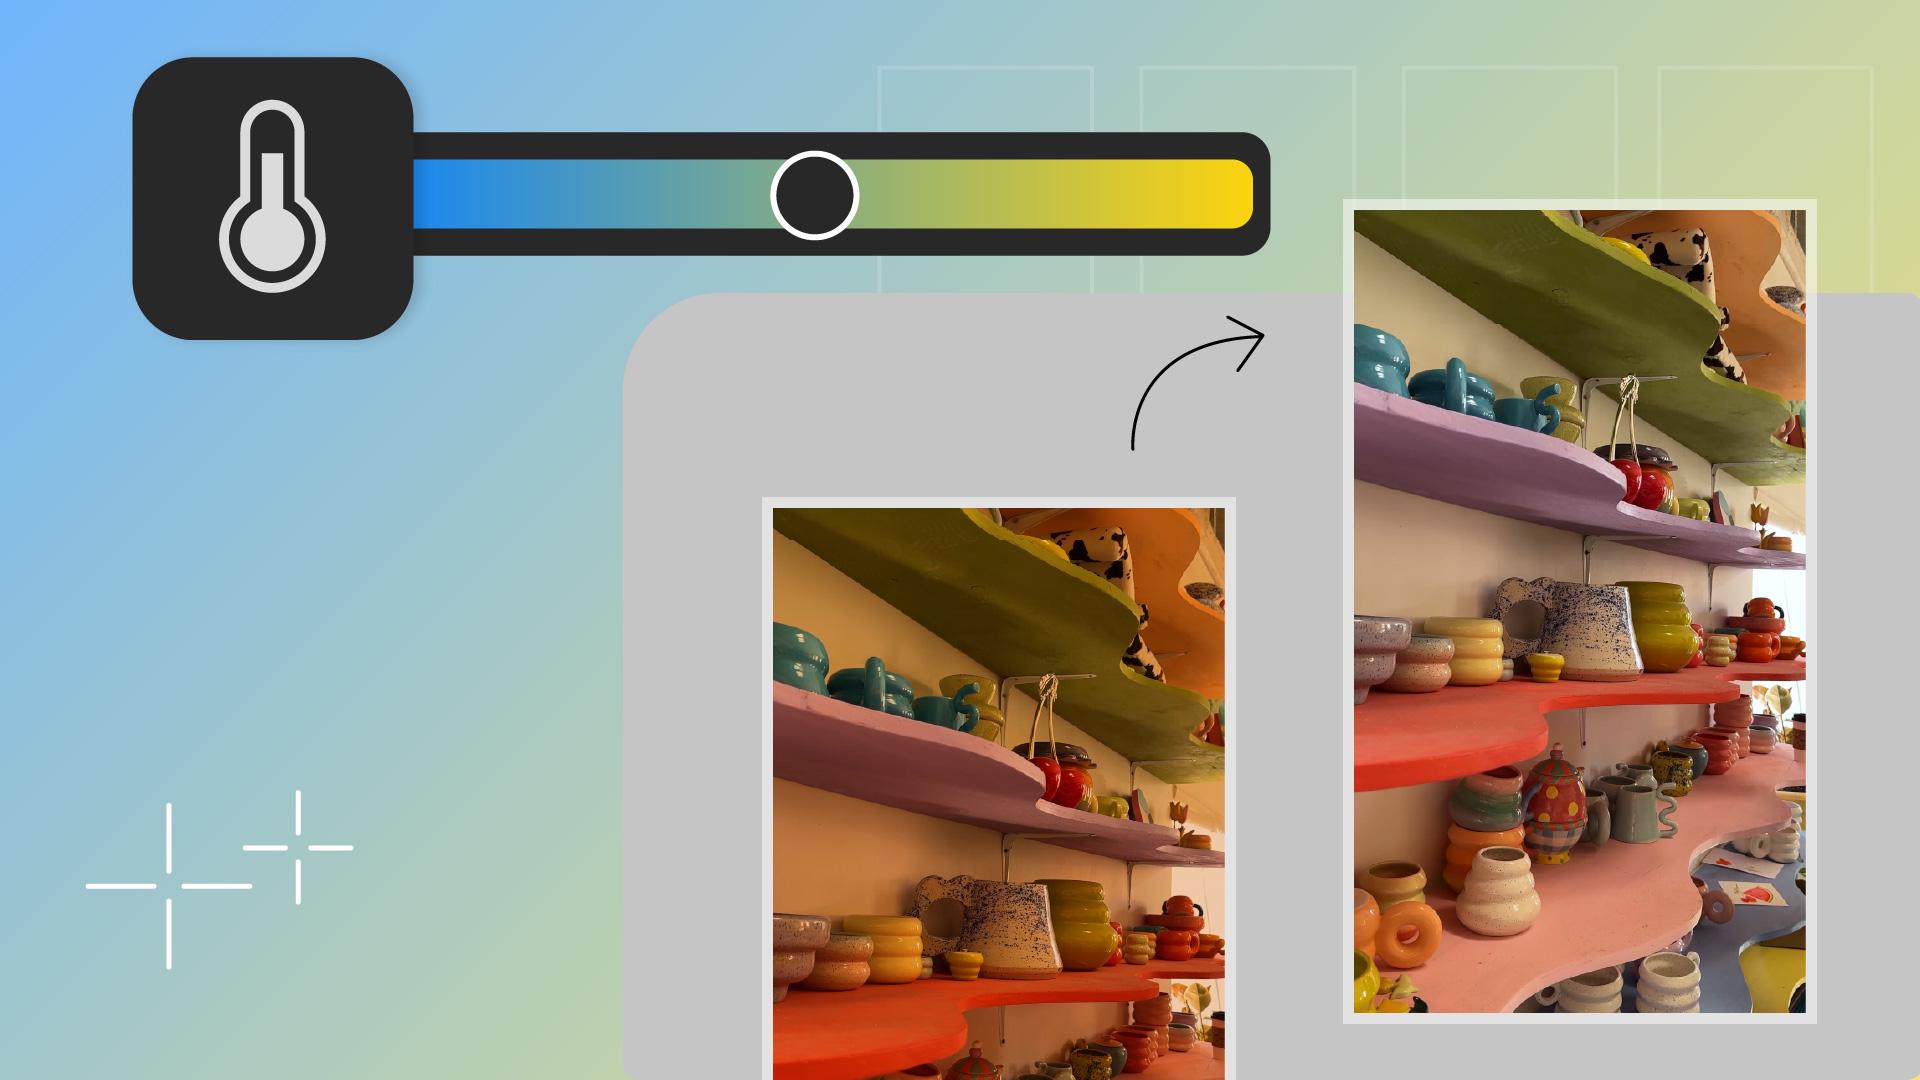
One thing I'm noticing is that this clip is a bit more orange than the others.
I'll go back to the Adjustments menu, jump to Temperature, and then nudge the slider towards the blue until it matches the rest.
And that's it.
Consistent and creative color all from my phone.
This is my unique look, but now it's your turn.
Load up a clip and discover your own.