Introduction
In this tutorial, you will learn how to use the Substance Integration in VRED as well as the new MDL Materials importer available in VRED 2024.
We’ll go through three different workflows together.
How to import several Substance 3D materials from the Substance Asset Library in VRED and use parameters to tweak the look of the materials dynamically.
How to import several SBSAR files from Substance Painter into VRED, through the Substance Integration.
And finally, how to import an MDL material from a Substance 3D Designer project to VRED 2024.
We’ll start with our scene in VRED.
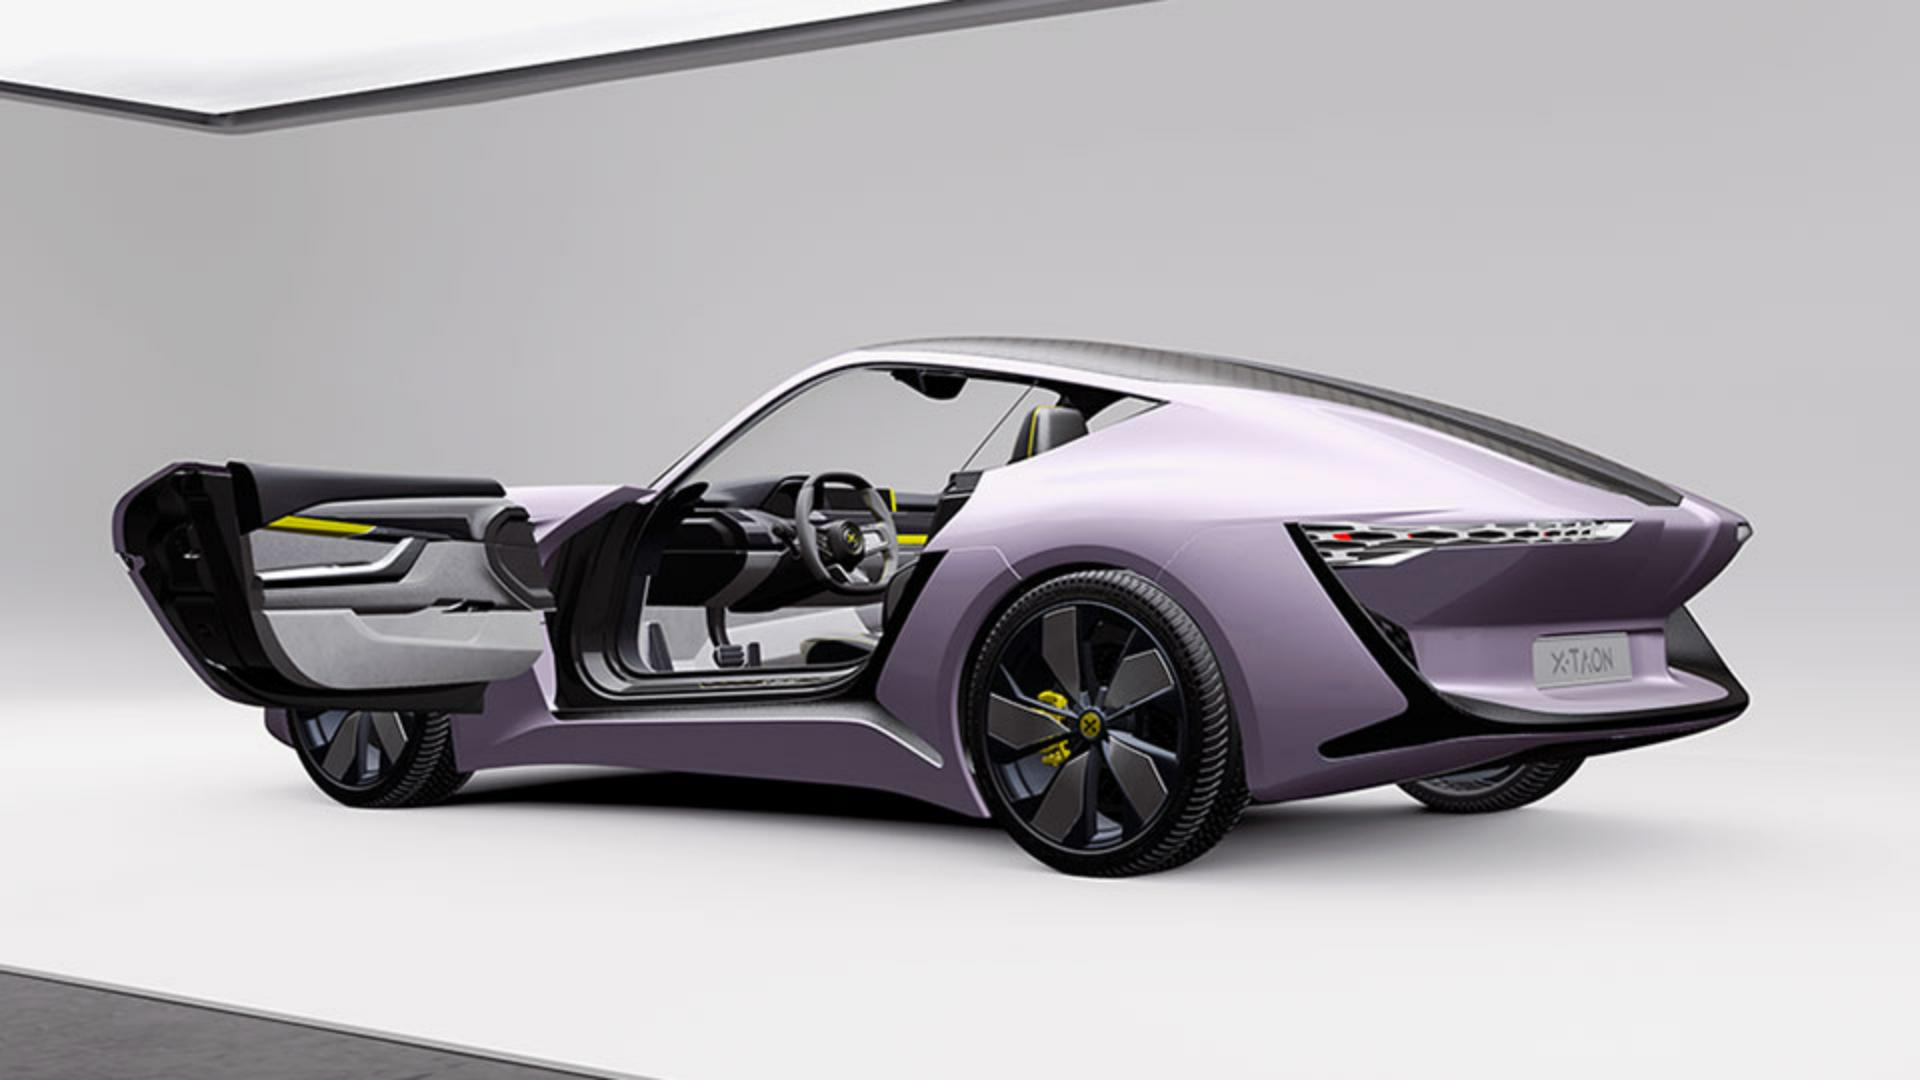
Importing and applying Substance materials in VRED
It’s a studio scene with a blank model of the X-TAON car.
To begin texturing will download two materials from the Substance Asset Library to apply them on the wheels of the car.
Let’s go to the Substance Asset website and select collections, then transportation.
Then we’ll browse the Automotive Exterior Collection.
In this collection, the Metal Machined and the Metallic Powder Paint look great, so let’s download these.
Once downloaded, go back to VRED to put these materials to use.
Click on the materials icon to display the material editor.
To import multiple SBSAR files at the same time.
Right click on the material panel and select “Import Materials…”.
In the pop-up window, select your SBSAR files and click Open.
Apart from our downloaded SBSAR, will also use one created in Substance Designer.
Let’s drop the Metallic Powder Paint on our wheel first.
You can tweak the material dynamically by changing it in the Material Editor.
Materials often have several default presets.
To apply one of these presets, just double click on it.
In the Substance package section, you can increase the output size to get a higher resolution.
In the texture settings section, you can change the mapping type and the texture size.
If you go back to the Substance Asset Library, you can check the physical size of the material by clicking on his thumbnail.
This one is 12 by 12 centimeters, so you can use those values in the texture size field.
Finally, in the Metallic Powder Paint section, you’ll find the main custom parameters that let you tweak the design and look of the material.
Let’s go for a dark gray color and set the Roughness to a higher value to get a matte reflection.
Once done, if you go back to the preset section and right click on the list, you can create your own preset for this version.
By clicking on the name, you can rename your preset.
For the metal will set its mapping type to UV, and the texture size to 25 by 25 centimeters.
Then, will change the color to a bright gray and the angle of the brush pattern to align it with our parts.
The last Substance Material goes on the center of the rim.
Using the UV mapping type correctly maps the logo to the center.
So that covers importing tiling materials.
Exporting and importing SBSAR materials from Substance Painter
Let’s look at importing textures from Substance Painter to texture the rest of the car.
We’re switching to Substance 3D Painter, our model is the same one from VRED, but it has already been textured.
We used painter’s layer stack system with materials downloaded from the Substance Assets to texture it.
Doing this in Painter requires properly map models, but it offers you the most flexible and powerful weight to texture.
I know more about this process you can watch our dedicated video.
To export our work, go to “File” and “Export textures”.
In the export window select the file type SBSAR.
It’s the last option in the menu.
Then click on export.
In VRED again, right click on the Materials Panel and select “Import Materials…” and bring in the SBSAR as you’ve done before.
For materials coming from Painter, make sure to select all materials and change the mapping type to UV.
Now we can just drop the materials directly onto the car to assign them.
The SBSAR format and integration in VRED saves time.
No need to plug in every single map by hand.
For our tires material from Painter, we want to use a special setting.
Enhancing materials with displacement and advanced settings
To give it more visual depth, go into the displacement section and set the displacement height to 100.
You can check the “Use Accurate Silhouettes In OpenGL” box to get a higher quality displacement effect.
For the final part of the video, we’ll look at the new MDL importer in VRED 2024.
Importing and customizing MDL materials from Substance Designer
To make use of it, we’ll use a Car Paint MDL material from Substance 3D Designer.
This Car Paint MDL was created in advance using the MDL graph features of Substance 3D Designer.
If you want to dynamically tweak this material inside VRED, you have to expose any relevant inputs by right clicking on it and selecting “Expose”.
Remember to also set the default state of the material before exporting it.
Note that some advanced MDL nodes available in Substance 3D Designer won’t work in VRED.
If that’s the case, the unsupported nodes and features are simply bypassed by VRED.
To export the MDL, right click on the package and select “Export MDL Module…” Substance 3D Designer will bake all relevant texture inputs to bitmaps and package them alongside the MDL file.
With your MDL exported move back to VRED, right click inside the Materials Panel and pick “Create Material” and then select “MDL”.
In the pop-up window open the exported Car Paint MDL file.
Once that’s loaded, you can drag and drop the MDL material on the body of the car.
You can tweak the look of this MDL by going into the Material Section.
All your export parameters from Designer are available here.
For example, we can change the color of each flake coat separately to get a better metallic effect.
Or the topcoat reflection can be tweaked with the Roughness parameter to create a matte looking coating.
Using MDL in VRED 2024 with Substance 3D Designer is an excellent choice for complex materials like car paint, anisotropic reflections, or iridescent surfaces.
The Substance Integration in VRED should speed up your visualization workflow by letting you import, tweak, and adjust your materials directly in VRED.
Good luck with it.
Thanks for watching.


