Introduction
Hi.
In this video, we will look at applying SBSAR materials to our model in Substance 3D Stager and then make some renders with it.
Here we are in Substance 3D Stager.
Importing models and applying SBSAR materials
To start, import your model through file > import > 3D model or you can just drag and drop a model from the File Explorer into Stager’s viewport.
If you want to view your scene with realistic lighting and materials, like how it will look in the render, you can toggle raytracing on and off with the switch in the top right corner.
Be aware that having ray tracing toggled can make your computer run a bit slower than if you were to just view it in real time.
So don't feel like you need to have it all the time.
And let's apply some materials.
Unlike usual 3D material set ups with bitmaps SBAR files let you bring in realistic materials packed inside of one file, so you only have to import once.
To import an SBSAR material click and drag it from your file explorer either onto your model in the viewport or into your project material panel.
You can also import them by clicking the folder icon in the project Material Panel.
This method allows you to bring in multiple SBSARs at once.
Stager also ships with a selection of SBSAR materials for us to use in our projects too.
We can find them in the Starter Assets panel in the material tab.
Once imported, we can click on each material in the Project Material panel to view its properties.
Some materials have quite a few different parameters to adjust so that we can tailor the way it looks.
Let's add this to some of our geometry, see what results we can get.
To apply them, you can either click the geometry you want to apply the material to, and then right click the material and the project material panel and select ‘Assign material to Selection’.
This can be useful if you're applying the material to multiple objects, or you can click and drag the material onto the object.
You have a group of objects, ensure you deselect this when you click and drag.
As this will apply the material to every object in the group.
Adjusting material properties and selective application
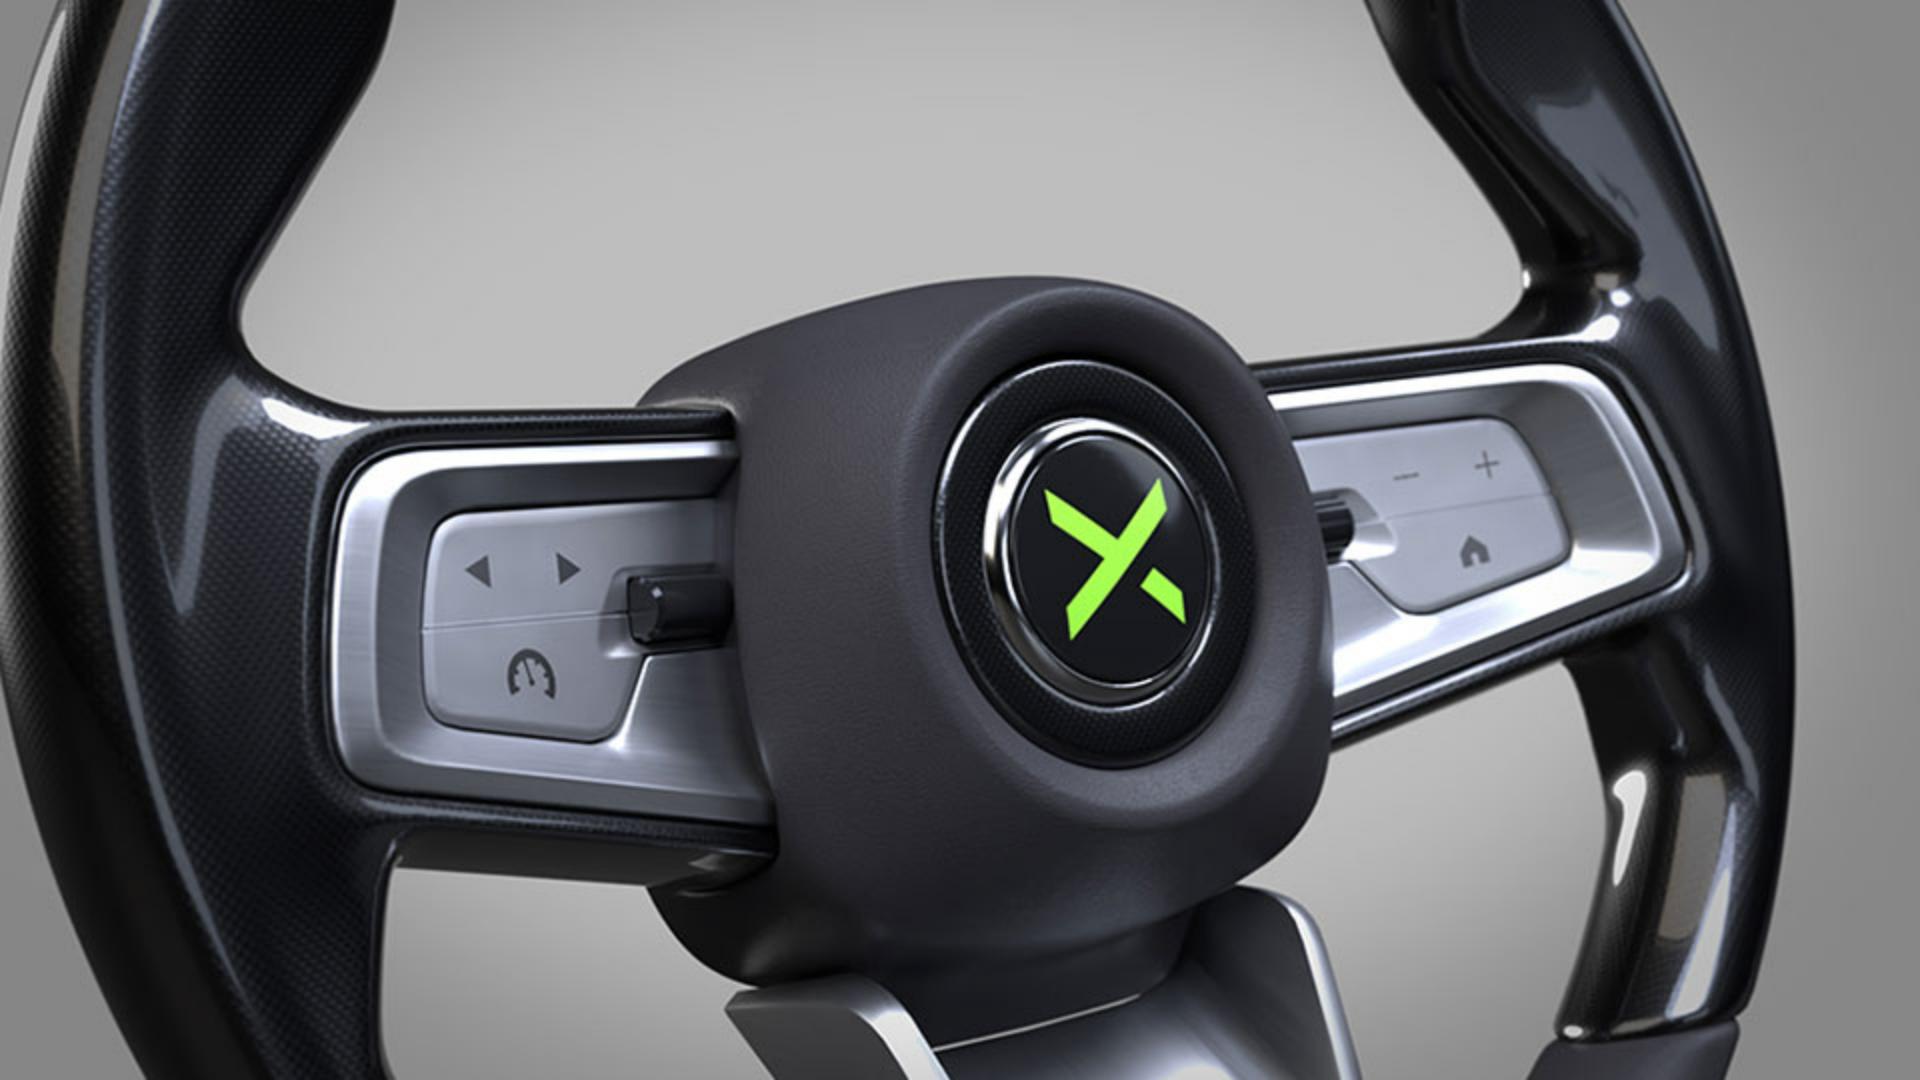
Let's add this carbon fiber material to this part of the steering wheel and start adjusting some settings.
We can see in the Properties panel that there are a lot of parameters we can change, this is because these materials are made procedurally and therefore can be altered to create different variations of our material and really match it to our vision.
Sometimes we might want to add a material to a separate part of the geometry.
The best way to do this would be to take it into Substance 3D Painter and paint with a mask.
However, if we want a quick fix that doesn't involve using another program, we can use the Magic Wand tool.
The Magic Wand tool works very similarly to the Magic Wand in Photoshop.
We can just select the tool from the side or on the left with the center of the steering wheel, which will highlight this section, and then we can drag and drop a separate material onto it.
Now that we've got our materials applied, let's look at applying some graphics.
Adding and customizing graphic decals
Graphics are applied on top of our materials like stickers.
You can import normal image files as well as Photoshop and Illustrator files, if your PSD or Ai file includes art boards, these can be accessed and swapped out inside Stager too.
To import a graphic, drag and drop your file from your file explorer onto your model in the Stager viewport.
Alternatively, you can select your model and click the sticker icon in the Properties panel and choose your graphic from the pop up window.
Let's place this graphic in the middle of our steering wheel.
It's best to have Ray tracing switched off for this part.
We can edit the placement by using these handles to scale, rotate, and transform our graphic.
Alternatively, we can input values in the fields in the properties panel on the right, we can choose to place this graphic as a decal or have it fill the entire object.
But we'll keep it as a decal placement for now.
Now that we have it place in the right spot, we can check out our different art boards to showcase different design variations.
We can adjust the opacity, roughness and metallic properties of our decal and the properties panel.
So now that we've set up all of our materials and decals, we can start out looking to render our steering wheel.
This steering wheel has been moved up on the y axis,
Setting up cameras and render settings
so it's raised off of the ground and the grid plane is also switched off.
We can do this by going to view and uncheck show grid.
Let's set up a couple of cameras.
So setting up cameras and Stager is really easy.
All we need to do is click the camera plus icon in the top right hand corner of the viewport.
This will create a camera out of the view we are currently looking at.
We can then move it around just like how we move around the viewport to create our shots.
We can create another camera by doing the same thing, Being sure to rename our camera so that we can differentiate between the views.
To switch between cameras or go back to only navigating the viewport.
We can use this handy dropdown box at the top of the viewport or click the dots next to the camera objects in the scene panel on the right when we have our camera selected, we see that we have some properties we can adjust in the Properties Panel.
First, we can adjust the output size of the camera.
We can choose to add a backplate to the camera below.
We can just the focal length and choose to add some depth of field too if we like.
When we toggle the depth of field, it may look like nothing has happened.
This is because we need to activate ray tracing to see the full effect. we can add a target focus point by clicking that set focus point button and clicking anywhere on our object in the viewport once to make that part to focus point, we can then adjust how much blur is applied with the slider below.
Lighting the scene and final rendering output
Once we have our camera set up, we can start adjusting our light.
There are a few different ways we can light our scene.
From the starter assets panel we can use Environment lights, which are also known as HDRIs, these are large images that wrap around our scene and emit light.
These can work great as a starting point for lighting assets, particularly the studio lighting setup.
You can rotate these lights around your scene by holding down shift and right clicking and dragging in the viewport.
And there's also physical lights, which are lights that we can see and move around in our scene.
These are good.
If you want to add specific lighting or reflection to your scene, such as on a screen or a metallic section, we can also use image lights.
These are infinite lights that aren't visible in the scene, but they can be maneuvered in the Environment Panel under the Lights tab.
Let's take a quick look at our environment before we have image lights.
The environment object is always in the scene, even if you're starting a new scene here, we can adjust things like the ground plane, the environment, background and global lighting.
You can navigate to the environment object properties either by selecting it in the scene panel or by clicking an empty space in the viewport when we click on the environment object in our scene panel and navigate to the lights tab.
We can see our environment light shown in this stack.
Click plus add an image light on top of this.
When placing image lights, it's better to turn the environment light off for the moment, so that we can see what parts of the object are being lit by our image light.
Let's just set up some image lights around our steering wheel, then gently add in some more light from our environment.
We can change the background color by going to the background tab in the environment.
We can set the opacity of our environment lights so that the light we've chosen is shown in the backgrounds or we can keep it as a solid color.
Let's just keep it as a solid color for now.
Once we have our lighting set up, we can now get ready to take our renders.
A handy feature in Stager is its turntable animation.
We can make simple turntable animations to showcase our assets in a 360 rotation video.
All we have to do is click this object that we want to move, find the animation tab in the properties panel and switch on one of two animation modes.
The first is orbit, where an object will move around a specified target.
The second is spin, where the object will rotate on the spot.
We can use spin for this one.
We'll edit the duration of the spin, how many degrees it should rotate, and the interpolation of the animation keys When ready to render, we can come over to the render tab in the top left of our window.
Here choose a preset for your render quality settings.
Pick which cameras we want to render and where we want the output to be saved.
You can also choose to render as PNG or a PSD.
A PNG will give us a regular image, but rendering as PSD means we get a layered Photoshop file out of our render.
The PSD includes useful layers like object and material masks as well as the depth pass.
It will also separate your 3D objects from your background so you can move them around easily.
If your background is a solid color, it'll also be read as a solid color in Photoshop so it can be swapped out easily.
And that's how you can use Substance 3D Stager to showcase your individual automotive assets.
Thanks for watching.