Controlling a character with triggers
1 Build basic triggers
Build simple triggers and a swap set.
Introduction
Trying basic triggers in record mode
Creating keyboard triggers and latch behavior
Triggering multiple layers with a single key
Using swap sets to replace artwork
Organizing, combining, and managing triggers
What you learned: Build basic triggers in the Triggers panel
Triggers can show or hide groups or layers when a key is pressed.
Dragging groups or layers into the Triggers panel will create them.
Latching is a way to keep a trigger in an on or off state like a lightswitch.
Swap sets are a special trigger group where only one asset is swapped in at a time.
2 Triggering behaviors
Make triggers that also start behaviors.
Introduction
Exploring example triggers that activate behaviors
Rebuilding triggers in rig mode from scratch
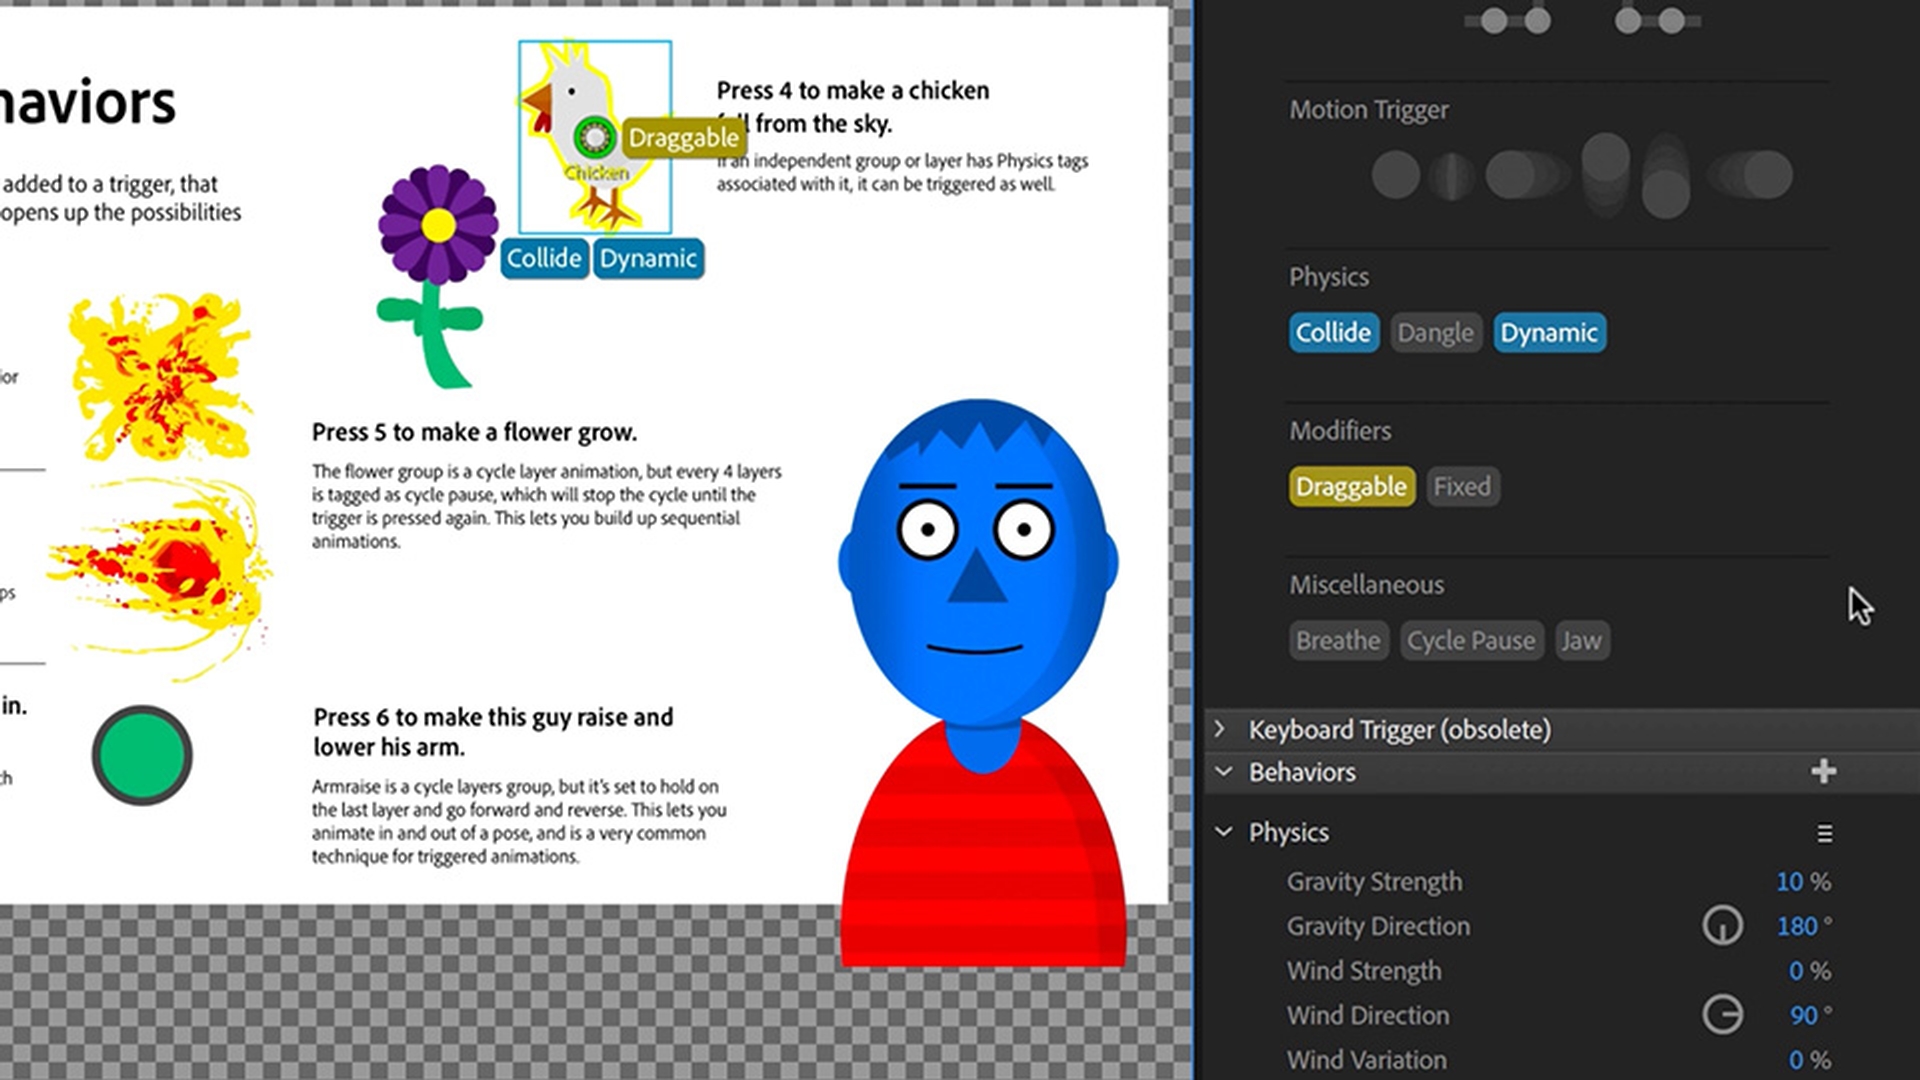
Triggering animations with cycle layers behavior
Triggering physics, fader effects, and dynamic motion
Using pause, forward, and reverse for pose-based triggers
What you learned: Make triggered behaviors
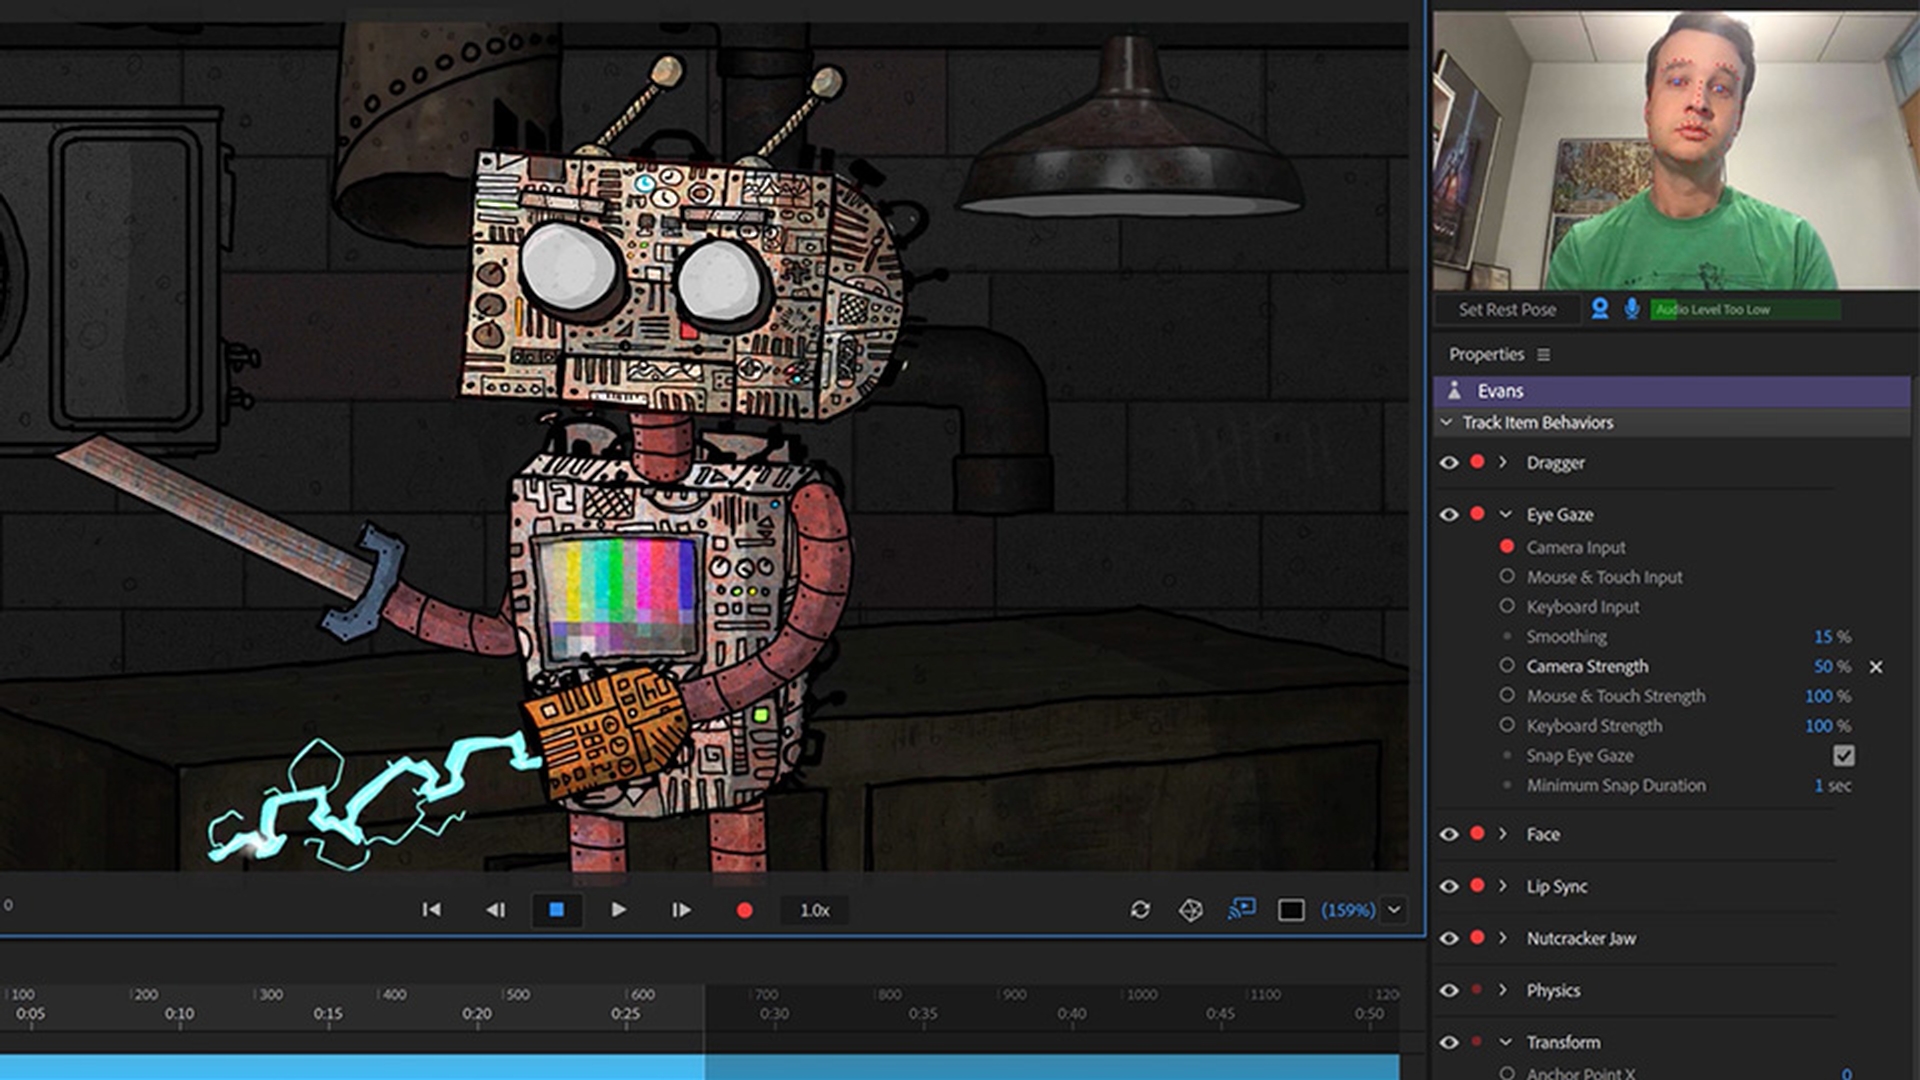
If a group has a behavior, that behavior will be activated when triggered.
The Cycle Layers behavior lets you make on demand frame-by-frame animations like explosions, fireballs, growing flowers, or arm raises.
The Fader behavior will fade artwork in and out when triggered.
The Cycle Pause tag pauses an animation sequence until it gets triggered again.
3 Face triggers
Add triggers to a character’s face.
Introduction
Exploring face trigger examples in record mode
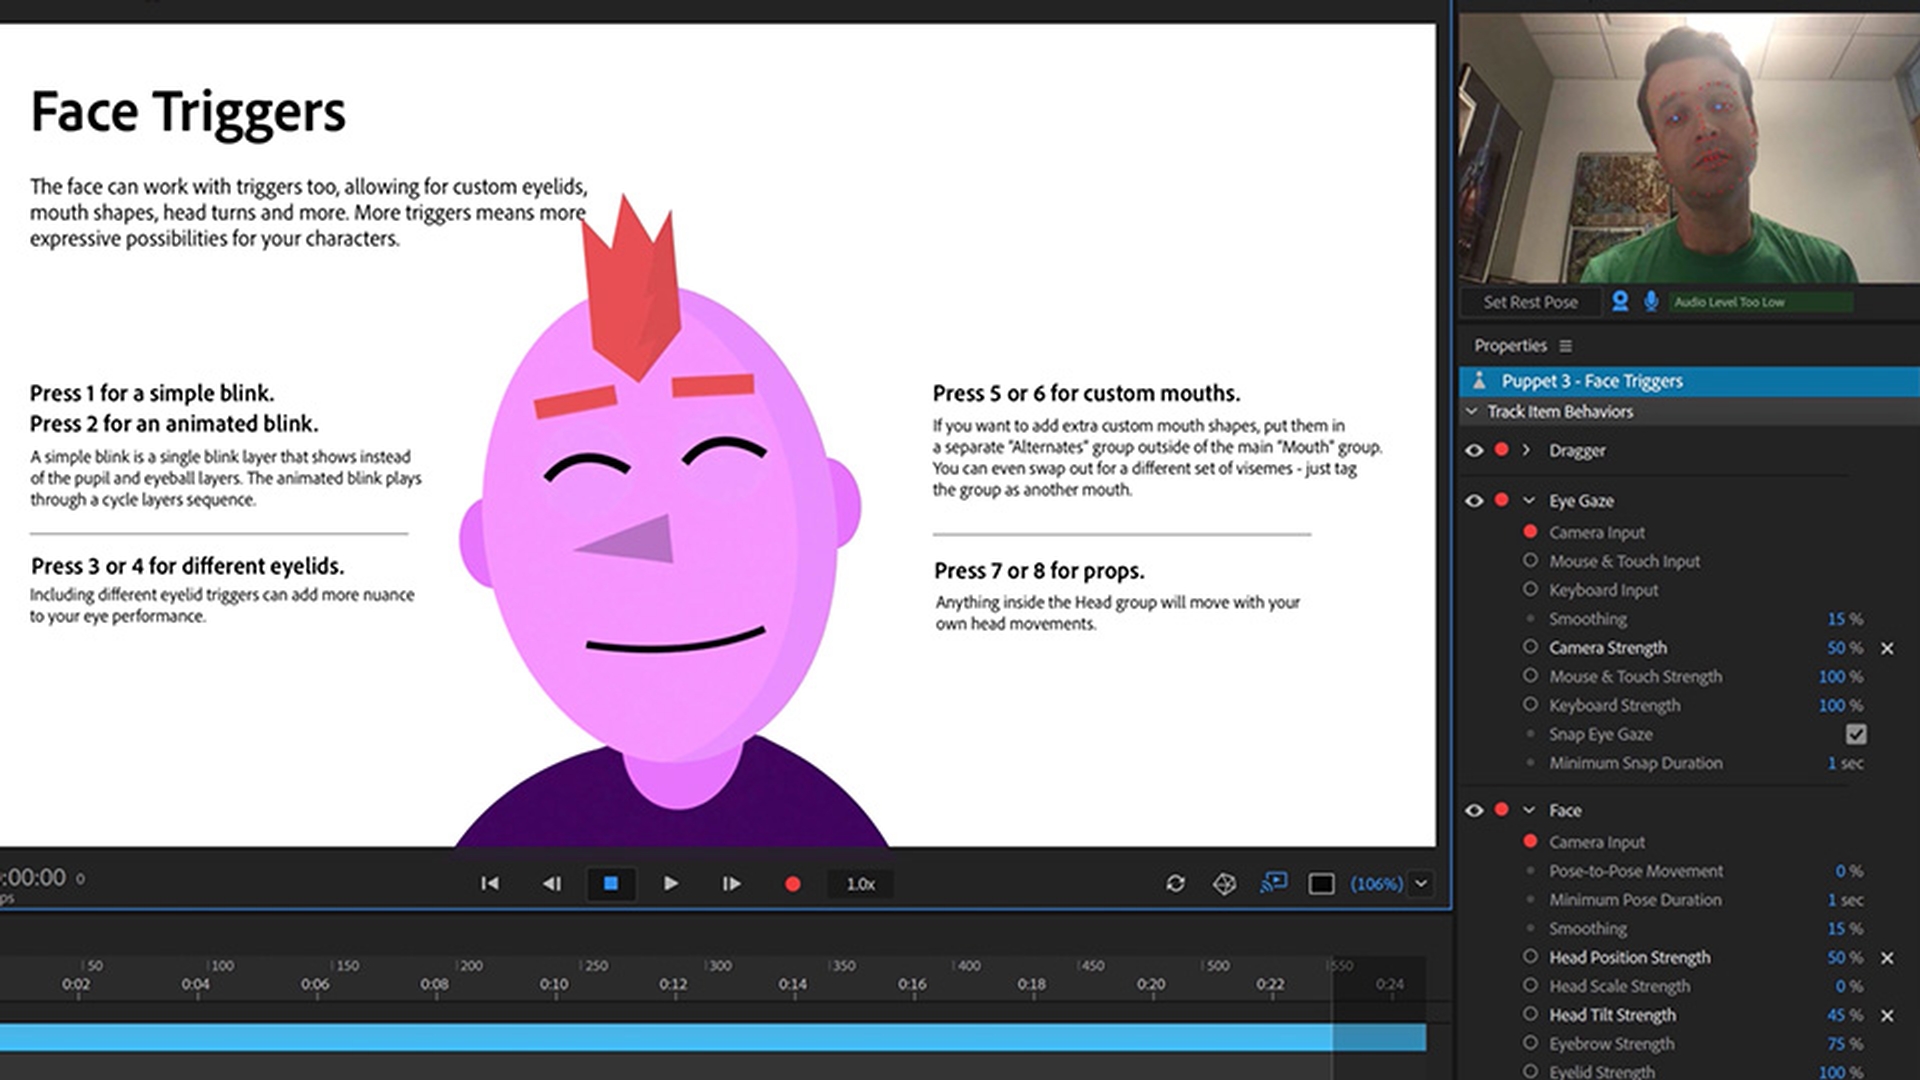
Building manual blink triggers with swap sets
Creating animated blinks and eyelid state triggers
Using swap sets to trigger mouth variations
Adding facial props and transition animations
What you learned: Trigger facial features
Adding triggers to a face gives more expressive possibilities for the eyes, mouth, and other features.
Swap sets replace parts with other parts, like a blink replacing the pupil and eyeball, or a sad mouth replacing a happy one.
-
Props like beards or sunglasses can appear or disappear through triggers.
Presenter