Duplicating, aligning, and blending pre-comp instances
Now I can duplicate this pre-comp with the shortcut Ctrl D.
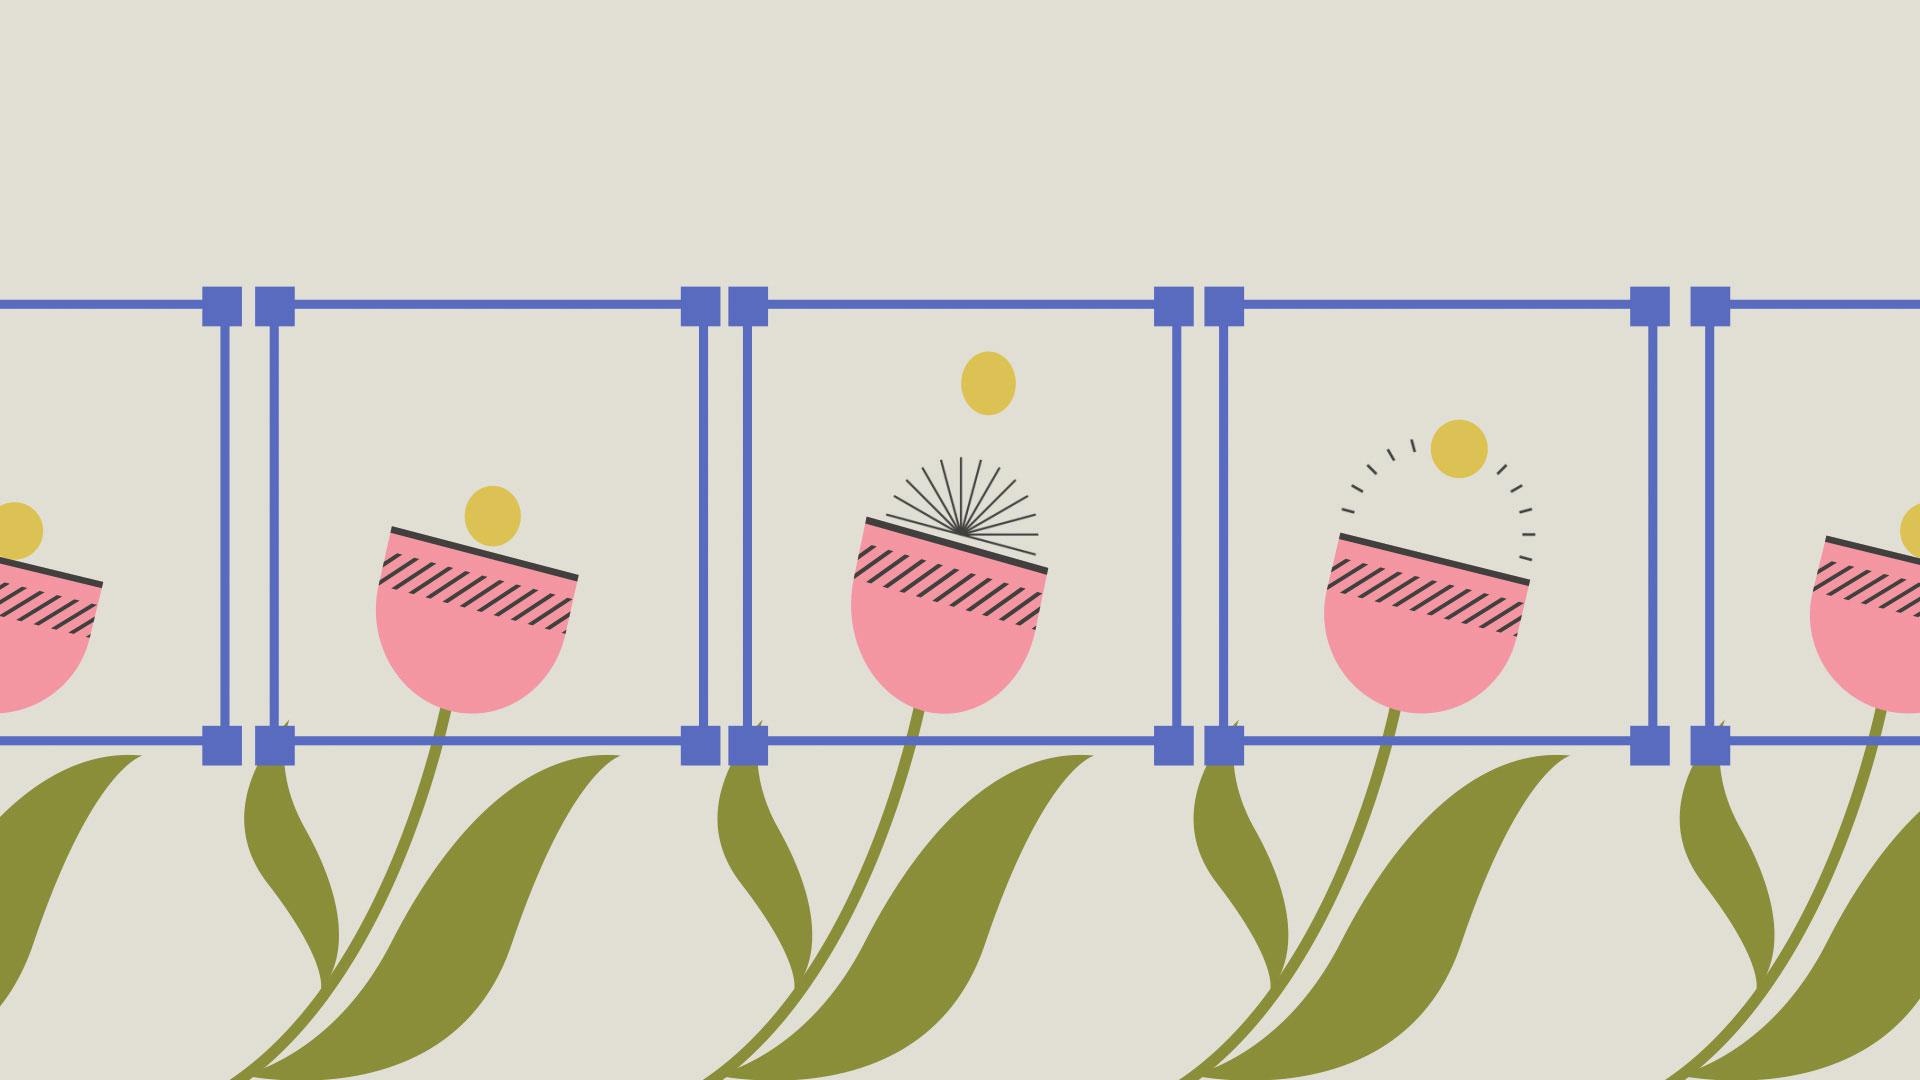
Move and scale it to match the other flowers in the artwork.
The anchor point for this layer is currently in the center of the pre-comp.
This is making it more difficult to match the artwork.
Use the Pan Behind Tool by clicking Y on your keyboard to move the anchor point to the bottom of the flower.
The flower should scale and rotate around the anchor point's new location.
We should change the Blending Mode of this layer to help us see the artwork underneath.
If you don't see a column called Mode, click on the Toggle Switches/Modes button at the bottom of the Timeline, or right-click on the Menu bar at the top of the Timeline, go to Columns, and check Modes.
Using the dropdown, set the Blending Mode to Difference.
To line this up, we'll want to get the artwork as close to black as we can.
Keep duplicating and adjusting the pre-comps to line up with the flowers.
We can change the Blending Mode from Difference back to Normal.
Since we no longer need the static layers underneath, we can hide the visibility of them by clicking the Eye icon in the Timeline panel.
When I play this back, you can see all of the flowers are animating.
They're all playing the animation grouped inside the pre-comp.
We can make changes to the animation and those changes will apply to all instances.