LIGHTROOM
For iOS and Android


Photography
Explore the basics of flash photography and bring light into your work.
There’s no such thing as a bad flash, only a bad application of one. Discover how to control flash photography to enhance exposure within your images.
What is flash photography?
- Flash photography describes using a flash device to capture photographs in poor lighting conditions.
- Often, a small LED strobe flash is attached to a DSLR camera or is contained within a smartphone camera.
- With the right amount of practice, you’ll be able to brighten a dark scene, balance out diffused light or eliminate unwanted shadows with a flash.
Flash on or flash off?
Most of us have had the experience of having their photo taken with a flash and many are familiar with the telltale red eye effect that happens when someone takes a bad flash photo.
So, what is a flash? How are they supposed to work? A flash is a device that is attached to a camera, usually containing a flashbulb with xenon gas that “flash fires,” producing a light with a colour temperature of around 5500K. “Flash photography is using an artificial light source to light a person or a scene — whether you want to give that scene a different look or you have to out of necessity,” says photographer Chase Castor.
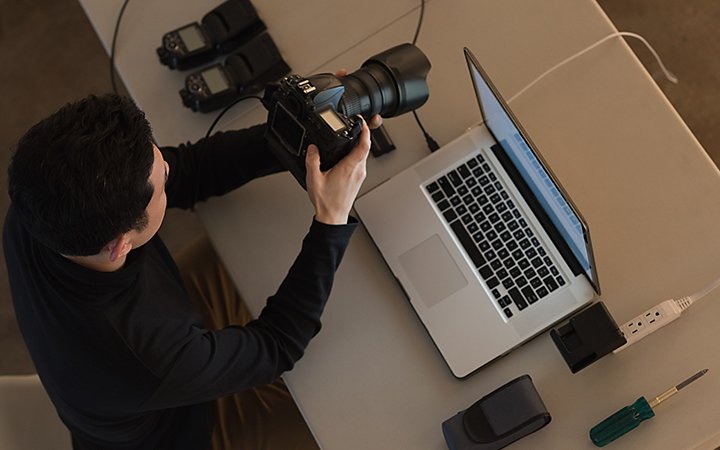
A flash unit floods an area with light, temporarily illuminating it for a microsecond, eliminating or creating deeper shadows. For those who use camera phones, most flashes that are standard with these devices use an LED to illuminate a scene. Some external flashes come with variable flash power or you can get a flash set with different light modifiers.

Flash: What is it good for?
When you’re taking a photo in low light conditions, you might need a flash, especially if you don’t have a tripod or want to capture a fast-moving subject. Here are some common moments to use a flash:
- Poor lighting
- A fast-moving subject
- Eliminating or adding shadows
- Night photography
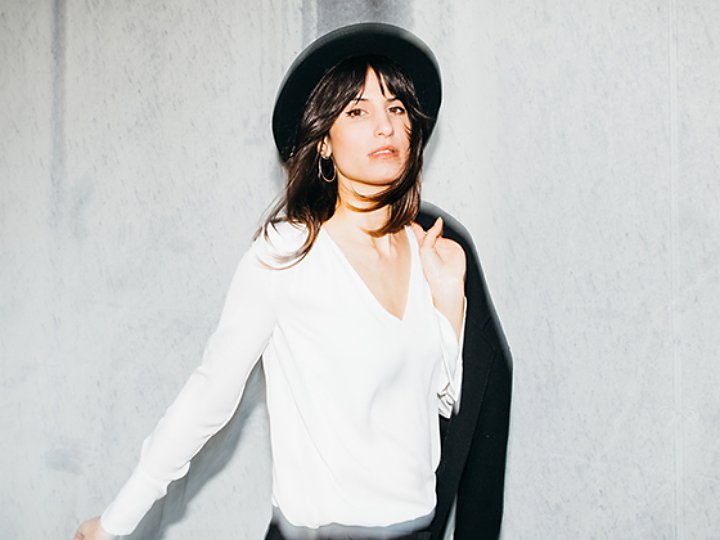
When you see red carpet photos of celebrities, for example, these photos are often taken with a flash. There are a number of reasons for this: The area has low light or poor or spotty lighting, the subjects are in motion and they’re often wearing heavy makeup or accessories to keep from appearing washed out by the lack of shadows.
Applying the red carpet example to other photos, it’s helpful to think about three things when you are taking the photo:
- Where are you taking the photo?
- What are you photographing?
- Have you got a subject suitable for a flash?
A good rule from Castor: “Whenever you are using flash in a scene, you have to know what the scene looks like without the flash so you can get the most out of your existing lighting.” Knowledge of the scene and answers to the above questions often determine your equipment and what you’re trying to accomplish with your photos. It’s all intertwined.

Tips and tricks for quality flash photography.
Quality flash photography doesn’t require you to purchase expensive equipment — you can make do with a smartphone flash, especially when you’re just starting to experiment.
Complement the light.
The first habit to break with flash photography is the belief that you should use a flash only when you’re in a low-light situation. Often, a flash can be used to complement the ambient light in a scene to create a mood or effect.
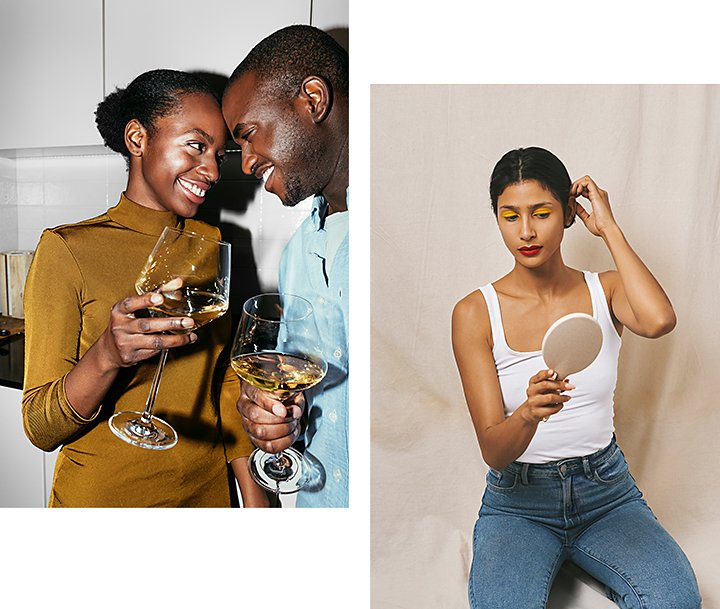
For example, even during the day, eyebrows can cast a very harsh shadow over the eyes of a subject. Eyes are inset and it’s difficult to light them properly. A flash, even during the day, can add the necessary pop of light to illuminate the eyes of your subject.
Learn to highlight instead of using harsh light.
Understanding how light functions within the frame will help you to determine if a flash is the right accessory to use. Especially when taking portrait photography or capturing an indoor scene (like a dinner party, for example), you need to be aware of the light sources (both artificial light and natural light) in the room and how you can use them to your advantage. “Always look for a white wall or ceiling that you can bounce the light off of — that will create a larger, softer and more flattering light source,” says Castor.
If you can control the white balance relative to your environment, manipulating the light from a window or adding small lights around your subject can eliminate or supplement a flash. Experimenting with high shutter speeds as well as ISO settings can also direct the tenor of your images. Be intentional and thoughtful about what effect and flash exposure you want. In the dinner party example, pay attention to ceiling lights, lamps, reflectors and other light sources, so you can position yourself and the camera to highlight your subject to best effect.
Experiment with new equipment, environments and tools.
The flash is a tool in your toolkit, so don’t be afraid to use it. “The more I photograph, the more I realise that flash can be used all the time,” says Castor. “I used to think it was limited to after the sun went down or in an indoor situation. And it’s definitely helpful in those scenarios. But you can use direct flash at any time.”

Adobe Photoshop is a powerful companion to flash photography.
When you’re learning flash photography, you’re going to make mistakes. However, that isn’t the end of the world — no mistakes are undoable or unfixable. Photoshop gives you the ability to edit lighting effects as you work, giving you the power to adjust aspects of light within your images.
If you’re editing photos on mobile, Adobe Photoshop Lightroom has Shadows and Highlights sliders to help you deal with overactive flash. With these tools you can correct photos or silhouetted images that have backlight issues or are washed out because the subject was too close to a full power flash. On top of that, you can correct midtones and adjust contrast to get an image into the colour spectrum you want.
Don’t fear the flash. Get started with your experiments, learn from helpful Adobe tutorials and bring your work into an editing tool that’s designed to help you to create awe-inspiring images.
Contributor
Share this article
Not sure which apps are best for you?
Not sure which apps are best for you?
Take a minute. We'll help you to figure it out.
Take a minute. We'll help you to figure it out.