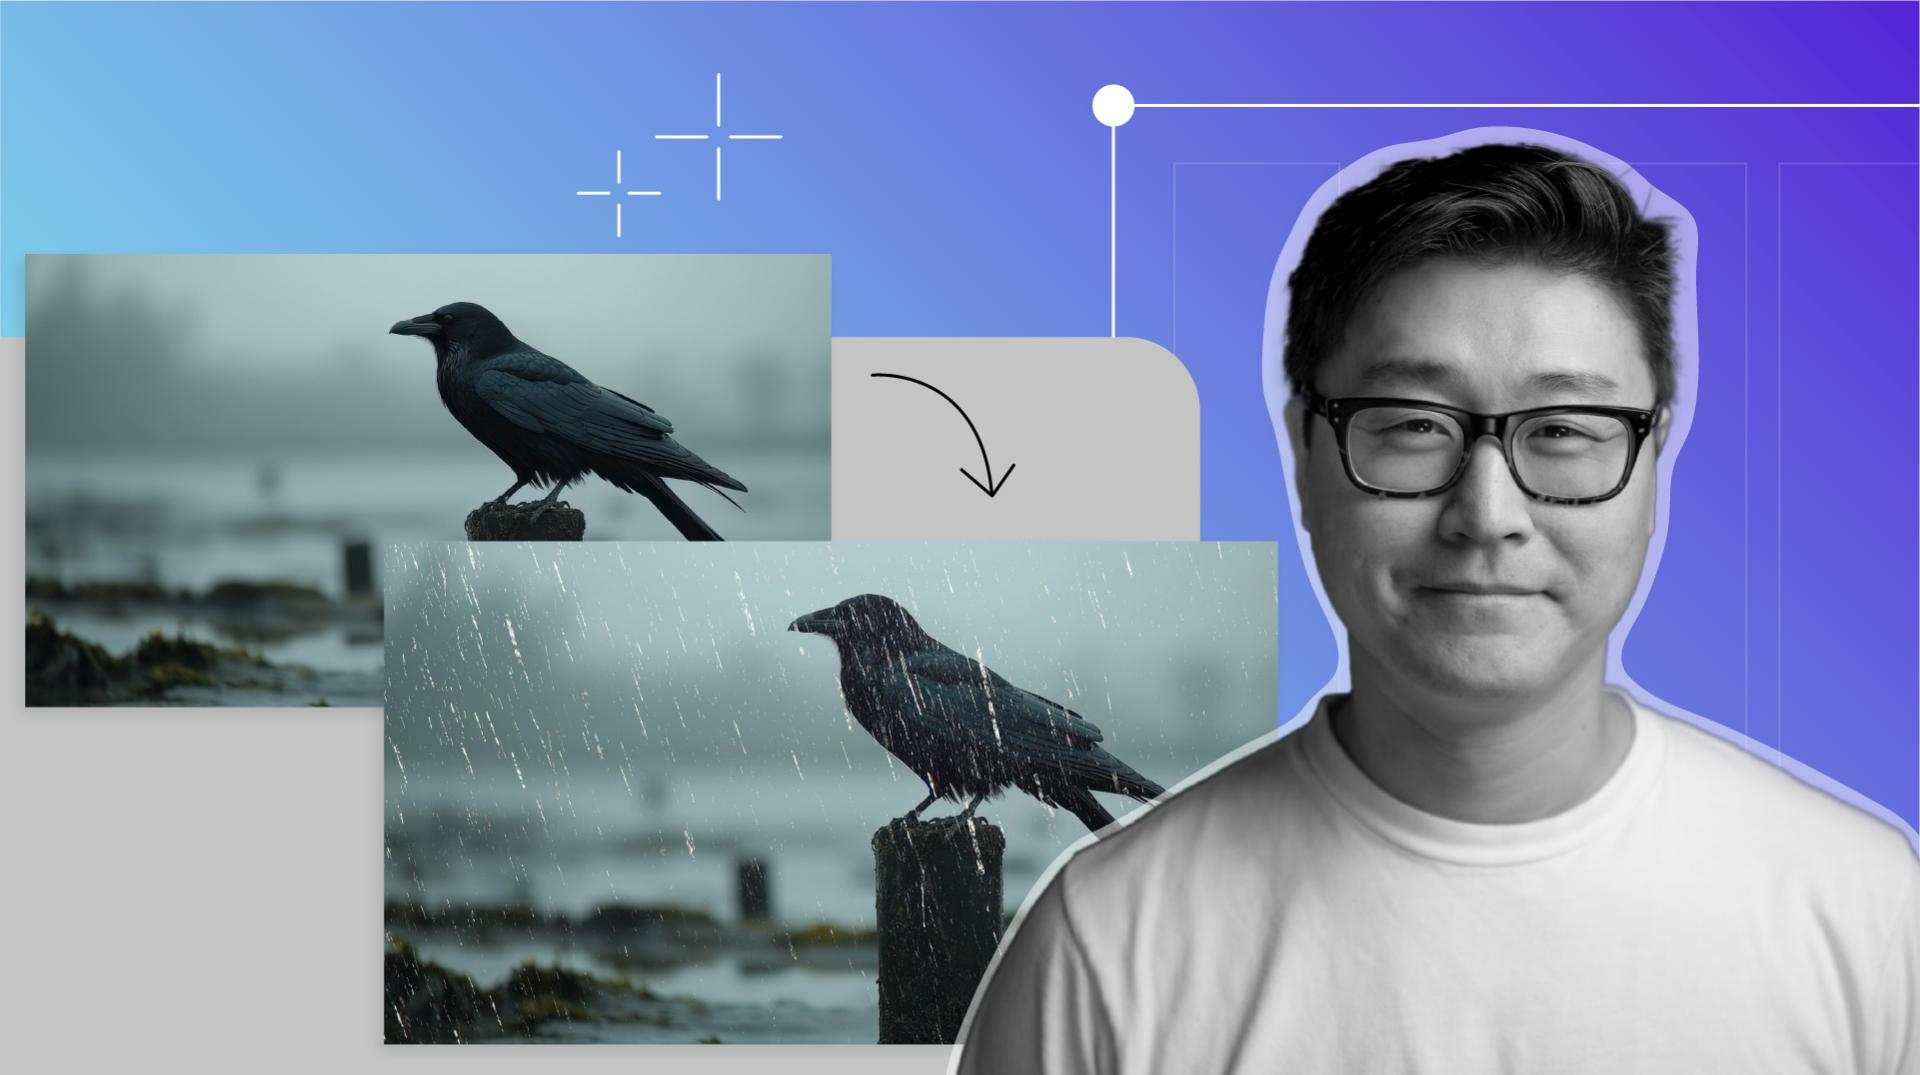
Masking rain to separate foreground and background
Think of it as a shape that defines which parts of the rain layer stay visible.
In this case, we're giving the rain more depth by separating the rain that falls in front and behind the crow.
With our Rainfall 2 layer selected, we'll grab the Pen Tool up top and start drawing our mask around the crow.
Let's speed this up a little bit.
Masking takes a little while.
When we're done drawing our mask, we'll set our first Mask Path keyframe.
Let's also set the Mask to Subtract because we want to remove the rain that overlaps the crow.
When animating the mask of the moving crow, I like to set my Mask Path keyframes only where parts of the crow move from one position to the next.
Remember, patience is key.
This will take a bit of time.
The mask doesn't have to be perfect.
We'll add a Feather of about 50 pixels to take care of any imperfections and give it a more natural feel.
Let's switch to our Selection Tool.
When masking, I like to use the least amount of keyframes.
Not only is it less work, but it makes the motion smoother.
Once we're done masking, we can scrub through the Timeline to check that the Mask Path is tracking with the crow. [silent clip playing] That's looking good.
Let's press the Spacebar and play back our rainy scene.
I'll change the View Size to Fit.
You did it.
You created rain out of thin air like a digital magician.
I hope this video will inspire you to play with the other simulation effects After Effects has to offer. [silent clip playing]