Welcome to Premiere Mobile.
Multitrack editing, precise controls and Adobe's best audio tools, all on your phone.
I'm Lauren from the Adobe Learn team, and I'm here to walk you through the basics.
Let's jump in.
To start my project, I'll tap the blue Add icon and then choose the clips I want to use in the order I want them to appear.
Then I'll tap Next.
Now all of my clips are on the Timeline.
Below that is the Toolbar which changes based on what's selected.
If there's nothing selected, you'll see options to add media.
If you tap a clip, you'll see related editing tools.
To build my rough cut, I'll drag through the Timeline and trim the start or end of each clip using these handles to remove unwanted frames.
I'll repeat this with all of my clips.
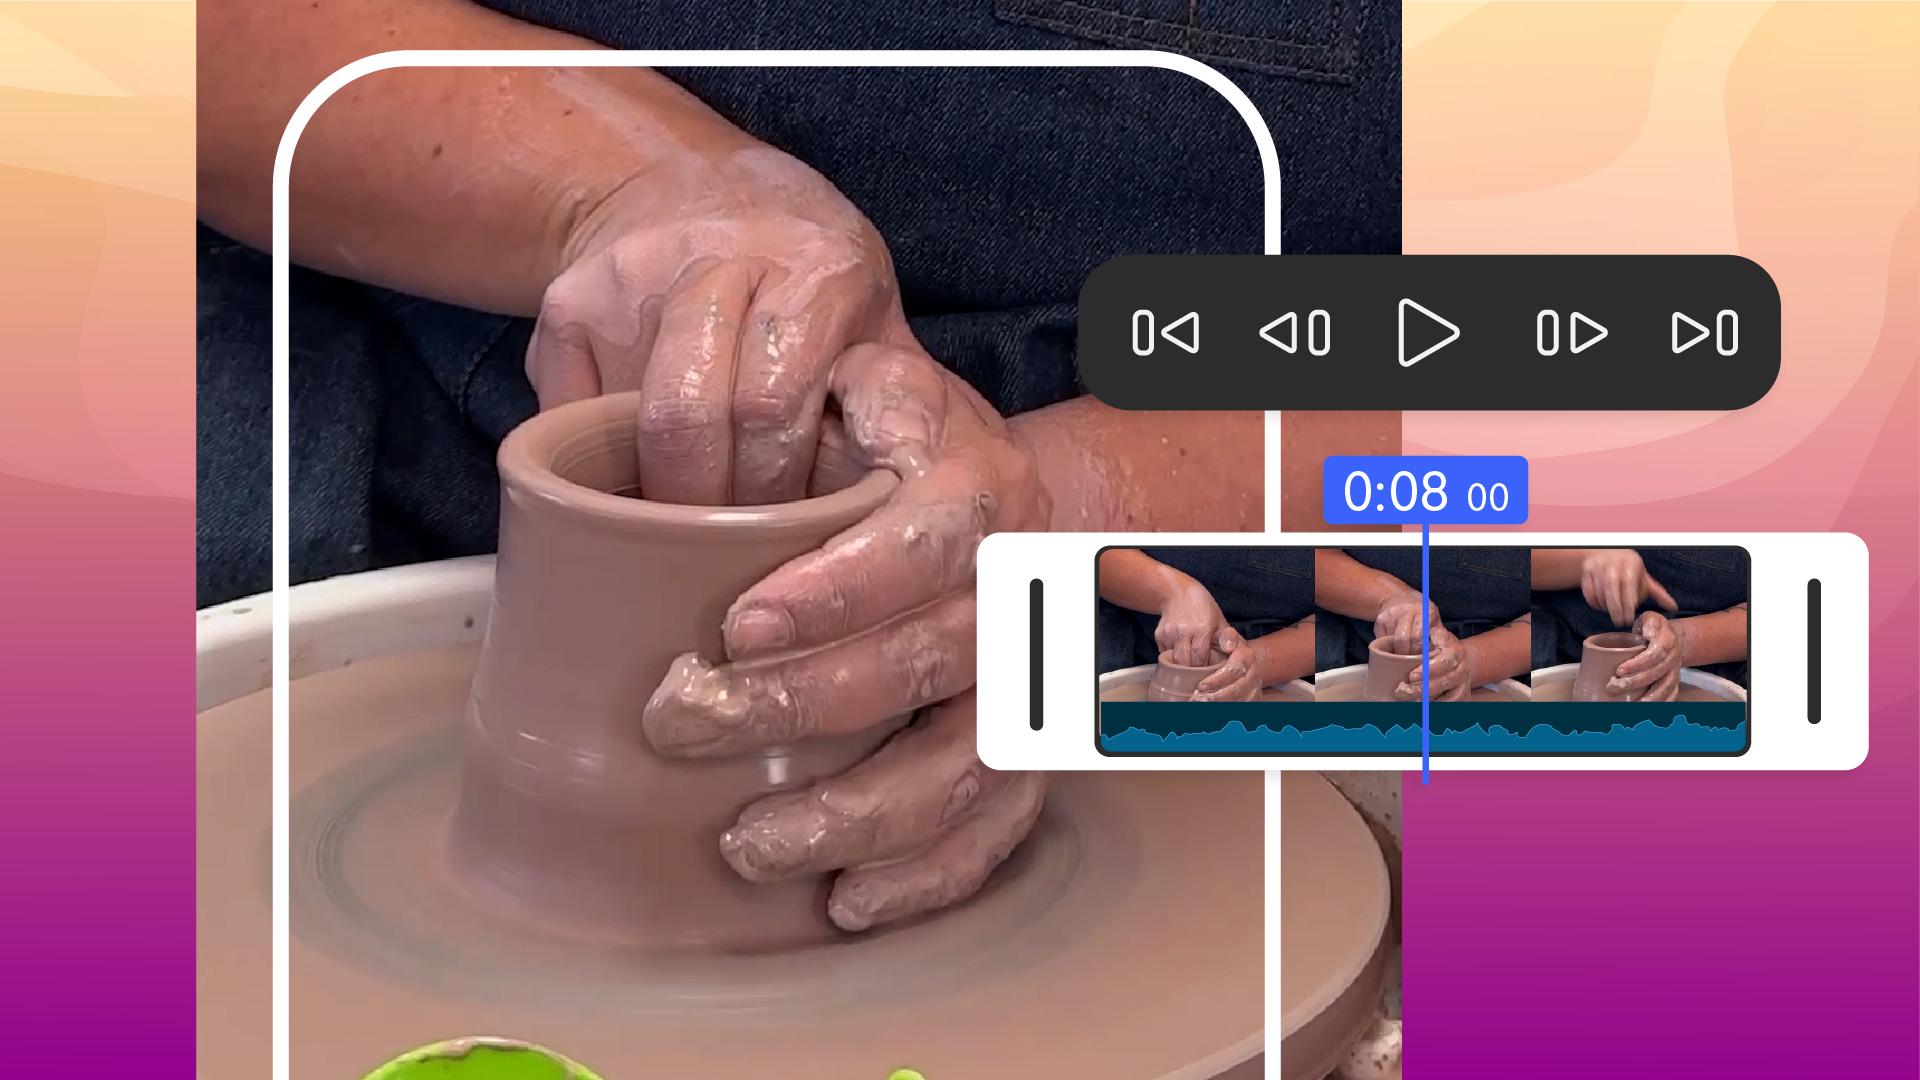
Once I have everything close to how I want it, I can use the Timeline controls to tap through each cut to refine my edit.
Click here.
I want the clip to start after she looks at the camera.
I'll use these frame-by-frame Timeline controls to find the perfect moment, then tap Split, select the extra frames and then Delete.
You can also stack video, graphics and images.
Let's add the Mud Witch logo.
I'll move the Playhead to the start, tap Videos and images, then Files and grab the logo.
I'll drag the logo up to create a new track, and then drag the handle so that it's the same length as my project.
Then I can pinch the logo to resize it and move it to the corner.
Next, I'll add information about the class.
At the end of the video, I'll tap Titles and captions, then Title and type Saturdays at 2 p.m.
That's another track added.
You can stack as many as you need.
Now let's add a voiceover about the class starting at the beginning.
Since the original clips have audio, I'll tap one, go to Volume, Mute, and then tap Apply to all.
Now we'll tap Music and audio, then Voiceover and I'll start recording.
You can see the Audio Meter bounce as I record using my phone's microphone.
Let's play it back.
"We have a new class that's perfect for anyone who's ever wanted to try working with a potter's wheel, but hasn't had the opportunity."
There's a little bit of background noise, but I can fix that by selecting the voiceover, then tapping Enhance speech.
Let's see how it sounds now.
"We have a new class that's perfect for anyone who's ever wanted to try working with a potter's wheel, but..."
That's much better.
I think what it needs now is some music.
I can search through a ton of free tracks right in the app.
With nothing selected, I'll tap Music and audio, then Soundtracks, and filter for something upbeat.
I'll preview a few until I find the right one.
Then I'll tap the + icon to add my favorite track to the Timeline.
It looks like I forgot to move the Playhead back to the beginning of my video, but I can hold and drag the clip to the front to fix it.
Now let's see how it sounds with the video.
"We have a new class that's perfect for an..."
It's a little bit loud, so I'll adjust the Volume.
Then trim the extra using Split, and add a Fade out using Audio fade.
This looks great.
To export, I'll tap the Share button.
The default settings work well for most social videos, so I can just tap Export video.
Then I'm ready to upload straight to social.
Give it a shot with your own projects.
I can't wait to see what you make.