Speed up your workflow.
Watch the short tutorial video above to see all the steps. Then check out additional resources to use the skills you’ve learned.
Published

- Hey, what's up, folks?
My name is Karl Shakur, and today, I'm taking you on a journey across space and time.
Well, not really, I'm just gonna show you a - couple of tips and tricks that you can use to make your cutting and - editing in Premiere Pro super quick and super easy. (music) Now, if you just jump right - into the timeline here, we can see what we have - is a very long clip.
I've just taken a full - export of one of my videos and I'm just gonna utilize this as an example for cutting together.
If we're using the regular tools that we usually have on the - side here to cut this clip, we'd have to keep coming back here to find the razor tool, click the razor tool, say I wanted to get rid of this, I would have to come back here, hit selection tool, click on this, delete it, and then move it all the way to the back.
Now, we did get the job done, but I'm gonna show you a very, very, very quick way to do this.
Now, everything I just did, I'm gonna do it fast - with a couple of buttons.
Look at that, hit this, boom, boom, boom, disappeared, whoa.
Whoa, that's speedy, you like that, don't you?
You like that.
Well, I'm so unfamiliar - with the actual tools, I had to write them down.
I had to write down the names of the tools just so I could let you - know what I'm using.
But what I use is Z and X.
Z is "Add Edit" and X is "Ripple Delete".
What "Add Edit" does is - it actually cuts across anything that is selected.
So if I click on this and I hit "Add Edit", it'll just start cutting.
If I wanna cut this, rather than coming all the - way here to find my razor tool and coming all the way - back down here to click it, we don't like to do that, we're just gonna use our Z key, Z.
Z, wanna cut there, oh look, I wanna cut there.
Guess what, Z, done, cut.
Now, you might be saying to me, Karl, I am hitting Z and X as hard - as I can on my computers but it's not working.
What sorcery are you doing?
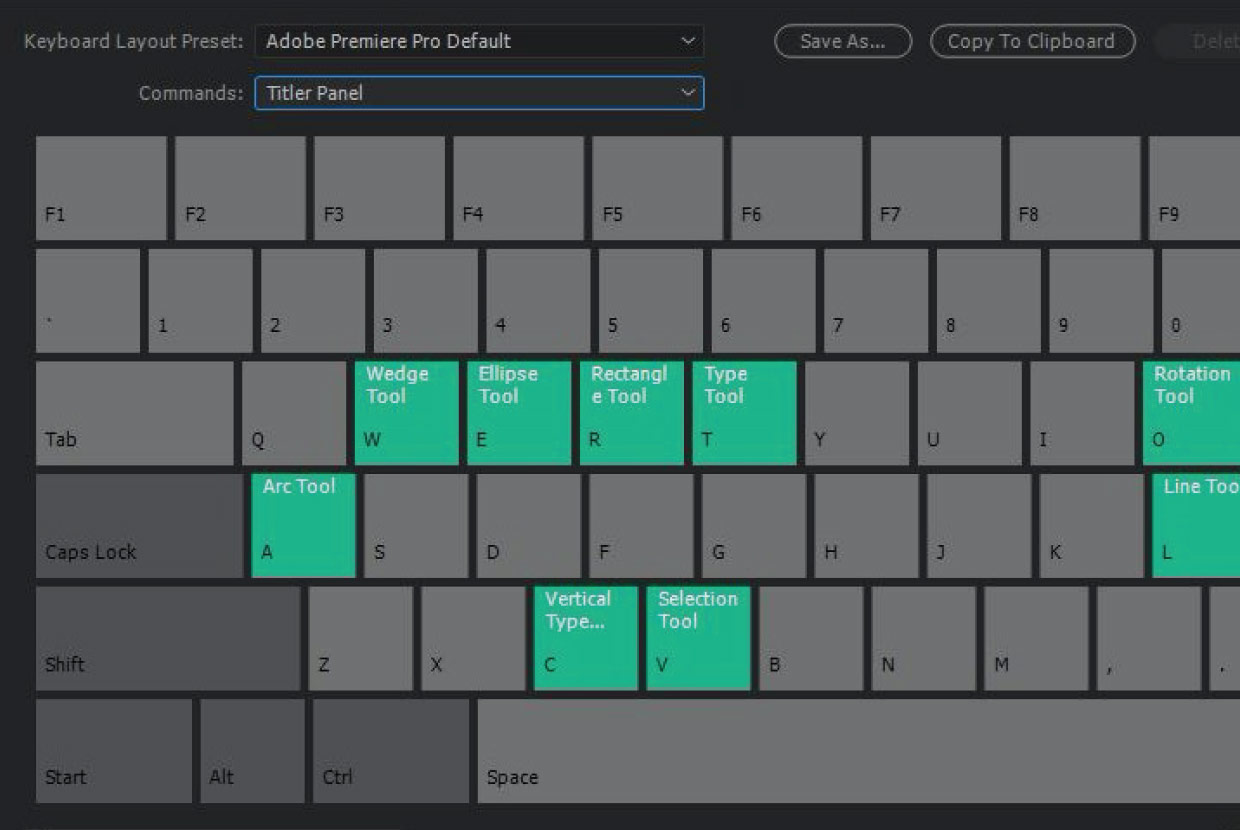
It's simple, you just gotta come up here to your options here, into your little bar, and click on keyboard shortcuts. (music) Now, if you have the - stock keyboard shortcuts that come with Premiere, you have Z and X set - to some arbitrary thing that I don't use.
I don't even know what they use.
What I like to change these to is I change Z to "Add edit" and I'll change X to "Ripple Delete".
And what you can do is - you can click on Z here, search in this bar, "Add Edit", take that and drag it - up to the certain key that you want it to be on, and boom, just like that, it's switched.
You're ready to go.
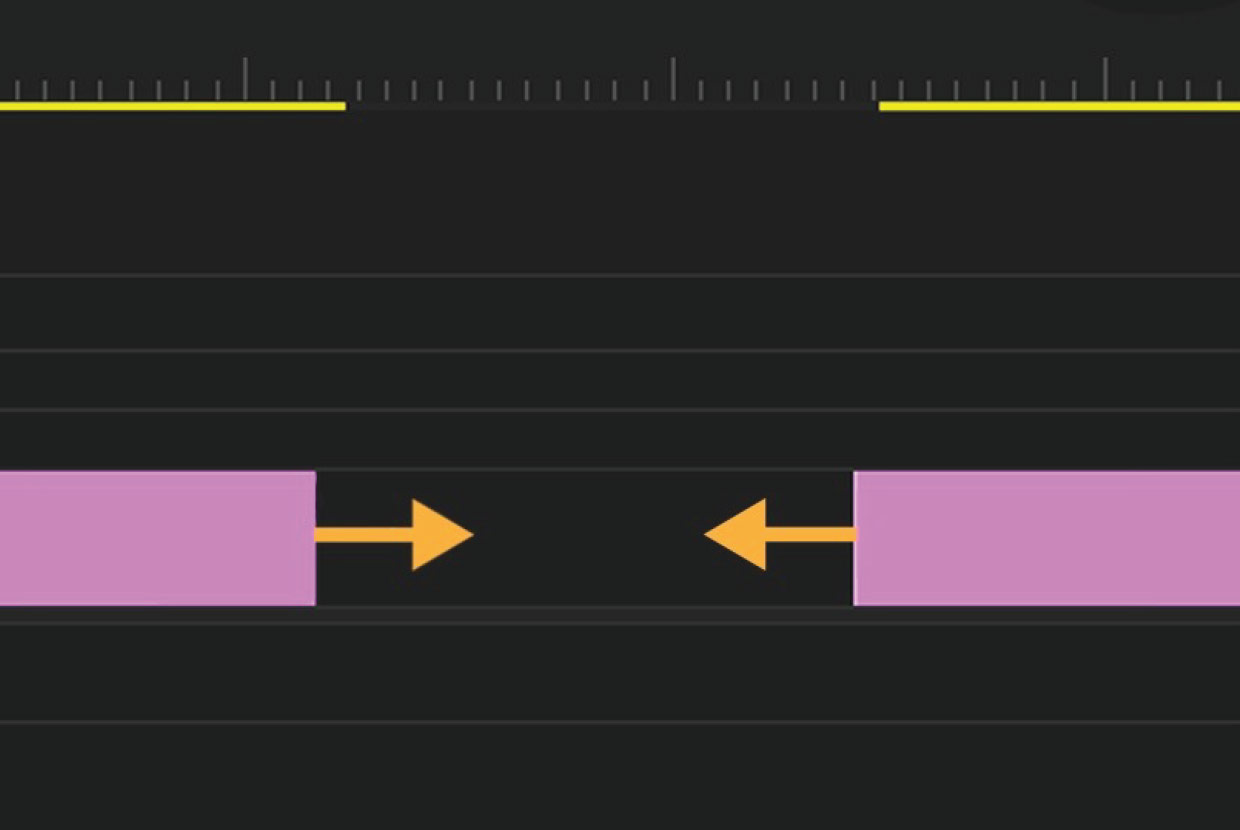
Now, the Ripple Delete and the Add Edit are such fundamental and important tools because they allow you to cut fast. (indistinct) I'm look, oh, ah, I wanna cut that and then - remove the past clip, I can just scrub to - exactly where I was, yep, it looks good about there.
Add Edit again.
Rather than trying to delete, and making everything squeeze to the right and maybe coming and - dragging the clip and, oh, missing and sliding to the left.
Or maybe you delete it - and you come this way and it's all clumsy and you're all off.
Rather than doing that, you just hit one key, X, boom.
And that little thing disappears.
It absolutely disappears.
So this is one of the many, - many things that I use to make editing a very smooth process.
You want Premiere Pro - to be utilized as a tool and not bog you down as - a piece of technology.
So I like to try and simplify things and make it as easy as possible for me so that I can just focus - on the design vision or focus on the creative and just focus on creating rather than messing around with the tools and seeing what it's doing.
Even tweaking your work - spaces, for example.
Now, I don't think this - is the standard workspace.
If I come up here into my workspaces, I'm actually working on a workspace that I call "Cuttin".
I have something for two screens, when I'm editing on a - computer that has two screens, I have for a 32 inch workspace or assembly, for example.
Everything should be different for every single person, it should work differently - depending on what you have.
Say I'm trying to edit a couple of stories for my Instagram, I'm gonna create another sequence here.
As you can see, I'm not necessarily using the real estate as wisely as I can.
So I've created a workspace that goes very, very well with this, I think I called it "Vertical Cut" or something silly like that.
"Vertical Edit" If I click on that, boom, it's perfect.
I have all the real estate on - the right here on the screen, I can drag clips from, say I wanna edit this drone clip, drag it right onto there, fills the whole screen.
Versus using a panel like - "Cuttin", for example, and as you can see, it's really tiny, I can't really see what's going on.
I might have to grab my glasses - and see what's going on, I can't really see.
We wanna make sure that you're focusing on the art of actually creating and not letting Premiere Pro bog you down because it's a fantastic tool.
So in conclusion, a few things that you can do to make your editing - go smoothly and quickly is to set up your keyboard shortcuts, "Add Edit" and "Ripple Delete" Those two are chef's kiss, I love using that: chef's kiss.
Those two work very, very well together.
And also you can sort out your panels so you can focus on creating - and focus on the art.
That's it folks.
Hopefully you've been - able to learn a little bit from this little short video, I'll see you in the next one.
Peace. (music) -
“I feel so lucky that I get to be out here exploring the world… documenting it and sharing it with you.”
Select, delete, and ripple-delete clips.
Learn how to work faster with clips in the timeline.
Create keyboard shortcuts.
Make the keyboard your own by customizing shortcuts for a faster workflow.