Introduction
3D is used in many fields graphic design, advertising, fashion, industrial design, video games and films.
Depending on your interests, your project or your role you can touch on only some or many steps of the 3D process.
When you go through the steps in your 3D project, there's no single right workflow, it depends on what you're creating.
You'll probably also use more than one 3D application.
Moving through the process
Understanding the 3D pipeline
and switching between different applications is sometimes called the 3D pipeline.
In this video, we'll go over its different steps.
You can then watch separate dedicated videos for each step to learn more about them.
Modeling geometry as the foundation
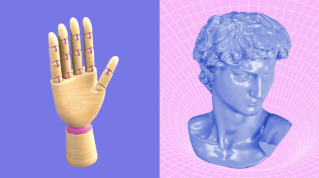
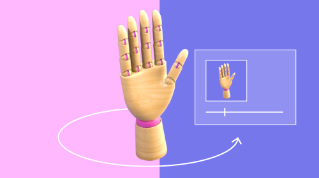
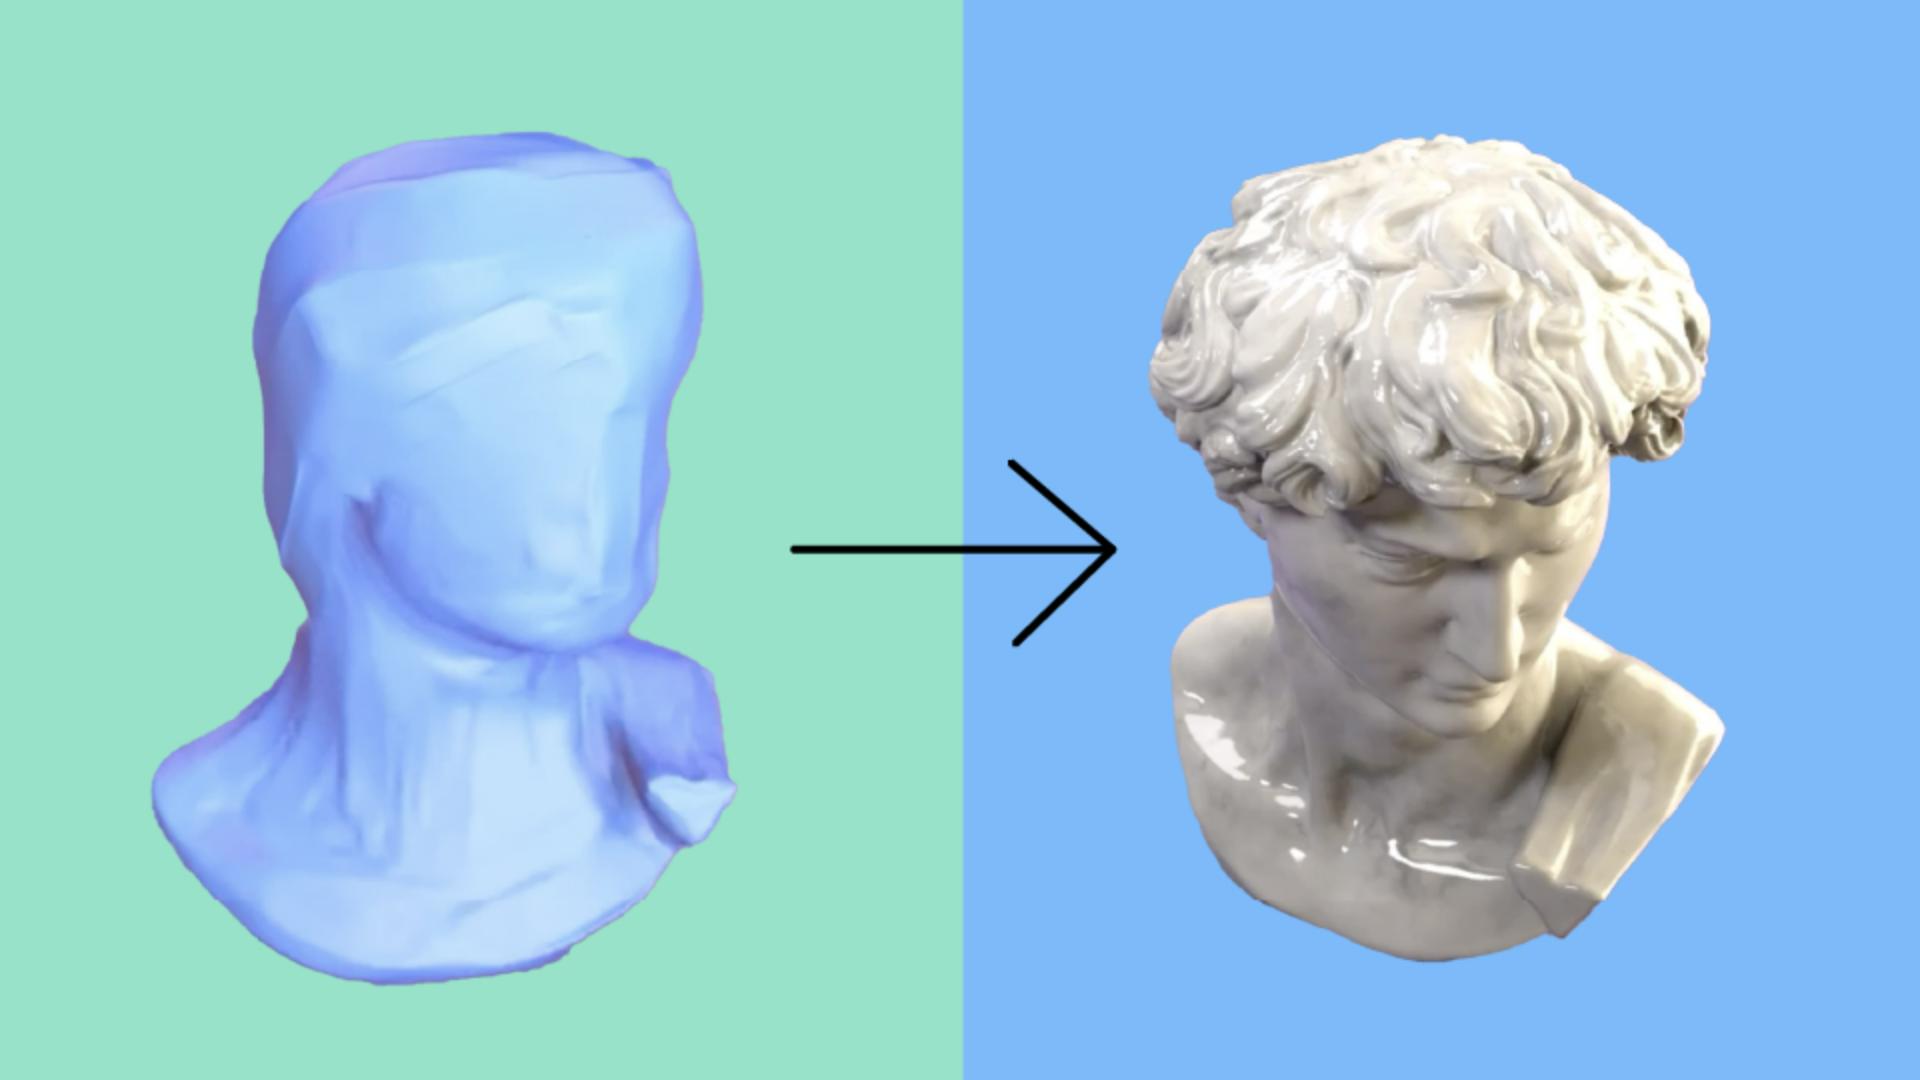
The first step is called modeling and usually involves creating 3D geometry.
3D shapes are assembled and prepared for later steps.
You can create your own shapes in several modeling applications or use existing ones.
Once your shape is created, you can start further defining the appearance of your model.
This involves several steps.
Preparing models with UVs and baking
You usually start by making two dimensional layouts of your geometry that we call UVs.
These UVs let you apply images and patterns to a 3D shape, which help a lot when you refine the look of your materials later on.
Then there's baking, where you store important geometric information using the UV layout you just created.
This will help you be more efficient and creative later on.
Building materials and textures
You then move on to building materials and creating textures, all of which work together to define the look and feel of your models.
If your object needs to move, you'll go through some extra steps.
If needed, you add a virtual skeleton and controls to your model, and then a step called rigging, enabling you to deform your shapes and allow for complex motion.
Animation, staging, and final rendering
With or without rigging, you then animate your models to add motion and life to your project.
You first go through what we call staging, where you position your 3D objects and cameras, add lighting, and maybe even polished the materials a bit more.
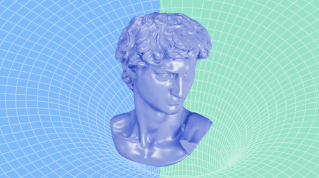
Once everything is polished and in place, you can move on to the final stage called rendering.
That's where you'll create the best looking, highest quality visuals for your 3D project.
You can render in most 3D applications, or you might even use one specifically dedicated to rendering.
That might seem like a lot of steps, but for many projects you won't have to go through all of them.
You might start from a finished asset to just practice your texturing and create a still image render.
Or you could focus only on modeling and use a simple flat material to avoid unwrapping and texturing.
You've now got a good overview of what the 3D creation process is.
In the next videos, we'll go further into details about each one of these steps.