Introduction
When your project is almost complete, you want to create some form of output from it an image, a video, print, or even an interactive experience like AR, VR or video games.
When doing that, you might want to give it some context and environment.
Understanding staging and layout for final output
Adding lights, backgrounds or other objects to create a composition or an experience.
This step is called staging or layout.
Staging means doing several things to set up your scene.
You'll have to import finished geometry and materials created elsewhere,
Composing scenes with geometry, scale, and placement tools
arrange a composition or layout with them, add lights and set up interesting camera angles.
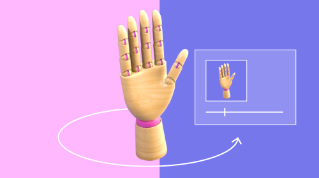
The models you import in order to build compositions with them need to work together well.
That implies paying attention to the scale.
Most 3D applications can work with units like centimeters or inches, and let you measure your objects.
Using scale and move operations, you can synchronize the size of all your models.
You should also know that in 3D, the size of your objects also depends on how far away you view them.
You don't have to place and arrange objects all by hand, there are different tools to make it easier for you.
Some applications let you paint rocks and trees on the terrain, or you can snap objects to each other based on their features, or you can even arrange many of them in an array.
Adding light is another essential component
Lighting and camera setup for realistic scenes
in making your scene come to life.
Possibilities are nearly endless.
You're free to place lights anywhere you want, ranging from small point lights to strong directional light sources like sunlight.
You can even create lighting based on images, which allows you to closely match your photograph's lighting.
Doing so, you can easily integrate 3D objects into a photograph.
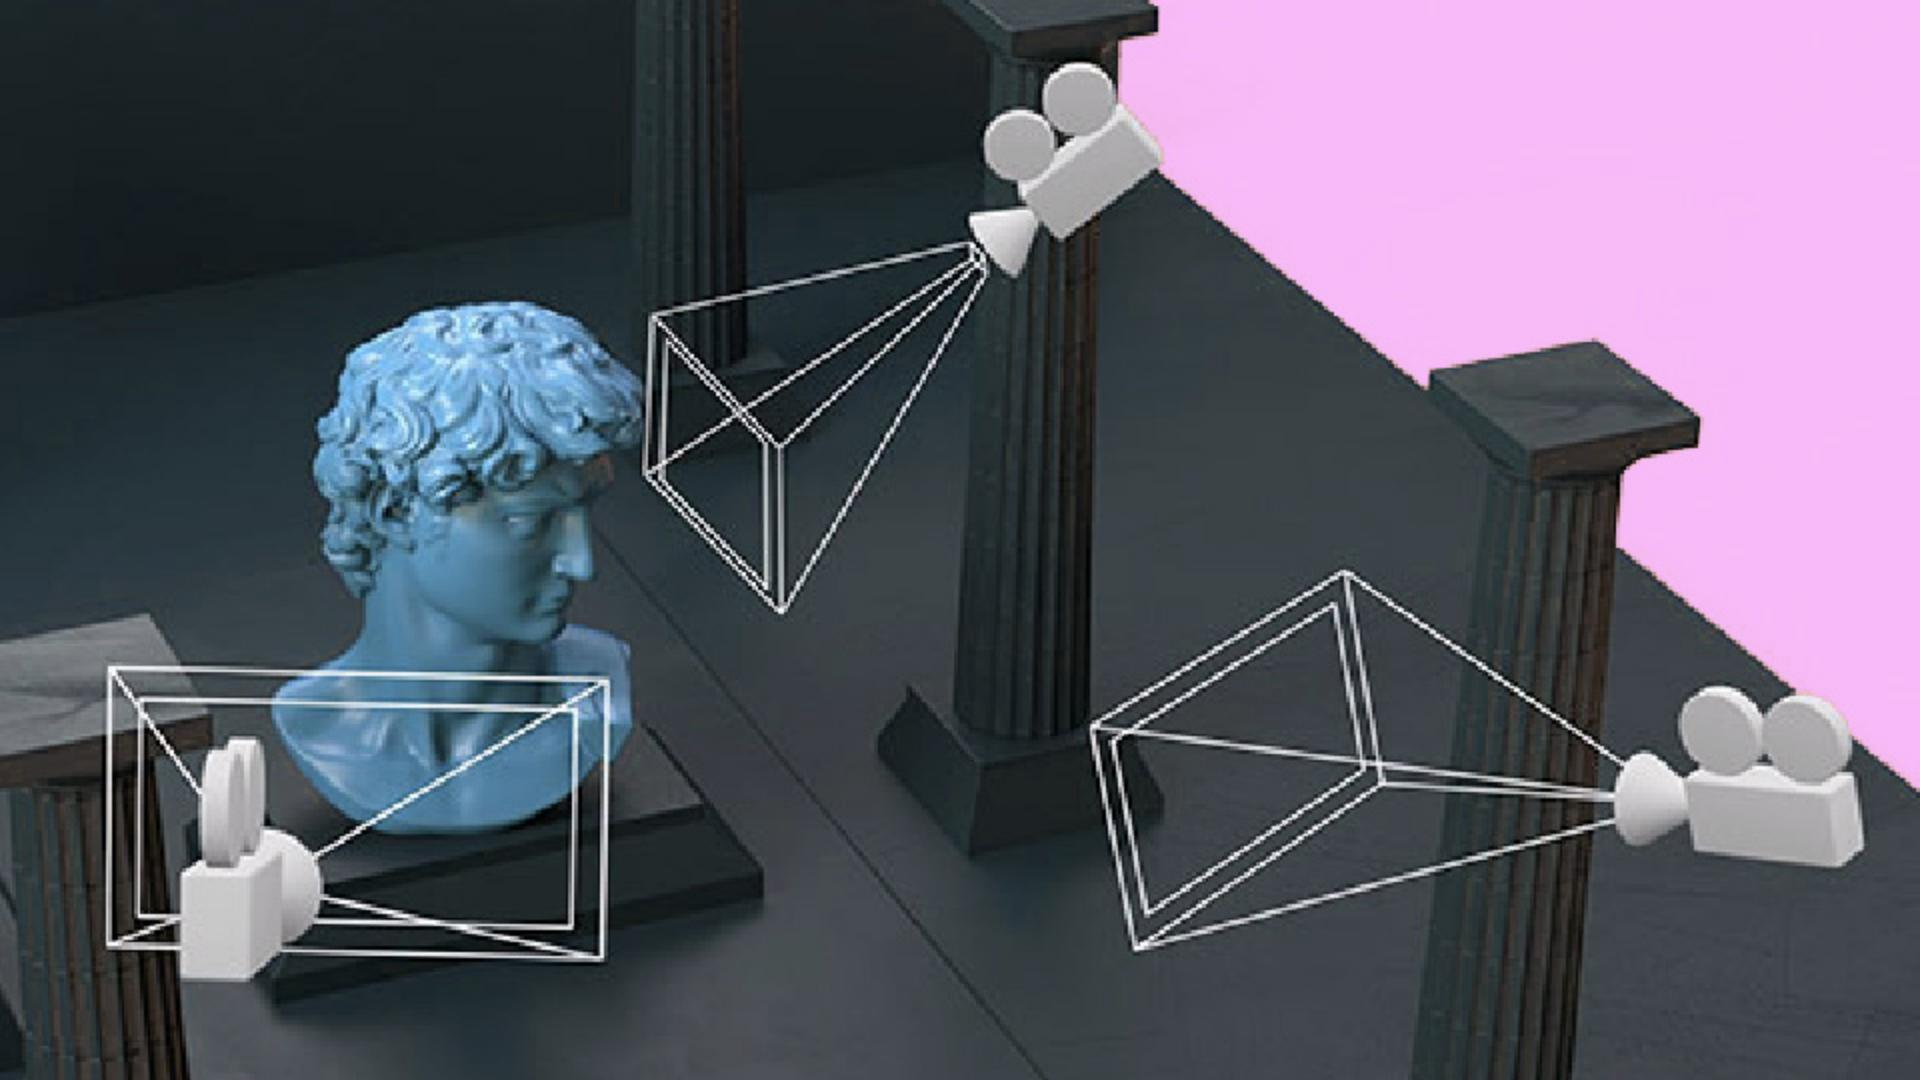
You then have to set up a viewpoint that is at the exact angle at which you see your objects.
3D rendering applications let you place or store multiple viewpoints as virtual camera angles.
You'll often get realistic photographic settings for these cameras, like apperture and focus controls.
The advantage in saving your camera angles like this is that you can freely navigate your 3D space to make your adjustments, while you create renders for the same set camera angle.
Lighting depends on your current view.
Highlights and reflections change based on your camera angle, and things outside your vision might still have an effect.
You might see a shadow being cast from an object outside of the camera's view, for example, or your surface might reflect something that's not directly visible.
Adding motion to your scenes to bring them to life
Adding animation and motion to bring scenes to life
can be done in a few different ways.
Any object or property of your scene can usually be animated from materials to lights, cameras, and models.
The animation doesn't have to be created inside the scene.
You can bring in animated clips created elsewhere to combine and blend between.
For example, a character walking and standing in an idle pose, for an interactive experience, you might set up rules and logic that lets objects move, weather change or characters interact.
Rendering methods, exporting, and post-processing
The term rendering means creating visuals out of 3D data.
While technically, even a low-quality preview in your viewport is considered rendering, we usually refer to it as high-quality, realistic results.
Once your layout is complete, you're ready to export your final result.
If your result is not interactive, you would render it as an image or video.
Interactive experiences like VR or AR can be exported as complete scenes to be embedded on web pages, or run on other devices, or even turned into standalone applications, depending on the software you use.
There are two main methods of rendering, offline rendering and faster, interactive real-time rendering.
Offline rendering includes every 3D render that is not fast and interactive.
These renders can take anything from a few seconds to many hours to calculate realistic light and reflections.
Because speed is not a big concern, heavy geometry and large textures are fine as they help you push for more realism.
Real-time rendering is what you see when you spin a model around in a 3D application, or when you play a 3D video game.
It emphasizes speed with many images rendered every second.
That fast rendering keeps it smooth and interactive but uses simpler and less realistic reflection and lighting compared to offline rendering.
To push the quality further, you might need to do some optimizations like simpler geometry with less polygons or smaller texture sizes.
A lot of 3D applications do both kinds of rendering, but often the real-time rendering is just for fast previewing, before you do the final offline render.
Even if you create single, still images as 3D renders or an animated sequence, it's common to do some additional post-processing on them as a final step.
Single images can be edited like a photograph in photo editors and sequences, or videos can be edited with video editors.
The process doesn't differ much from regular photo or video editing, and lets you do things like color correction and touch ups.
And then that's it.
You've completed this long creative process.
Everything should be clear now.
I hope you'll enjoy 3D as much as I do.