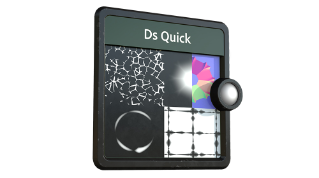
Introduction
Hi, in this video we’re using Substance 3D Designer to explore possibilities of the new directional distance node.
Understanding the directional distance node and parameters
Let’s go over the key nodes and parameters we’ll use first.
The directional distance node draws a distance gradient from the borders of a mask in a specified direction.
The output mode sets how the distance gradient is drawn.
While inverted normalized distance draws a gradient from 1 to 0, multiplied by the distance map, distance draws a gradient of raw distance values that are not within 0 to 1.
Maximum distance adjusts reach of the distance effect.
Angle tweaks the direction of the distance gradient.
Distance map multiplier pushes the impact of the custom distance map over the maximum distance.
Angle map multiplier adjusts the impact of the custom angle map over the angle.
The directional distance node
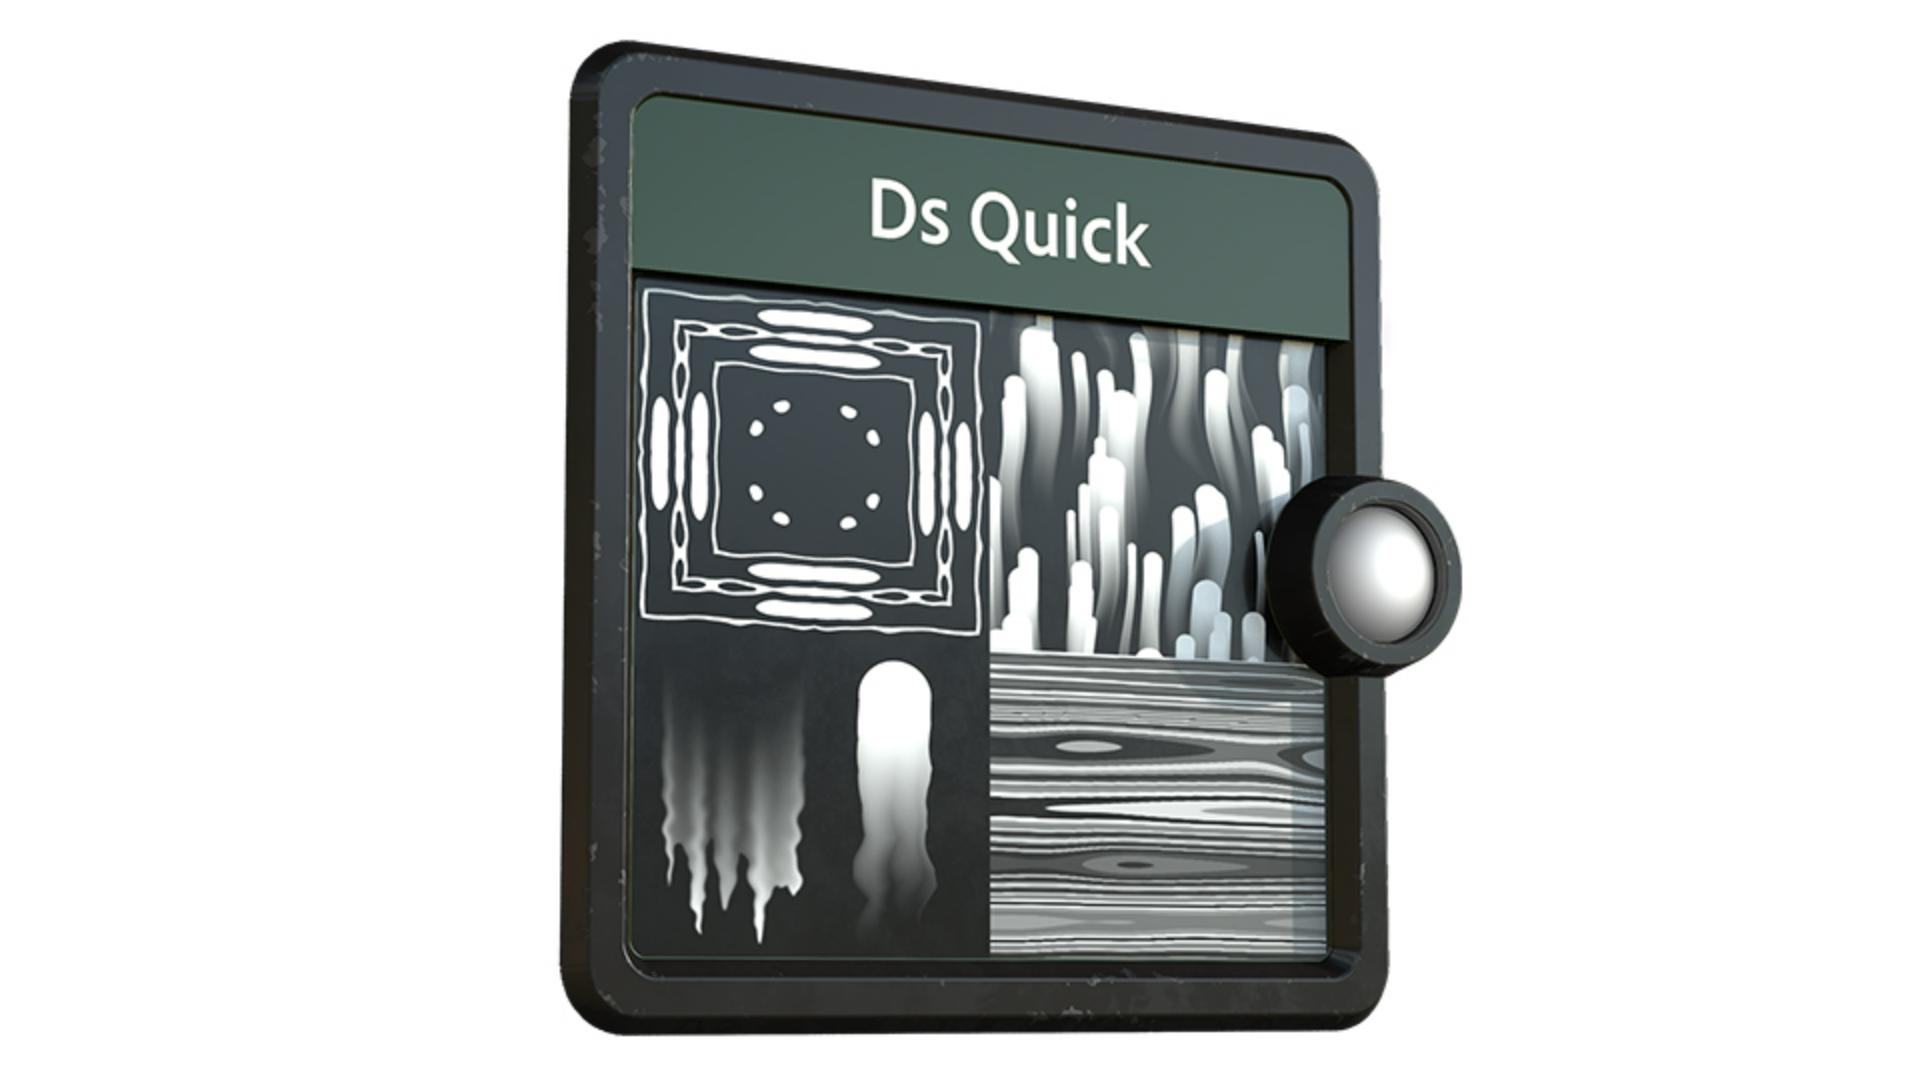
Creating directional extrusions and deformation effects
is awesome to extrude small shapes and get some nice directionality.
Connect an angle map and tweak the angle map multiplier to introduce some more deformation variation.
Use it in combination with the uv mapper node to get nice directional noises with a great variation of rounder, stretched and deformed shapes.
It is excellent for creating various drip streaks and leaking effects.
Use the distance mode to generate accumulating drip streaks with thicker endings.
Combine its uv output with a uv mapper to achieve nice height details.
For the opposite effect where more material is accumulated directly on the shapes border, use the Inverted normalized distance mode.
These methods allows you to create leaking effects based on any shape input.
Generating drip, leak, and striped detail patterns
Use various different setups to define shapes and emblems.
Further get different variations of details to use in combination with shapes.
Choose a distance map to control the distance of the gradient based on it and an angle map to introduce some smooth deformations.
To get some striped dilation details, use it in combination with a uv mapper node.
This way you can add variations of stripes onto your shape or define the outline more.
A cells node in combination with the directional distance node in distance mode is nice to get some stripes which can be used for example for cracks.
Add a crystal 1 node as angle input to add some sharp deformation and use the threshold node to select certain areas.
Finally bevel the shapes and add details afterwards.
Use it to extrude different patterns.
Using directional distance for extrusion and wood grain effects
Use a distance map for further control over the extrusion.
This is nice to get customized height information for your shapes.
Another great use case is wood grain.
Use the cells or tile generator nodes as input.
Increase the distance significantly to get some nice horizontal variation.
Then, blur it as a base for the gradient dynamic process.
Finally, use a gradient dynamic with vertical gradient orientation and an anisotropic noise as input.
Generate fast variations by tweaking the random seed.
Further play with the blur intensity.
The same wood grain method, with slightly different settings and the paraboloid pattern, results in some nice random patterns which can be used for tiles or other shape details.
Use a symmetry slice and mirror node to get beautiful randomized patterns.
Creating randomized patterns and final variations
Tweak the random seed value and play around with other parameters like x and y amount and scale random for more variation and detail.
If you want to learn more, you can download and open the graph shown in the video.
Thanks for watching and we would love to hear your thoughts, ideas and suggestions for future quicktips, so let us know them in the comments.
See you in the next quicktip episode.